Our Location
304 North Cardinal St.
Dorchester Center, MA 02124

1. Proxmox VE (hereinafter referred to as PVE)
2. Black Qunhui guidance:Download address
3. Black Synology system PAT installation package:Download address
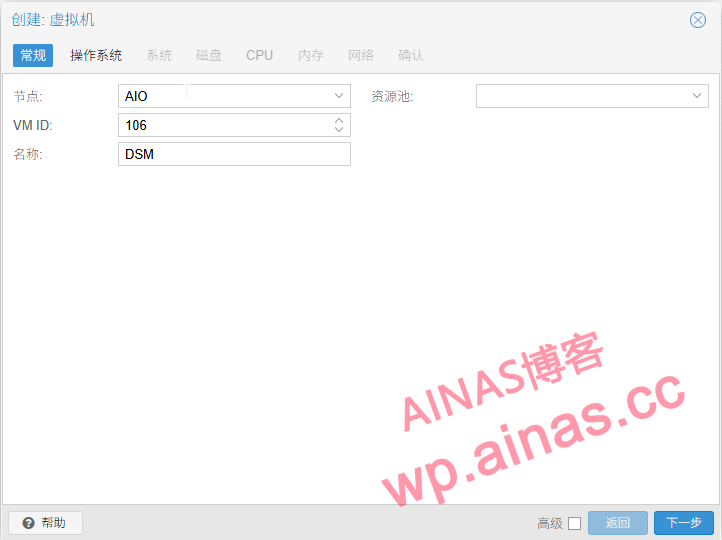
1. Click the “Create Virtual Machine” button, check “Advanced”, check “Auto-start at boot” (soft routing usually starts at boot), fill in the name of the virtual machine (such as DSM), and click “Next”

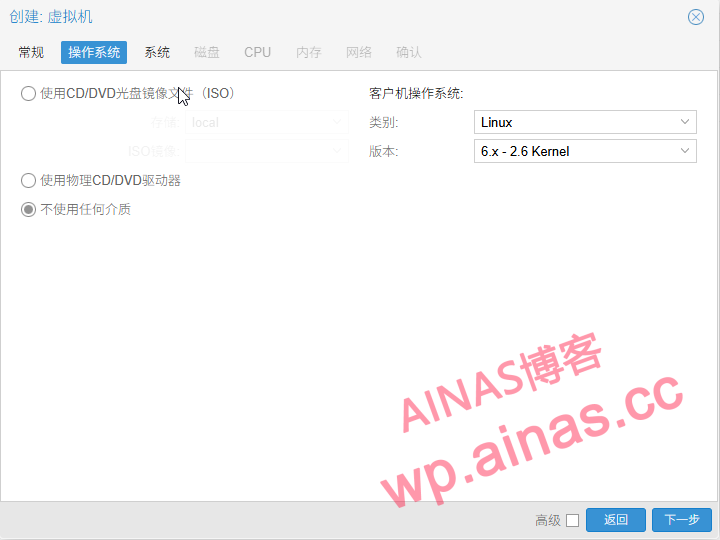
2. Select “Linux” for the operating system, select “6.x – 2.6 Kernel” for the version, select “Not applicable to any media”, and click “Next”
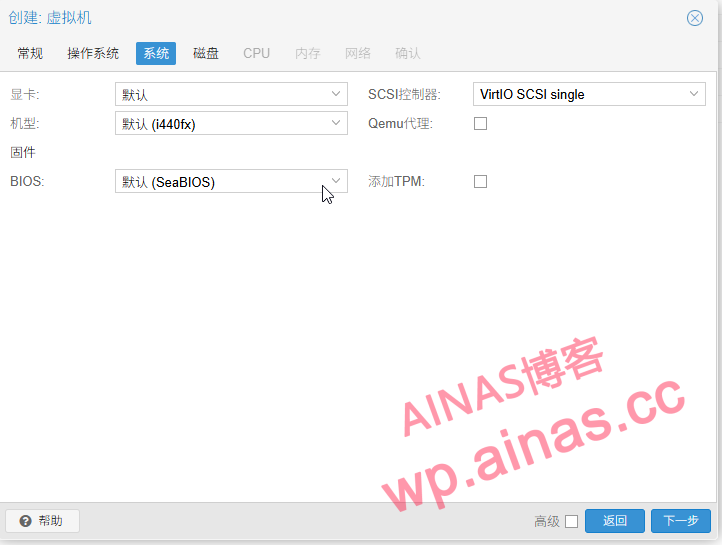
3. The system default is enough, click “Next”
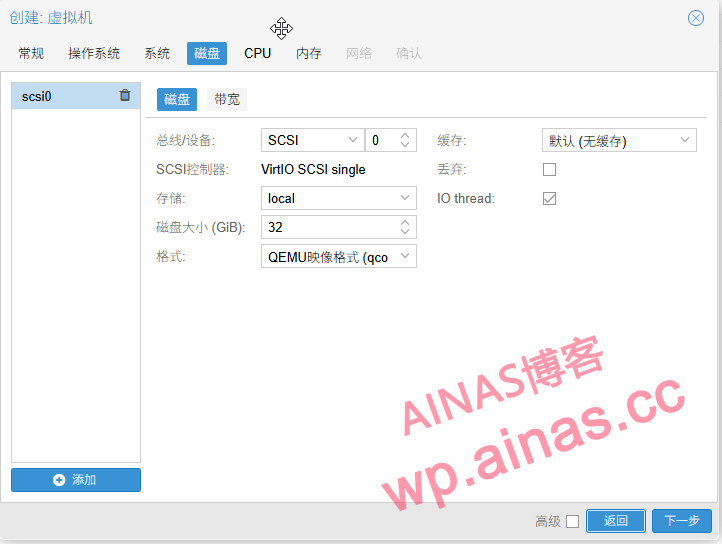
4. Hard disk, set it as you like, it will be deleted later, click “Next”
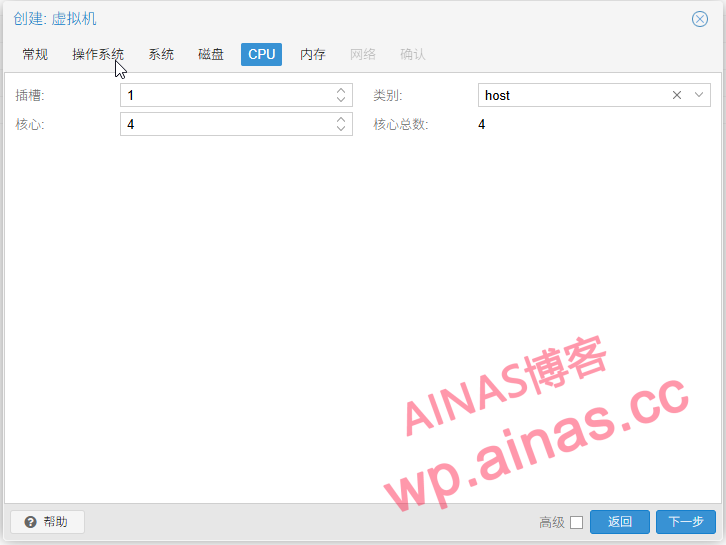
5.Change the CPU selection category to “host”, otherwise there will be infinite restarts., click “Next”
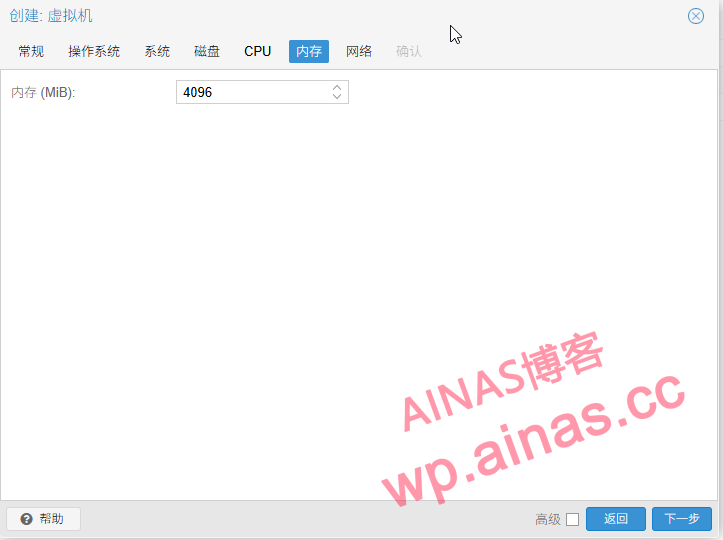
6. The memory size setting is also selected according to the actual situation (if it is only used as a downloader, setting 4G memory is enough; if used with multiple packages, it is recommended to set more than 8G memory), click “Next”
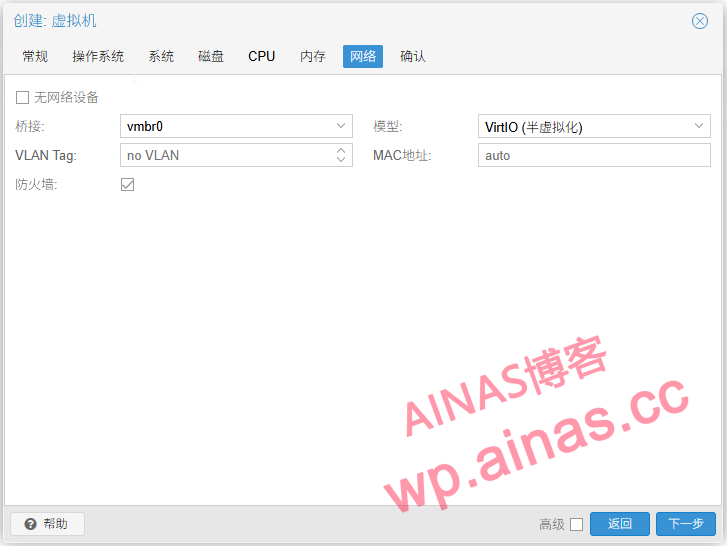
7. Select the default network model and click “Next”
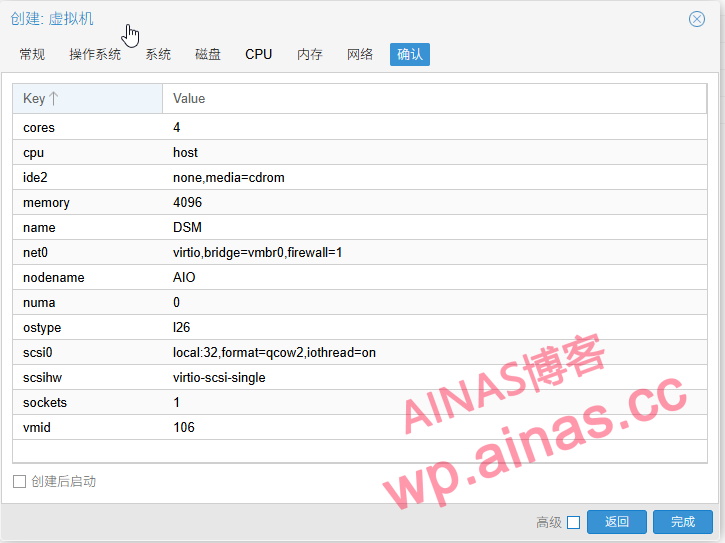
8. Confirm the configuration and click “Finish” directly.
9. Delete the hard drive, select “DSM” –> “Hardware”, find the hard drive, select it and click “Detach”
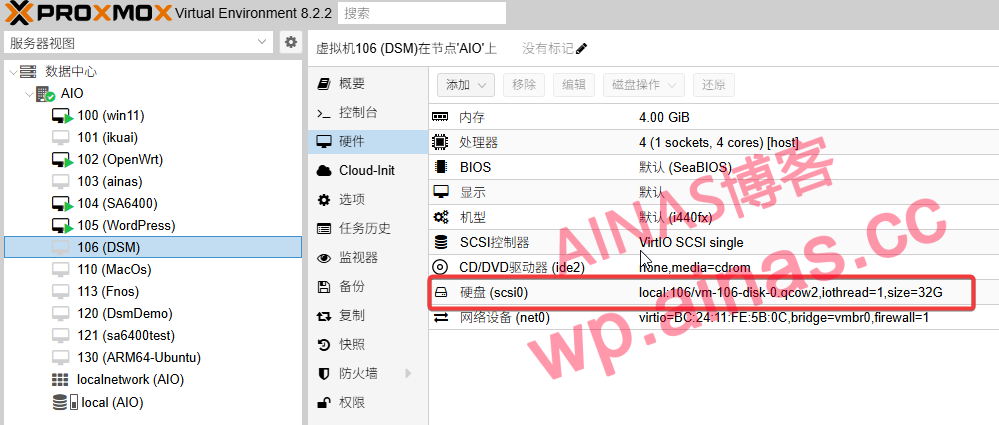
10. After the hard disk is separated, select unused disk 0 and click “Remove”
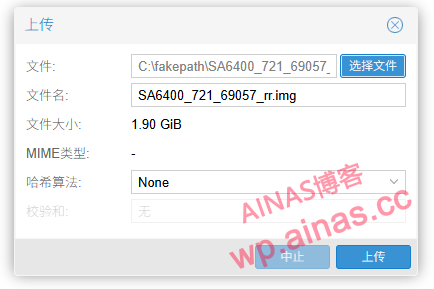
1. Download the boot file and decompress it, click local-ISO image-upload, and select to upload the downloaded boot file.

2. After the upload is completed, you will see the saved address, copy it
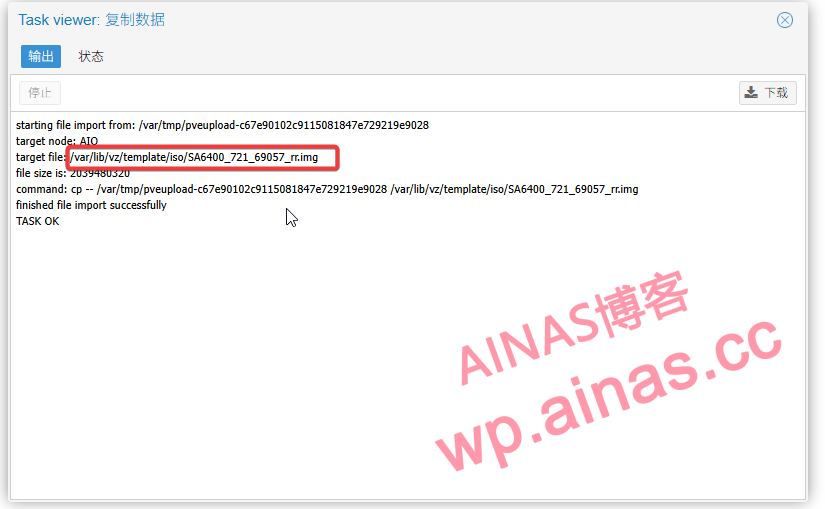
2. Enter the DSM virtual machine Shell and enter
qm importdisk 106 /var/lib/vz/template/iso/SA6400_721_69057_rr.img local-lvmPress Enter and you will see that vm-106-disk-0 is being created.
(106 is the virtual machine number, SA6400_721_69057_rr.img is the boot image just uploaded)

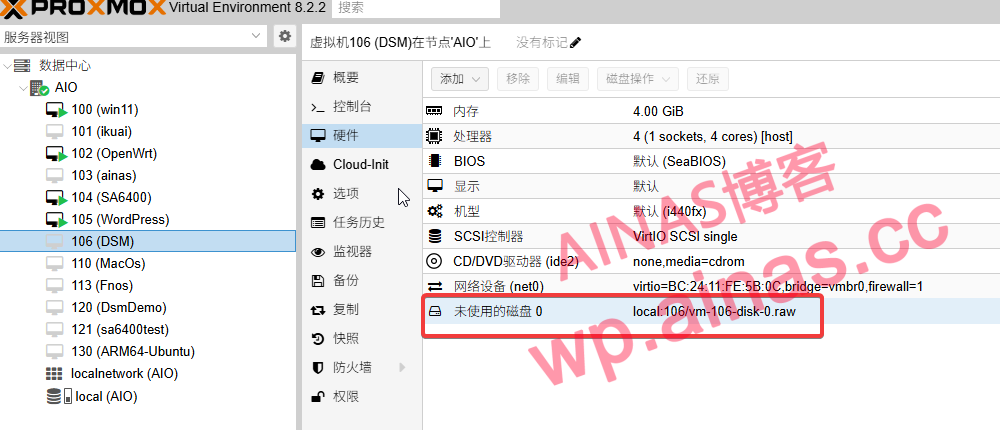
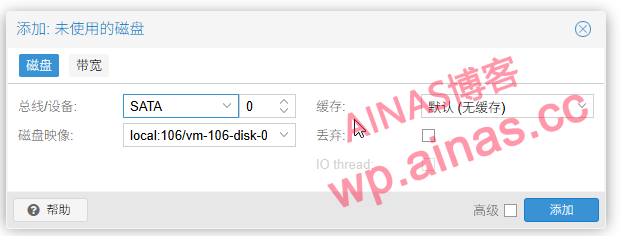
3. Add disk. Enter DSM hardware settings, select unused disk 0, and click Edit
4. Select SATA and 0 for the bus/device, and vm-106-disk-0 for the disk image.
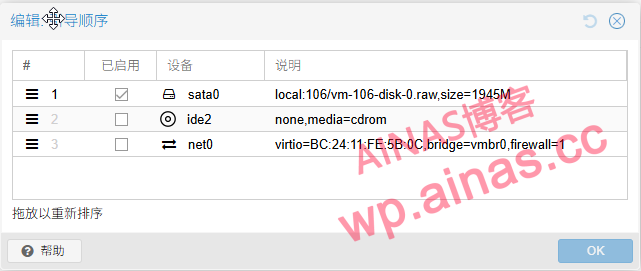
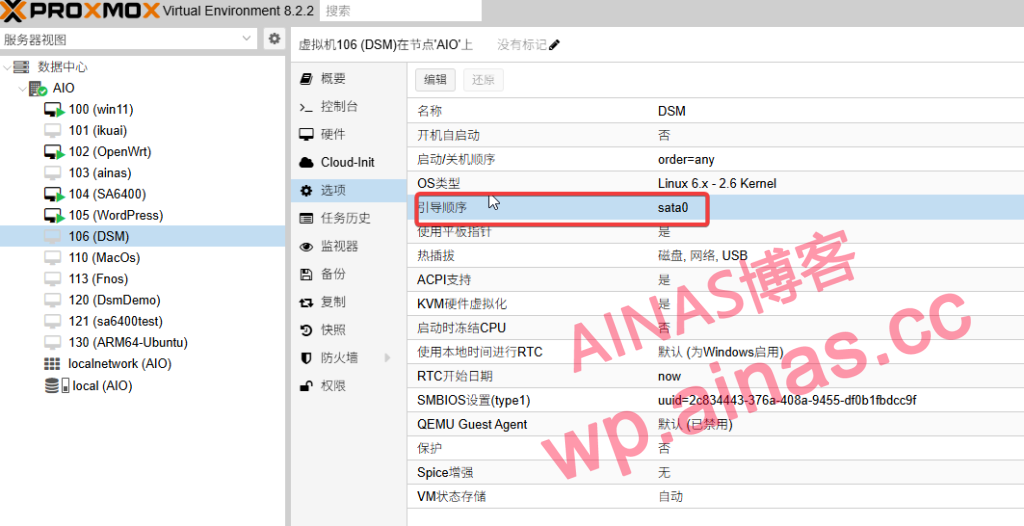
5. Change the boot sequence to hard disk, Disk ‘sata0’
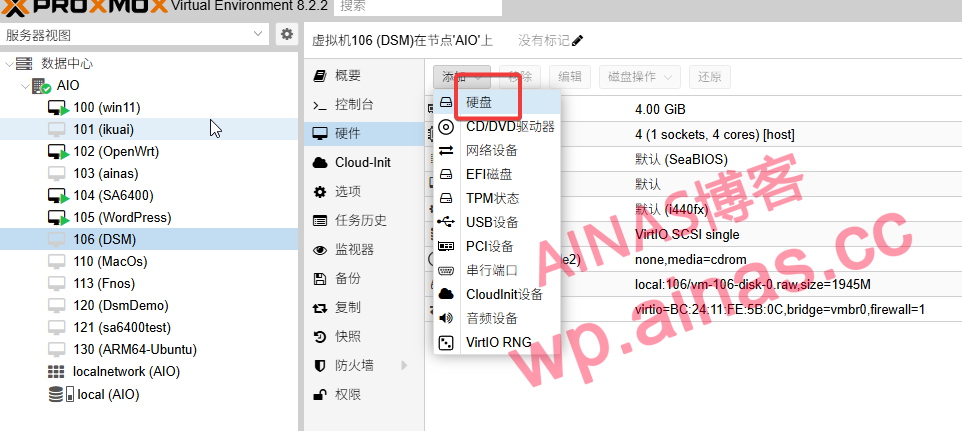
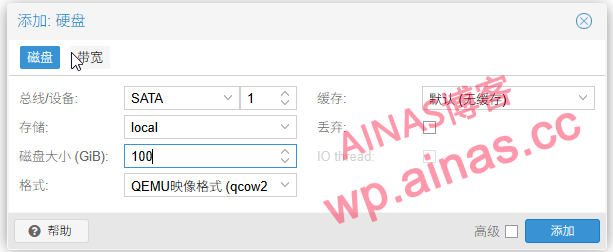
6. Add a system disk, click “Hardware”, add “Hard Disk” in the “Add” drop-down menu, select SATA and 1 for bus/device, select local-vm for storage, and set the size of the disk according to your specific situation (this tutorial sets it to 100G)
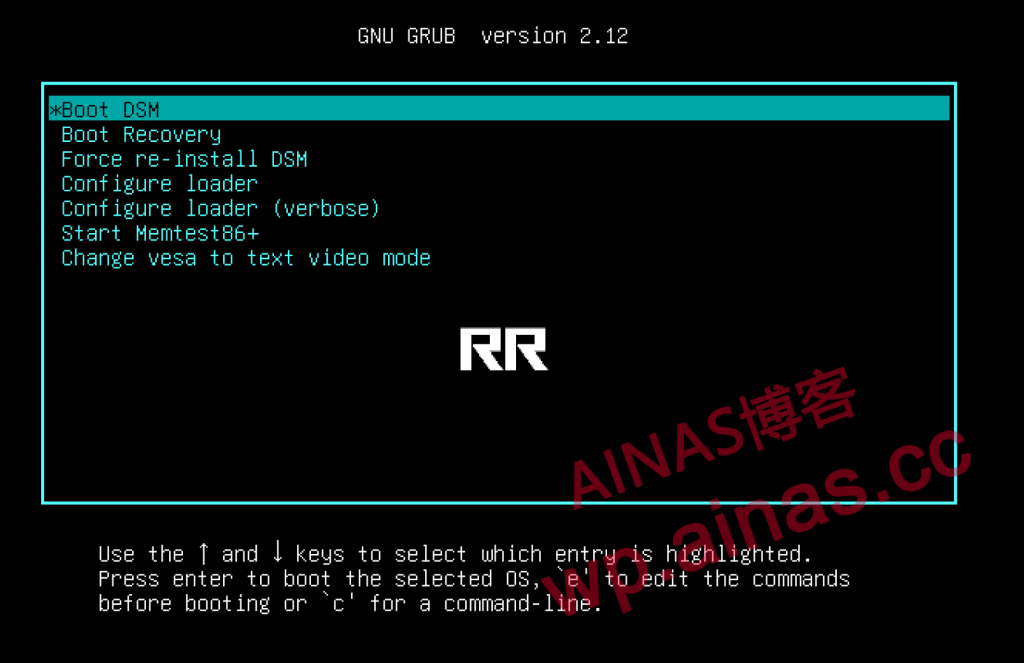
Start to install the DSM system, seeRR finished boot disk installation tutorial, Chapter 4
Connect to pve virtual machine through ssh toolorExecute directly in the pve shell terminal to view all disk storage devices under the PVE system and view the disk ID serial number:
ls -l /dev/disk/by-idThe passthrough is the disk, not the disk partition, so choose sda instead of sda1. If the hard disk you want to pass through is mounted to sdb or sdc, just select the one you want to pass through. If you are not sure which hard disk you want to pass through, use the mount command to check the mounting status of your own hard disk.
4. Use the following command to connect a hard disk to a virtual machine
qm set 106 -sata2 /dev/disk/by-id/ata-ST3500418AS_6VM8FRYV(1) The 106 in the code refers to vmi_d: it is the ID number of your virtual machine. My Synology is 106
![图片[3]-PVE将img文件转换成虚拟硬盘-ainas](/wp-content/uploads/replace/4b477d1397bb3cf5bbea963d5b74509a.png)
(2) -sata2 means that disk_type is the type of hard disk interface you want to pass through, and n is your unoccupied number.
![图片[4]-PVE将img文件转换成虚拟硬盘-ainas](/wp-content/uploads/replace/5f5093f81a39a0458181433b9f910770.png)
![图片[5]-PVE将img文件转换成虚拟硬盘-ainas](/wp-content/uploads/replace/497274024aedb010e4e53b8bf6548fe4.png)
Similar to the operation of manually adding a virtual hard disk, the picture above is a screenshot of manually adding a virtual hard disk.
(3)/dev/disk/by-id/ata-ST3500418AS_6VM8FRYV: You need to change the bold and italic string to your own hard disk ID
5. After the direct connection is successful, you can see it in the web interface.
![图片[6]-PVE将img文件转换成虚拟硬盘-ainas](/wp-content/uploads/replace/1235d8318706bd11e2efcfc15018229e.png)