Our Location
304 North Cardinal St.
Dorchester Center, MA 02124


Regarding NVME hard drives, you can check the PCI path of nvme through the following command. Generally, there will be the following two results:
ls -ld /sys/block/nvme*There are multiple layers between pci0000 and nvme, this applies to all DT models and DS918+ RS1619xs+ DS419+ DS1019+ DS719+ DS1621xs+ models.
Each control can only recognize one disk, that is, under nvme0, only nvme0n1 is recognized.
The DT model recognizes up to 15 nvme disks, and several other models recognize up to 2 nvme disks
root@test:~# ls -ld /sys/block/nvme*
lrwxrwxrwx 1 root root 0 May 14 20:37 /sys/block/nvme0n1 -> ../devices/pci0000:00/0000:00:16.0/0000:0b:00.0/nvme/nvme0/nvme0n1
lrwxrwxrwx 1 root root 0 May 14 20:37 /sys/block/nvme1n1 -> ../devices/pci0000:00/0000:00:17.0/0000:13:00.0/nvme/nvme1/nvme1n1
There is only one layer between pci0000 and nvme, which is only applicable to all DT models.
Each control can only recognize one disk, that is, under nvme0, only nvme0n1 is recognized.
DT models recognize up to 15 nvme disks
root@test:~# ls -ld /sys/block/nvme*
lrwxrwxrwx 1 root root 0 May 14 07:14 /sys/block/nvme0n1 -> ../devices/pci0000:00/0000:00:03.0/nvme/nvme0/nvme0n1
lrwxrwxrwx 1 root root 0 May 14 07:14 /sys/block/nvme1n1 -> ../devices/pci0000:00/0000:00:04.0/nvme/nvme1/nvme1n1
If is not pci0000, all models are invisible,
root@test:~# ls -ld /sys/block/nvme*
lrwxrwxrwx 1 root root 0 May 14 07:14 /sys/block/nvme0n1 -> ../devices/pci0001:00/0000:00:03.0/nvme/nvme0/nvme0n1
lrwxrwxrwx 1 root root 0 May 14 07:14 /sys/block/nvme1n1 -> ../devices/pci0001:00/0000:00:04.0/nvme/nvme1/nvme1n1
1. Execute the following command in the terminal. If you don’t know how to enter, please refer to the following tutorial.:Tutorial address
ls /dev/nvme*If there is only one nvme hard disk and the hard disk is empty, /dev/nvme0n1 will generally be displayed. If there are two empty nvme hard disks, /dev/nvme0n1 and /dev/nvme1n1 will be displayed. You only need to remember these names;
If nvme has partitions, it will also display /dev/nvme0n1, /dev/nvme0n1p1, /dev/nvme0n1p2, etc. Ignore these partition names.
2. Enter the command to view the ID of the nvme hard disk:
udevadm info /dev/nvme0n1
We need to remember the location of our nvme. For example, mine is 0000:00:1d.0. This number must be written down;
3. The reason why the NVME hard drive cannot be recognized by Synology’s space administrator is because Synology has set the PCI location of the NVME of each model in advance. This information is stored in the file /lib64/libsynonvme.so.1, and we need to change the PCI location of the NVME of the DS918+ model in this file to the actual location of our own machine to correctly identify it;
4. Back up the original file first and enter the command:
cp /lib64/libsynonvme.so.1 /lib64/libsynonvme.so.1.bak5. Copy the original file libsynonvme.so.1 to a shared folder that can be downloaded by other computers. For example, I copied it to the docker shared folder (the actual path shall prevail, please change it yourself), and enter the command:
cp /lib64/libsynonvme.so.1 /volume1/docker/libsynonvme.so.16. Visit Synology on your computer and download libsynonvme.so.1 in the docker file to your local computer;
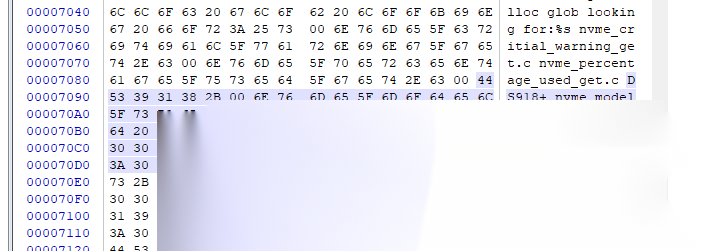
7. Use winhex software on your computer to open the libsynonvme.so.1 you just downloaded. file, press ctrl+F to enter DS918+ search, and find the original data in the fields as shown below on the right side as 0000:00:13.0 and 0000:00:13.1. According to the PCI location of the local NVME found in the first step, modify it to 0000:00:1d.0. By the way, add another nvme slot, that is, 0000:00:1d.1, and save after modification;
8. Upload the modified libsynonvme.so.1 file to Synology’s docker shared folder (subject to the folder used in step 5), and overwrite the original file.
9. Return to the ssh tool and log in to Synology as the root account;
10. Copy the modified files to the system (replace /volume1/docker with the path actually used in step 5):
cp -f /volume1/docker/libsynonvme.so.1 /lib64/libsynonvme.so.111. Modify file permissions:
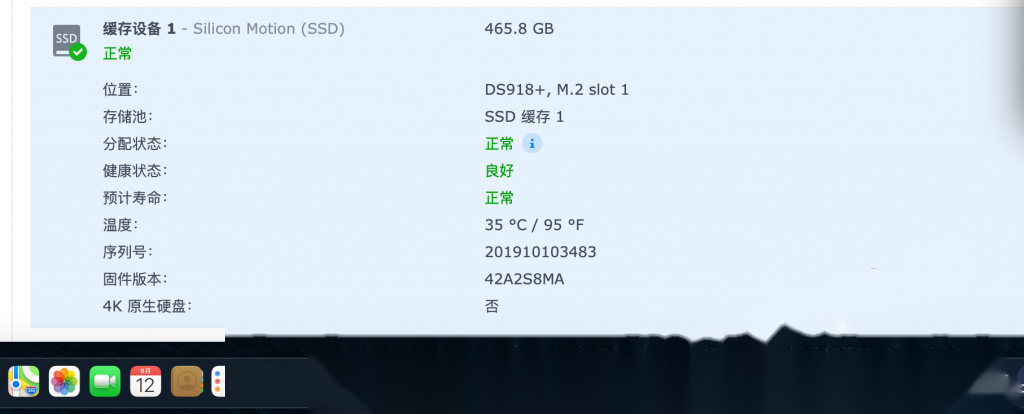
chmod 644 /lib64/libsynonvme.so.112. Restart Synology and open the storage manager. You will find that NVME is recognized normally and you can follow the prompts to set the cache.
1. Execute the following two commands in the terminal. If you don’t know how to enter, please refer to the following tutorial.:Tutorial address
ls /dev/nvme*If there is only one nvme hard disk and the hard disk is empty, /dev/nvme0n1 will generally be displayed. If there are two empty nvme hard disks, /dev/nvme0n1 and /dev/nvme1n1 will be displayed. You only need to remember these names;
If nvme has partitions, it will also display /dev/nvme0n1, /dev/nvme0n1p1, /dev/nvme0n1p2, etc. Ignore these partition names.
2. Enter the command to view the ID of the nvme hard disk:
udevadm info /dev/nvme0n1Find the ID of this nvme hard disk, for example, mine is 0000:00:1d.0, this number must be written down;
3. Enter the command to modify the file:
vi /etc.defaults/extensionPortsMake the ID in the file match the actual nvme hard drive. For example, I want to change this to (based on your actual ID):
[PCI]pci1="0000:00:1d.0"If there are two nvme hard drives, change it to (based on your actual ID):
[PCI]pci1="0000:00:1d.0"pci2="0000:00:1d.1"4. Save and exit, then restart Synology to take effect.
1. Execute the following command in the terminal. If you don’t know how to enter, please refer to the following tutorial.:Tutorial address
ls /dev/nvme*After entering, you will see/dev/nvme0n1 or /dev/nvme1n1
2. Input
fdisk -l /dev/nvme0n1You will see information similar to the following. If it is slot 2, use it./dev/nvme1n1
Disk /dev/nvme0n1: 238.5 GiB, 256060514304 bytes, 500118192 sectors
Units: sectors of 1 * 512 = 512 bytes
Sector size (logical/physical): 512 bytes / 512 bytes
I/O size (minimum/optimal): 512 bytes / 512 bytes
3. Create partitions
synopartition --part /dev/nvme0n1 124. Enter Y and press Enter to confirm.
Device Sectors (Version8: SupportRaid)
 /dev/nvme0n11 4980480 (2431 MB)
 /dev/nvme0n12 4194304 (2048 MB)
Reserved size: 260352 (127 MB)
Primary data partition will be created.

WARNING: This action will erase all data on '/dev/nvme0n1' and repart it, are you sure to continue? [y/N]y
Cleaning all partitions...
Creating sys partitions...
Creating primary data partition...
Please remember to mdadm and mkfs new partitions.
5. Enter again
fdisk -l /dev/nvme0n1Disk /dev/nvme0n1: 238.5 GiB, 256060514304 bytes, 500118192 sectors Units: sectors of 1 * 512 = 512 bytes Sector size (logical/physical): 512 bytes / 512 bytes I/O size (minimum/optimal): 512 bytes / 512 bytes Disklabel type: dos Disk identifier: 0xef61a3e4 Device Boot Start End Sectors Size Id Type /dev/nvme0n1p1 2048 4982527 4980480 2.4G fd Linux raid autodetect /dev/nvme0n1p2 4982528 9176831 4194304 2G fd Linux raid autodetect /dev/nvme0n1p3 9437184 500103449 490666266 234G fd Linux raid autodetect
6. Create storage space
cat /proc/mdstatPersonalities: [linear] [raid0] [raid1] [raid10] [raid6] [raid5] [raid4]
md2: active raid1 sda3[0] sdb3[1]
5855700544 blocks super 1.2 [2/2] [UU]
md3: active raid1 sdc3[0] sdd3[1]
9761614848 blocks super 1.2 [2/2] [UU]
md1 : active raid1 sda2[0] sdb2[1] sdc2[2] sdd2[3]
2097088 blocks [4/4] [UUUU]
md0: active raid1 sda1[0] sdb1[3] sdc1[1] sdd1[2]
2489920 blocks [4/4] [UUUU]
AFAIK, md0 is system partition and md1 is system swap. You current volume/storage pool will start at md2.
mdadm --create /dev/md4 --level=1 --raid-devices=1 --force /dev/nvme0n1p3If md4 already exists, the next md number is used, and the used numbers are listed above.
7. Enter y to confirm
mdadm: Note: this array has metadata at the start and
    may not be suitable as a boot device. If you plan to
    store '/boot' on this device please ensure that
    your boot-loader understands md/v1.x metadata, or use
    --metadata=0.90
Continue creating array? y
mdadm: Defaulting to version 1.2 metadata
mdadm: array /dev/md5 started.
If two SSDs are inserted, they can be entered.
mdadm --create /dev/md4 --level=1 --raid-devices=2 --force /dev/nvme0n1p3 /dev/nvme1n1p38. Create a file system
Input using ext4 format
mkfs.ext4 -F /dev/md4mke2fs 1.42.6 (21-Sep-2012)
Filesystem label=1.42.6-23824
OS type: Linux
Block size=4096 (log=2)
Fragment size=4096 (log=2)
Stride=0 blocks, Stripe width=0 blocks
15335424 inodes, 61333024 blocks
25600 blocks (0.04%) reserved for the super user
First data block=0
Maximum filesystem blocks=2210398208
1872 block groups
32768 blocks per group, 32768 fragments per group
8192 inodes per group
Superblock backups stored on blocks:
32768, 98304, 163840, 229376, 294912, 819200, 884736, 1605632, 2654208,
4096000, 7962624, 11239424, 20480000, 23887872
Allocating group tables: done
Writing inode tables: done
Creating journal (32768 blocks): done
Writing superblocks and filesystem accounting information: done
If using btrfs input
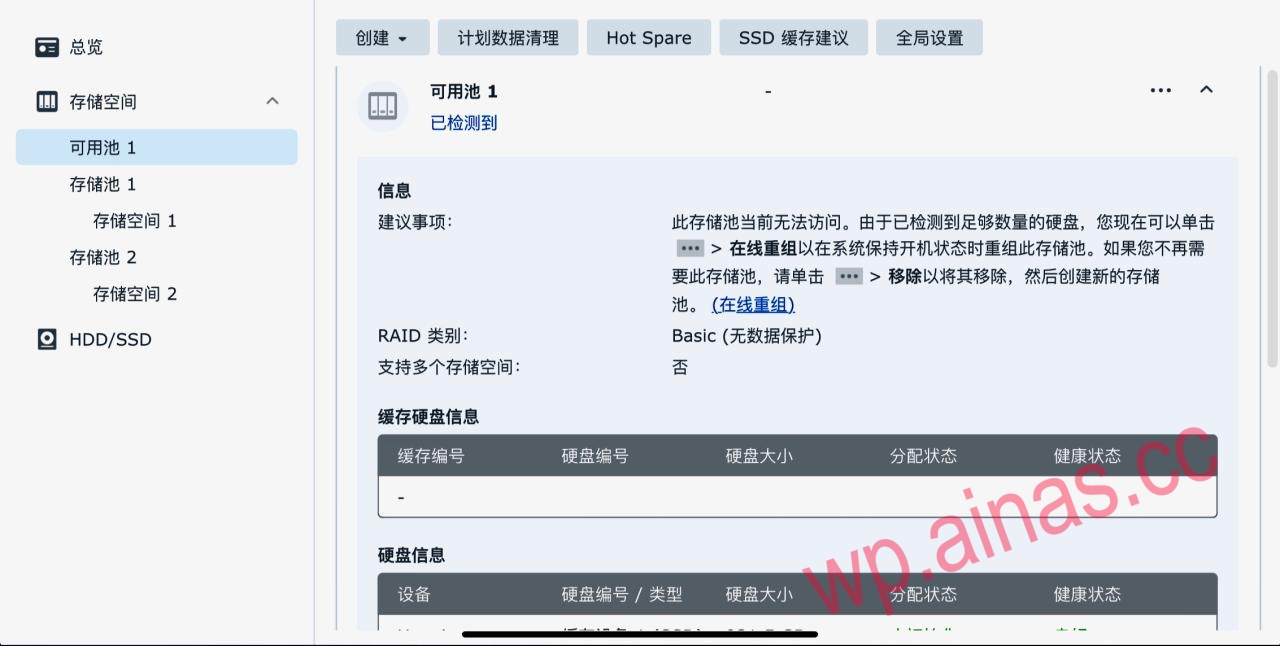
mkfs.btrfs -f /dev/md4After the formatting is completed, you can see the hard drive in the DSM Storage Manager after restarting. If prompted that online reorganization is required, click Online Reorganization.
1. Add hard disk database with one click
curl https://dsm.ainas.cc:88/Script/Synology_HDD_db/syno_hdd_db.sh | bash -s -- -nifr2. Add nvme storage with one click
wget https://dsm.ainas.cc:88/Script/Synology_M2_volume/syno_create_m2_volume.sh && chmod +x syno_create_m2_volume.sh &&./syno_create_m2_volume.sh