Our Location
304 North Cardinal St.
Dorchester Center, MA 02124


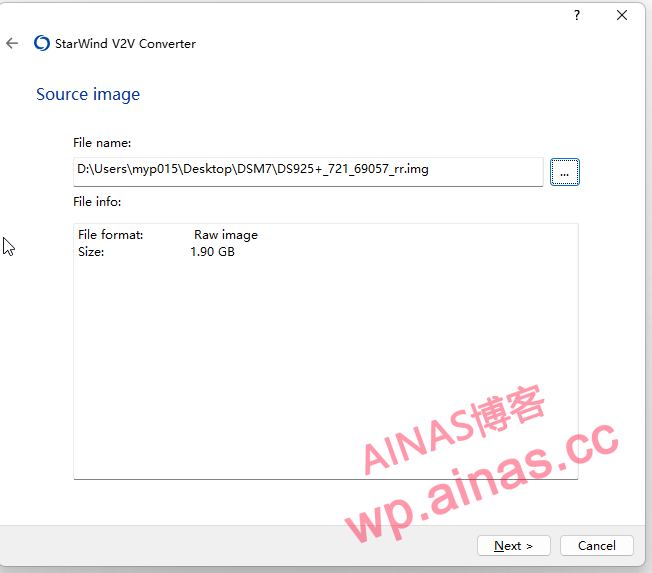
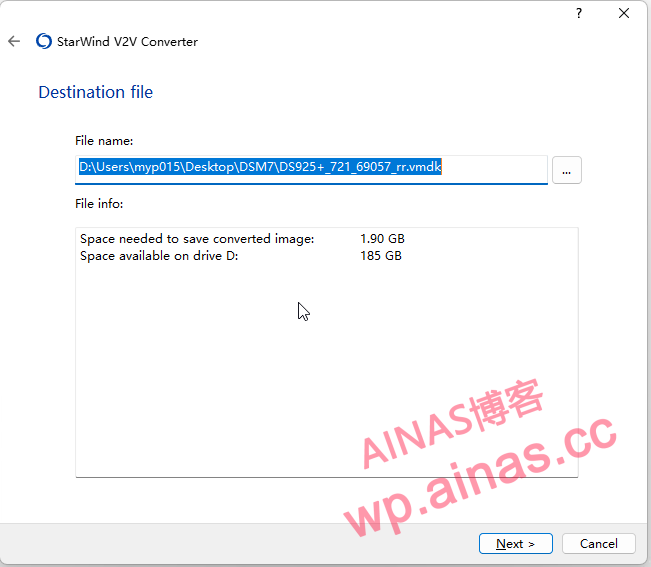
Special note: The directories of the original img file and the target Vmdk file generated in the future should be in pure English and not in Chinese, otherwise errors may occur.

Select Local File and select the img file you just changed.
Then select VMware ESX server image
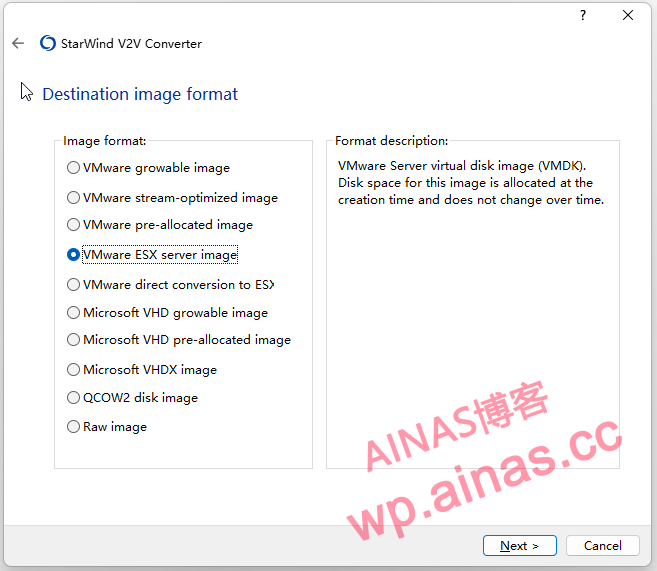
Go directly to the next step
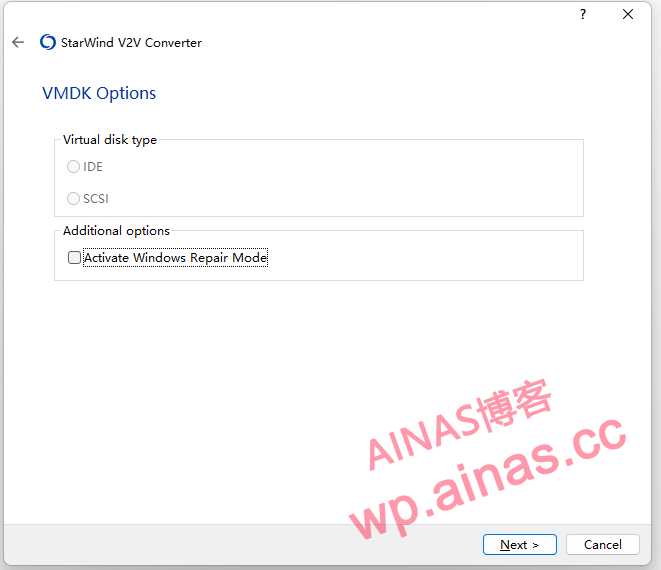
Next step
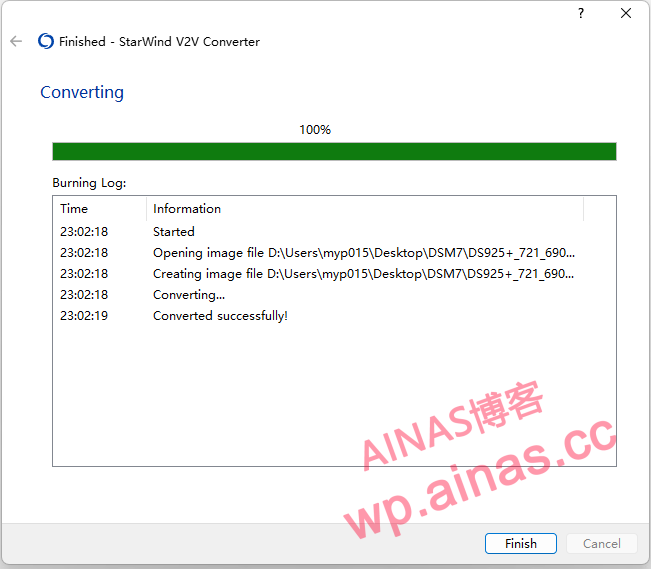
Conversion is successful, press Finish to end
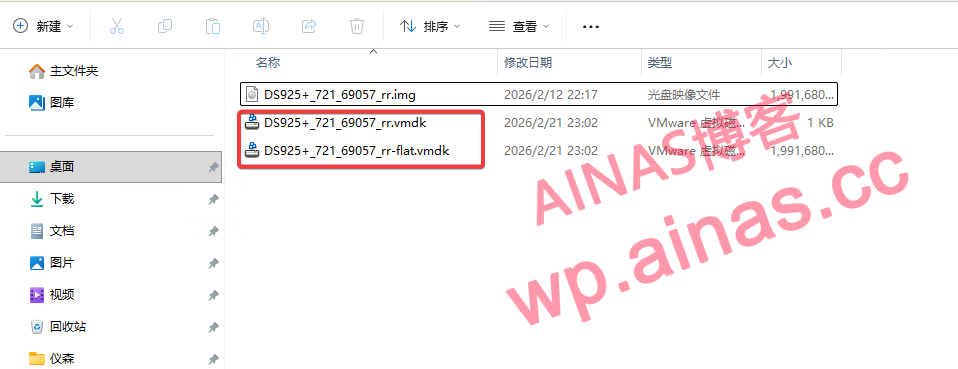
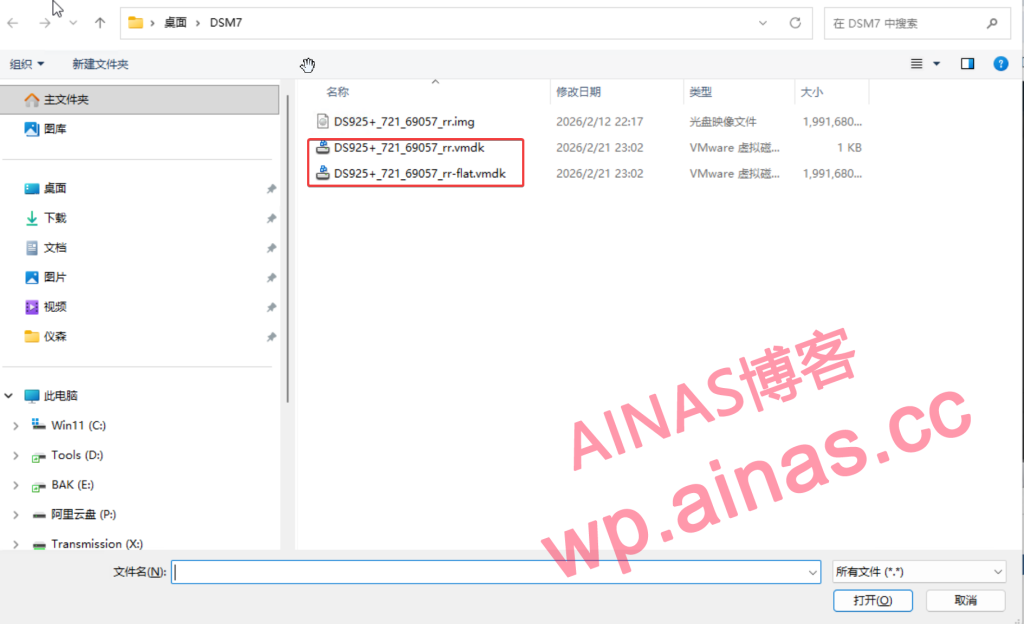
It can be seen that 2 vmdk files will be generated in the target folder, one of which has -flat
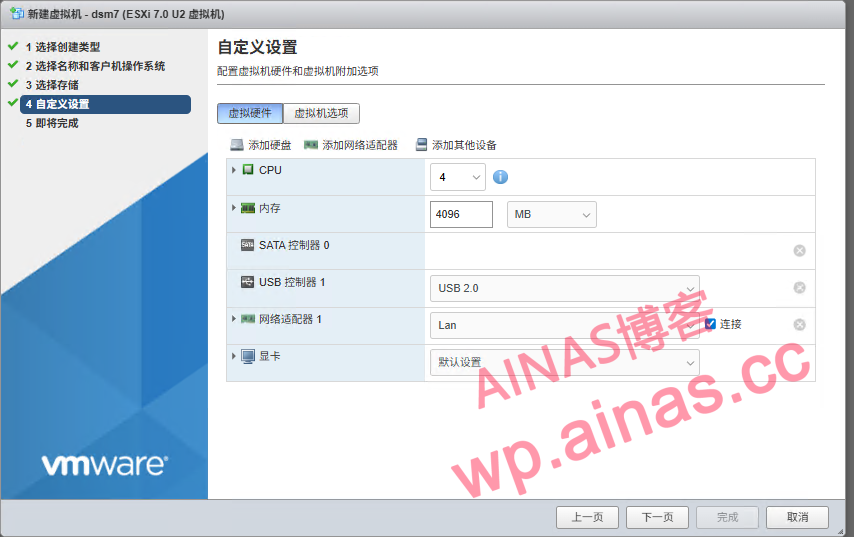
Guest operating system select linux, 4.x or higher version of Linux (64-bit)
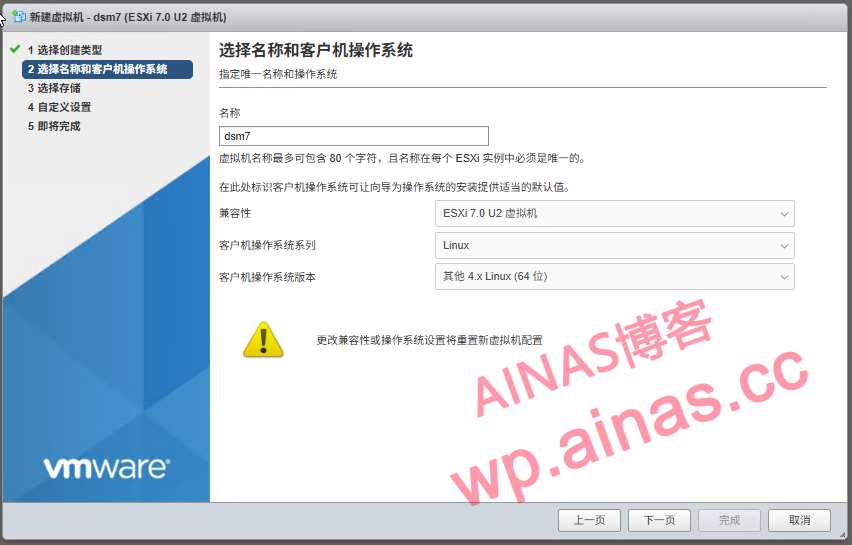
The settings are as follows
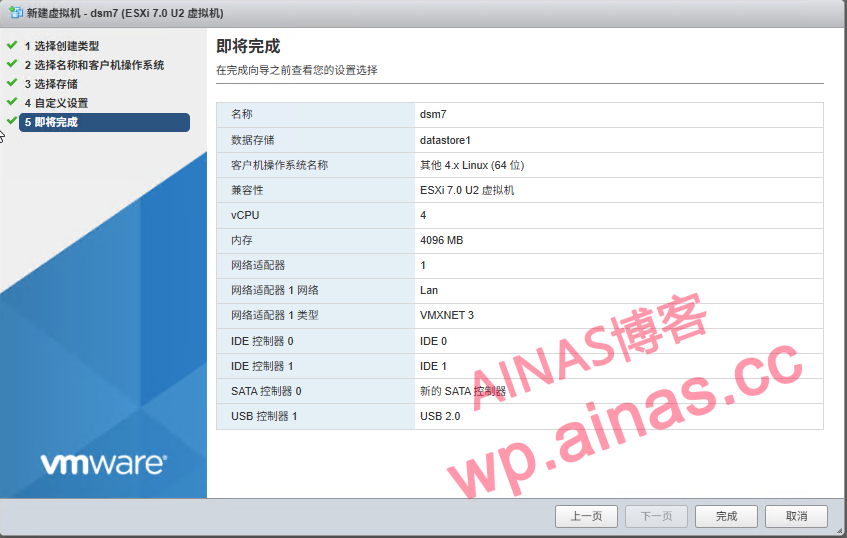
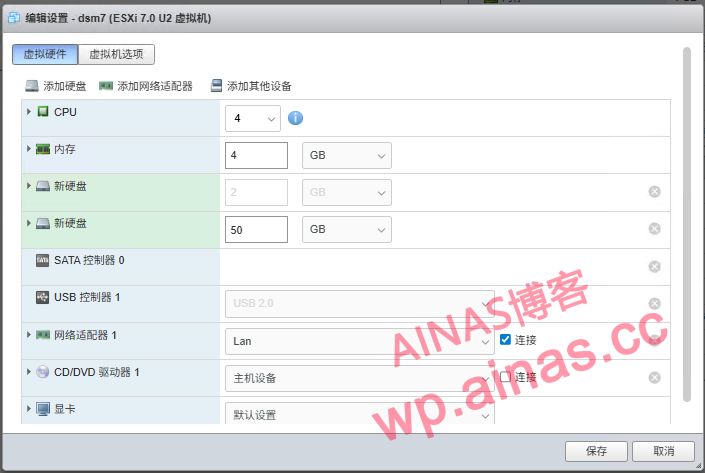
The final configuration is as follows
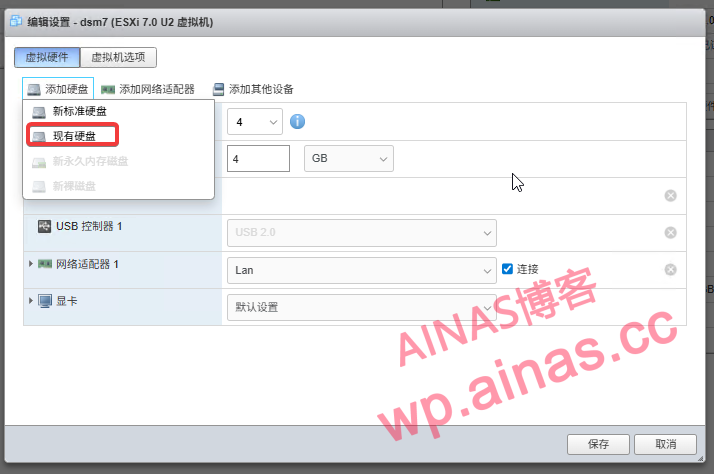
1. After completion, open this virtual machine for editing and select Add Hard Disk – Existing Hard Disk
2. Select upload, select the two vmdk files we converted, and select the dsm7 folder as the path.
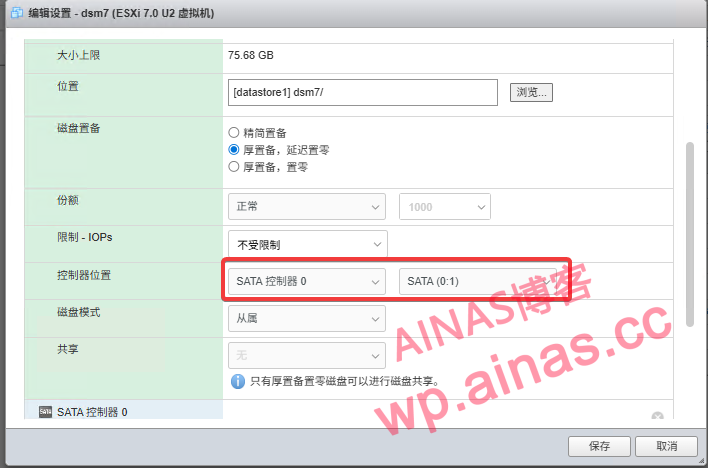
3. Change to sata mode, as shown in the figure

4. Then add a standard hard drive again, the mode is sata. Here you can change the hard drive capacity according to your actual situation.
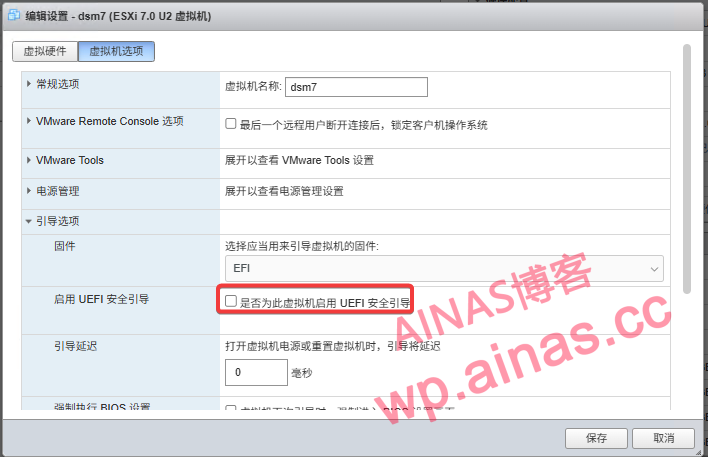
5. Edit the virtual machine, select virtual machine options – boot options – turn off “Enable UEFI secure boot”, as shown in the figure
Now you can start the virtual machine. Other default options are sufficient. See the installation tutorial.
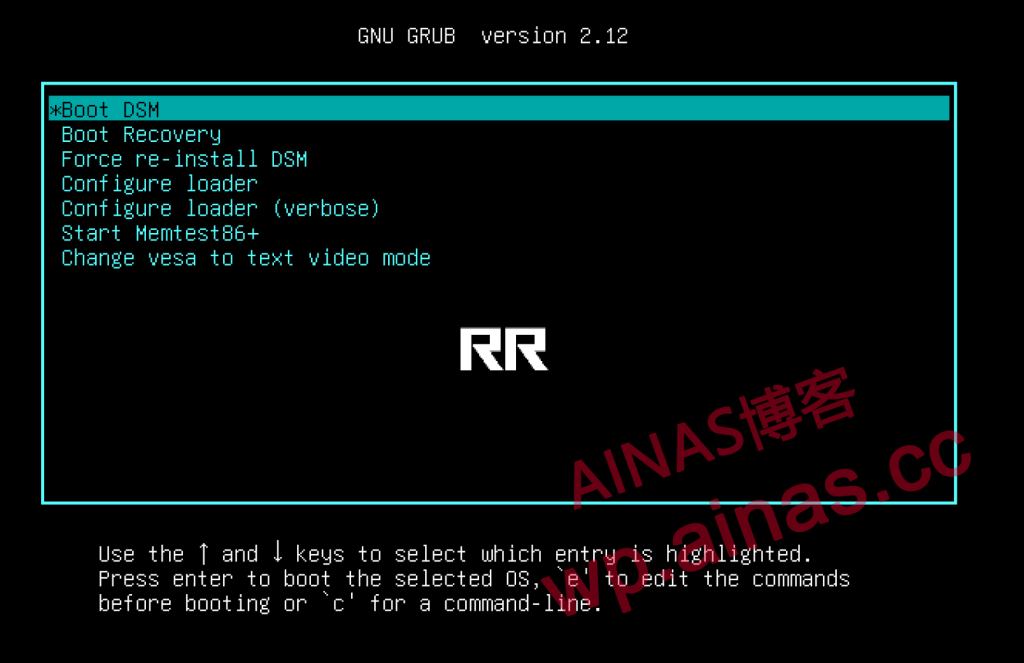
RR finished boot disk installation tutorial, Chapter 4 content