Our Location
304 North Cardinal St.
Dorchester Center, MA 02124

1. Enter the package center and click Settings in the upper right corner.

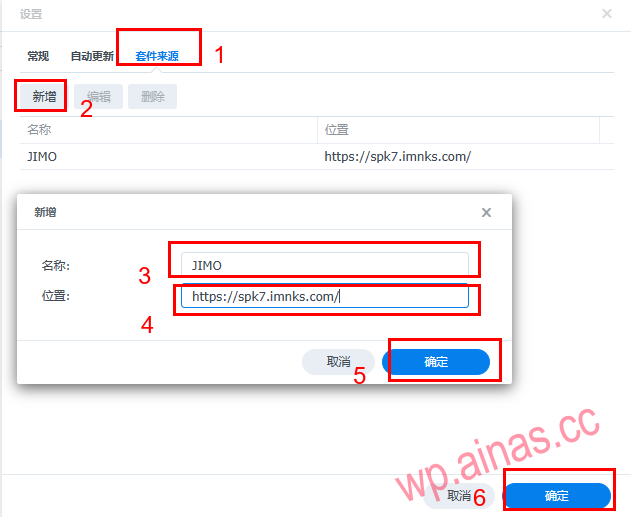
2. After entering the settings, click on the package source, click Add, and add a new package source address.
Name: JIMO
Address: https://spk7.imnks.com/
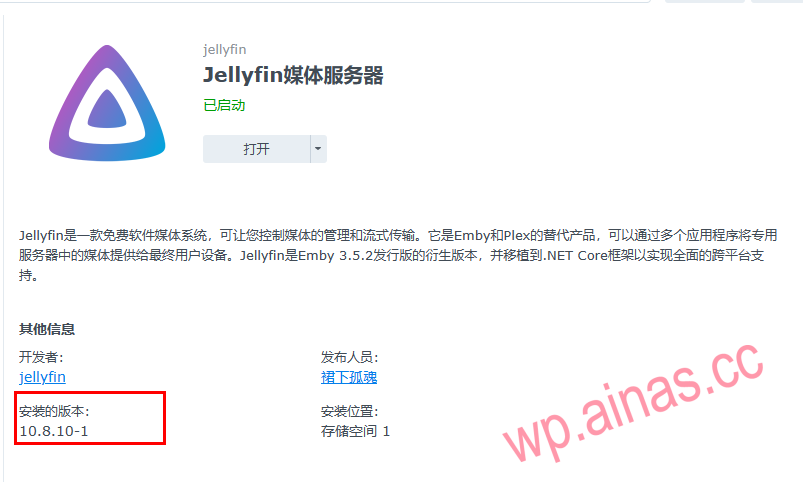
3. Search for: Jellyfin in the Package Center, and install Jellyfin media server version 10.8.10-1
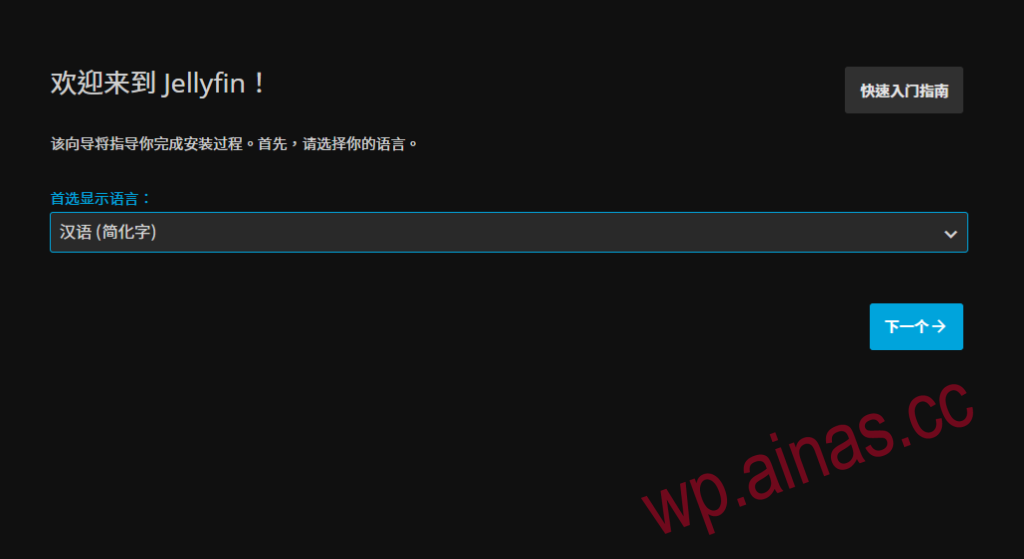
1. Open the package
Choose the language according to your needs
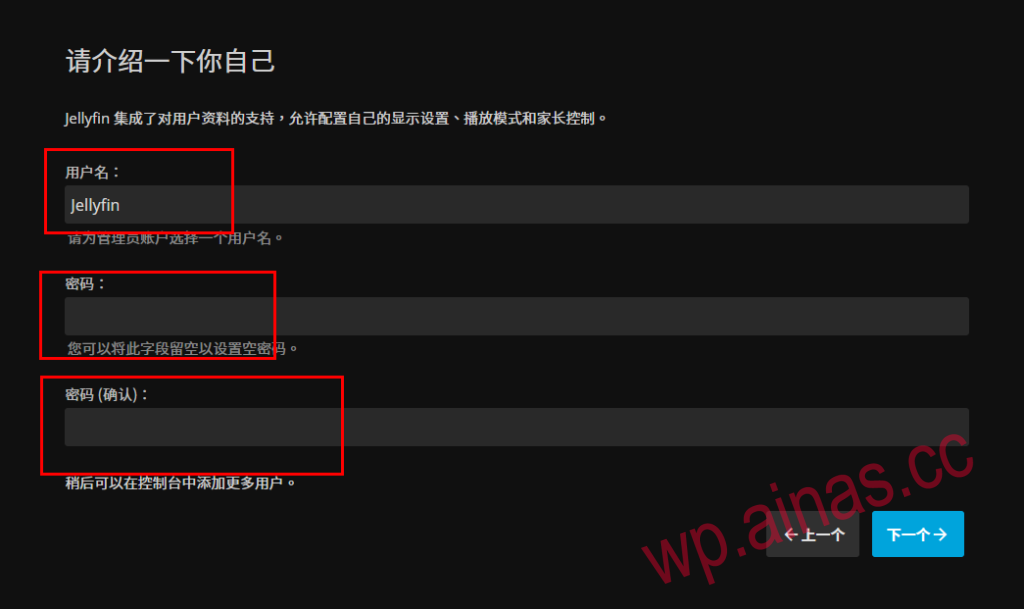
2. Configure account and password
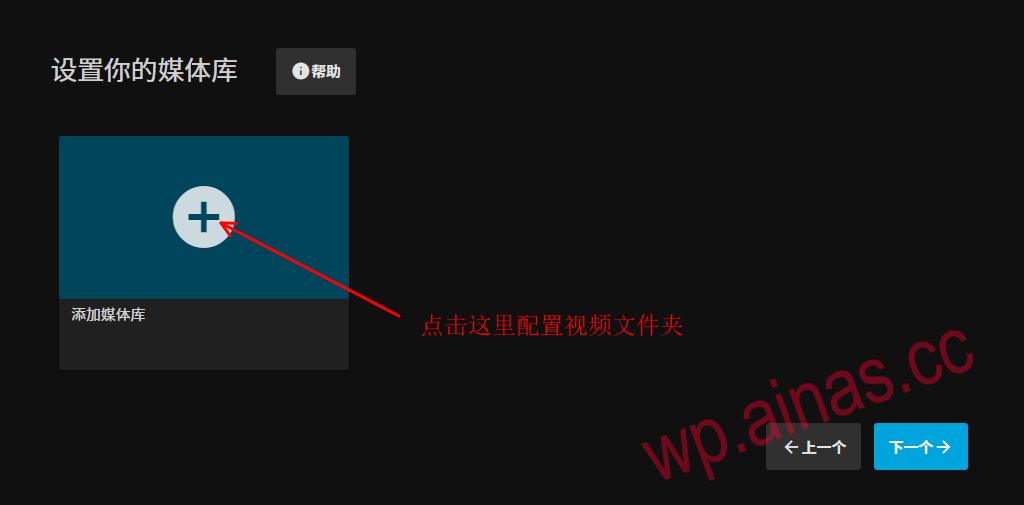
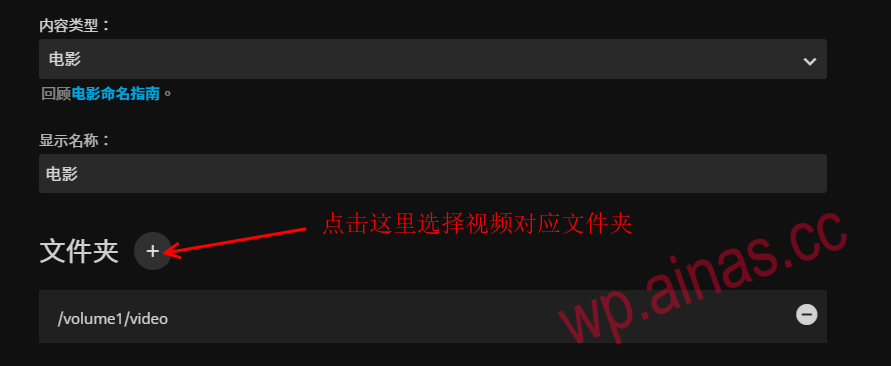
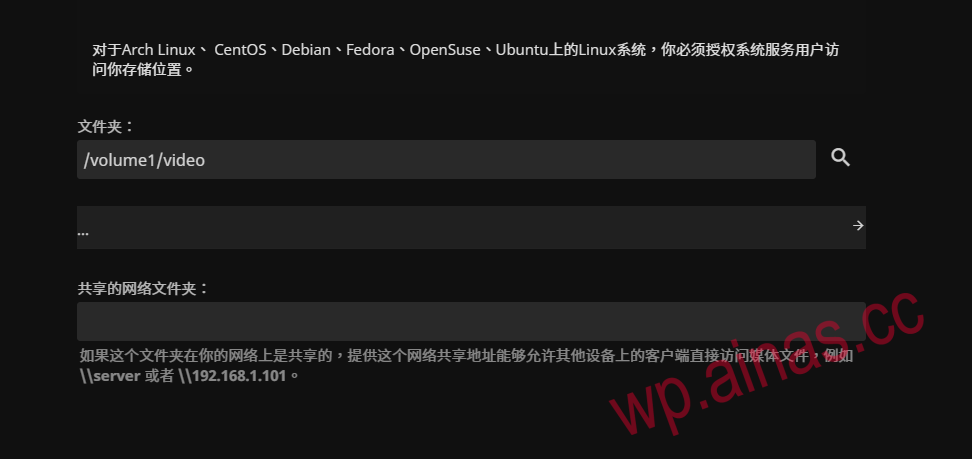
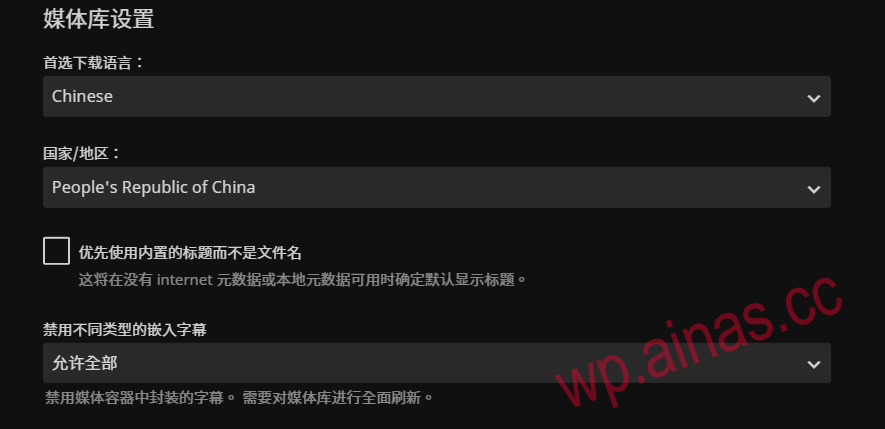
3. Configure the video folder

![图片[13]-Jellyfin媒体服务器安装教程-AiNas.cc](/wp-content/uploads/replace/72a2a12c9ef77389d32c04c9a722549d.png)
![图片[14]-Jellyfin媒体服务器安装教程-AiNas.cc](/wp-content/uploads/replace/ec9355c92b3fa8efac0ef9a49463aea6.png)
![图片[15]-Jellyfin媒体服务器安装教程-AiNas.cc](/wp-content/uploads/replace/fff81f6728538779c7453d59fe348d5d.png)
![图片[16]-Jellyfin媒体服务器安装教程-AiNas.cc](/wp-content/uploads/replace/762249472984b6719a1d0f323d1edc00.png)
![图片[17]-Jellyfin媒体服务器安装教程-AiNas.cc](/wp-content/uploads/replace/30a6f99fb94803dff17c13e201c2db56.png)
![图片[18]-Jellyfin媒体服务器安装教程-AiNas.cc](/wp-content/uploads/replace/ba3fbe91f129d8fbc3a241293578ec69.png)
4. Configure folder permissions
![图片[19]-Jellyfin媒体服务器安装教程-AiNas.cc](/wp-content/uploads/replace/ca943c67e2bbd180c4769223424aaa99.png)
![图片[20]-Jellyfin媒体服务器安装教程-AiNas.cc](/wp-content/uploads/replace/6da8bcb802c266da69462806e0eee733.png)
Increase user read and write permissions for Everyone
![图片[21]-Jellyfin媒体服务器安装教程-AiNas.cc](/wp-content/uploads/replace/c5070ad7de8ad62e038858c6f39135a6.png)
![图片[22]-Jellyfin媒体服务器安装教程-AiNas.cc](/wp-content/uploads/replace/156bf45829bcce10413d3e8620a227eb.png)
5. Turn on the video hard decoding (transcoding). If the core display does not support it, you can skip this part.
![图片[23]-Jellyfin媒体服务器安装教程-AiNas.cc](/wp-content/uploads/replace/2167420728c15b8bd9d9f91b14e172d6.png)
![图片[24]-Jellyfin媒体服务器安装教程-AiNas.cc](/wp-content/uploads/replace/22dafd76177e4188a1bbbdb7b69b6c46.png)
1. Enter the console – plug-ins – media library and add the plug-in link
![图片[25]-Jellyfin媒体服务器安装教程-AiNas.cc](/wp-content/uploads/replace/a0b63b025428f4812c0a886b505c5a4d.png)
A. Media library naming,
B. Enter the following address for the media library URL
https://github.com/cxfksword/jellyfin-plugin-metashark/releases/download/manifest/manifest.json![图片[26]-Jellyfin媒体服务器安装教程-AiNas.cc](/wp-content/uploads/replace/e830ae085ff21162106e13b1131b132c.png)
2. Click the directory after adding it (wait to refresh the directory after clicking the directory, which may take a long time depending on the network)
![图片[27]-Jellyfin媒体服务器安装教程-AiNas.cc](/wp-content/uploads/replace/74db5932fbc38094d90c5ed22ba89caa.png)
3. Click MetaShark to install the plug-in. Generally, you can choose the highest version to install.
![图片[28]-Jellyfin媒体服务器安装教程-AiNas.cc](/wp-content/uploads/replace/e437cd29dad9331dbfa916f48781b7c1.png)
4. After installing the plug-in, restart jellyfin
![图片[29]-Jellyfin媒体服务器安装教程-AiNas.cc](/wp-content/uploads/replace/48f09e840c9e0c0cbf8f3195ea0c05f6.png)
5. The above completes the installation process. Just copy the video files to the corresponding folder.