Our Location
304 North Cardinal St.
Dorchester Center, MA 02124


The background IP (background address) that Black Synology starts by default is dynamically assigned (the IP is allocated through the router). Black Synology’s startup time is generally 5-10 minutes. During the startup process, the network card will be disconnected (the network card light will go out). It takes about 5-10 minutes to turn on the device. You can check the device IP in three ways.
You can download Synology Assistant from the official website, or click here to download:
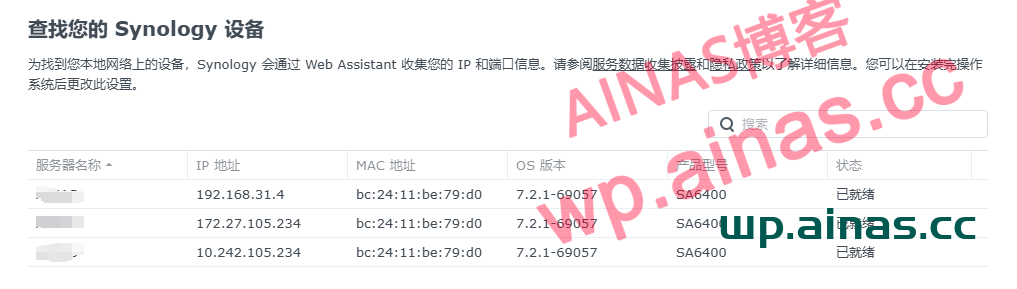
Open Synology Assistant: (Generally, opening the software will automatically search for IP)
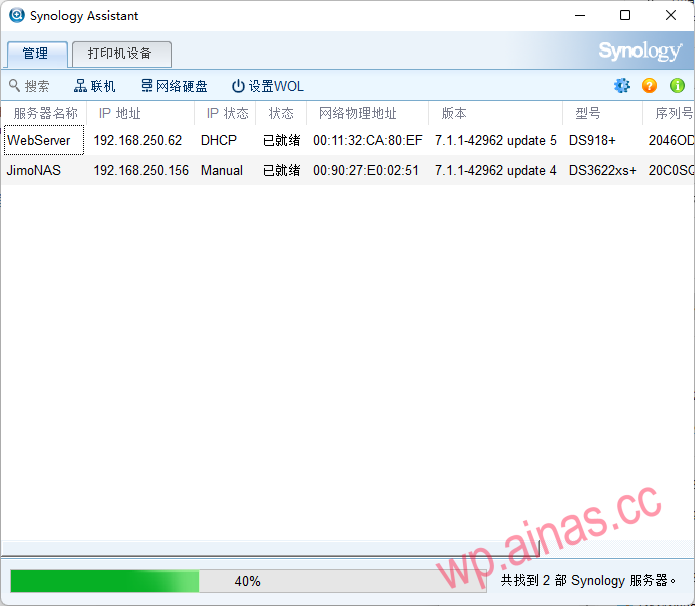
After selecting the device, click Connect above, and the web page will automatically open to enter the background, or you can open your own browser and enter the searched IP address.
If your NAS and computer are both connected to the same router:
1.Log in to the router backend. Open the browser, enter the router’s backend address (usually 192.168.0.1 or 192.168.1.1), and then enter the account and password to log in.
2.View list of connected devices. Find “Connected Devices” or “DHCP Client List” on the router management interface, and you can see information about all devices connected to the network.
3.Find NAS device. Find a device whose name reads “Synology” or something similar, and its IP address will be displayed next to it.
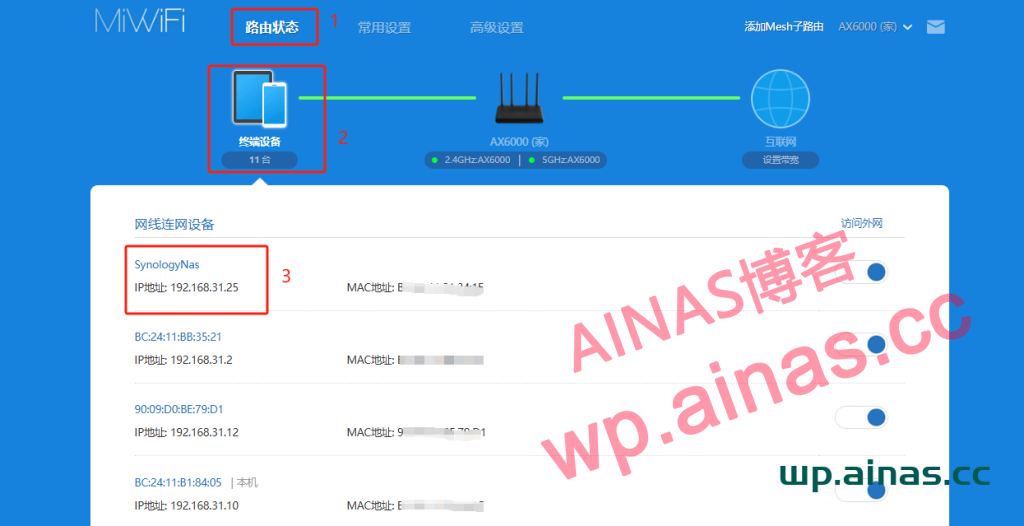
This method is more troublesome. You need to know what device the series of IPs in the background of your router correspond to.
find.synology.cn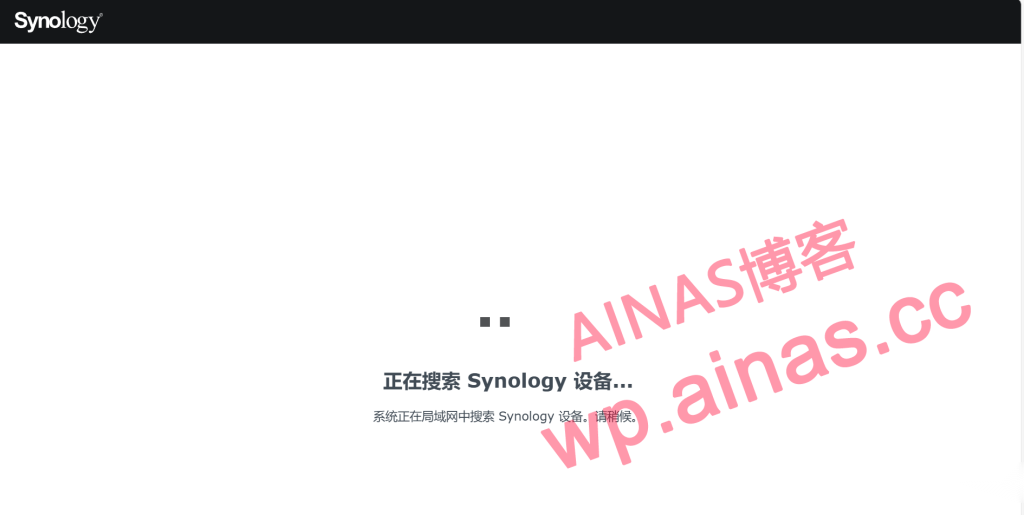
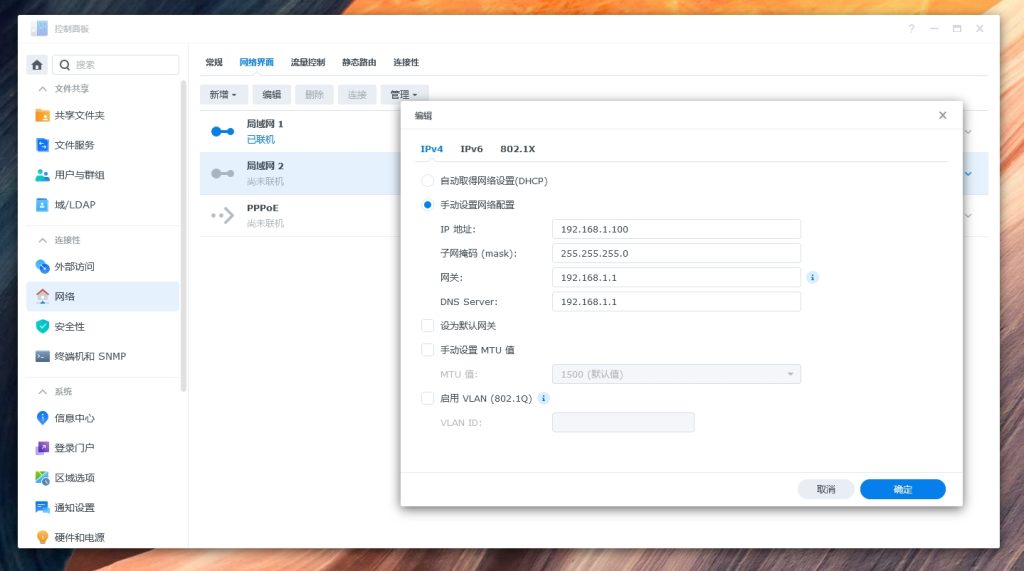
After finding the IP address, in order to avoid IP changes every time the device is restarted, you can set a fixed IP for the NAS: