Our Location
304 North Cardinal St.
Dorchester Center, MA 02124


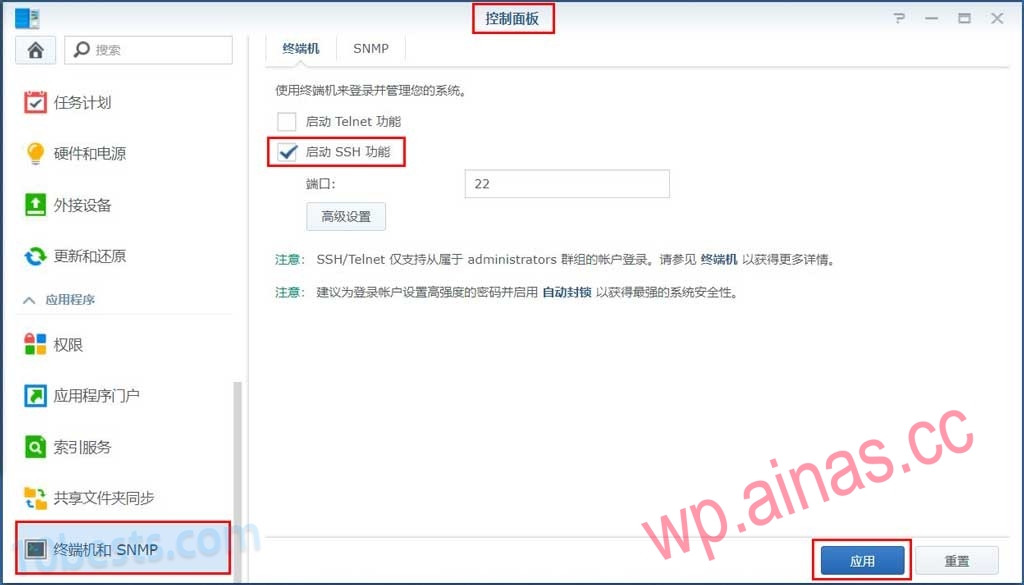
Open the Synology Control Panel > Terminal and SNMP, check “Enable SSH function”, and click Apply.
When you open the control panel for the first time, you need to click “Advanced Mode” in the upper right corner to display “Terminal and SNMP”.
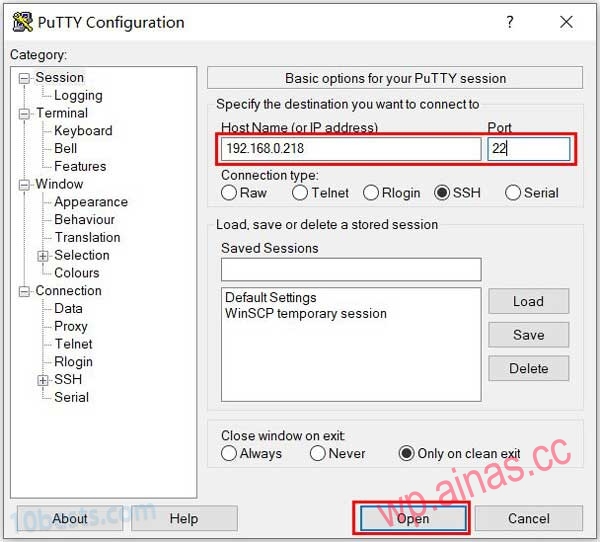
1.Openputtysoftware, enter the Synology intranet management IP and SSH port number, and click “OPEN” to establish a connection with Synology.
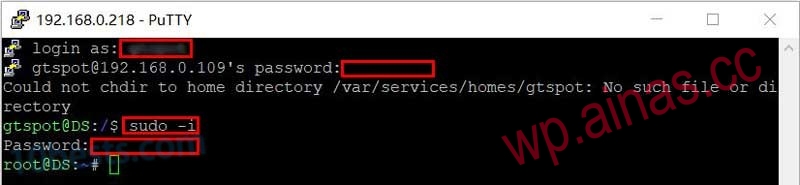
1. Enter the Synology management account and password. The first account created when installing the Synology system is the management account.
2. Elevate the privilege management account to obtain root privileges.
sudo -iAfter pressing Enter, you will be prompted to enter the password. Enter the password of the current login account again and press Enter. After the privilege escalation is successful, it will become“root@XX:~#”.
1. Create a temporary directory in the “/tmp” directory with the directory name “boot”:
mkdir -p /tmp/boot2. Switch to the “/dev” directory:
cd /dev3. Mount the “synoboot1” partition to the “/tmp/boot” directory:
mount -t vfat synoboot1 /tmp/boot/After completion, enter “ls /tmp/boot/” and you can see that there are folders or files such as “bootbzImage, EFI, grub.cfg, info.txt” in the “boot” directory (different boot versions have different folder and file names, but there must be a grub folder), indicating that the mounting is successful.
4. If it is displayed after entering the command Can enter commands
cd /dev
ls sd*
Change to the following content (Don’t copy! Don’t copy! Don’t copy! Replace the underlined areas in the picture below with the names obtained in step 4, and try them one by one. One of them will always be correct. For example, this machine should use sdn3)
mount -t vfat sdn3 /tmp/boot/5. Modify SN and MAC1. Enter the following command to open the “grub.cfg” file.
vi /tmp/boot/grub/grub.cfg2. Press the direction keys on the keyboard and move the cursor to the place to be modified. At this time, it is still in command mode. Press the “i” key (lowercase state) on the keyboard to enter the document editing mode and enter the new SN and MAC value.
If there are multiple network cards, add mac2, mac3, mac4, etc. in sequence, with each mac address on a new line.

3. Press the “Esc” key on the keyboard to return to command mode and enter“:wq”Save and exit. If the modifications are messed up, you can enter“:q!”Exit without saving.
If you are not worried, you can go in via “vi /tmp/boot/grub/grub.cfg” to see if the modification is successful.
Finally, “reboot” the system and enter the router to see that Synology’s MAC address has changed.
After the whitewashing, Heiqunhui tested the offline transcoding function:

QuickConnect function connection is normal:
