Our Location
304 North Cardinal St.
Dorchester Center, MA 02124


When a Black Synology system is installed on a virtual machine such as ESXI or PVE, a virtual disk is allocated to the Synology virtual machine. It was not planned well at the beginning, and the space for the Synology virtual machine was not very large. As more and more girls were downloaded, the hard disk would not be able to fit in it. However, the host disk still had a lot of space, and I did not want to add a second virtual disk, so I could directly follow this tutorial to expand the capacity.
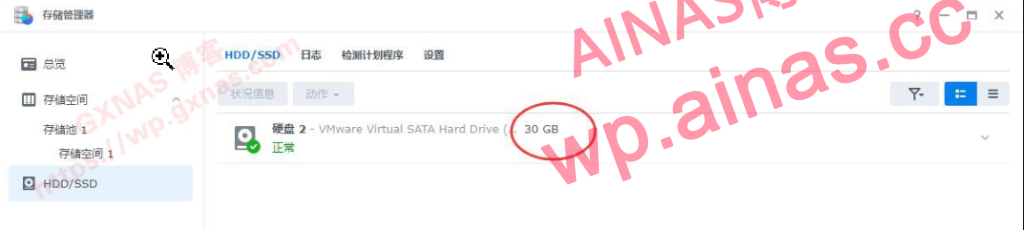
1. Before expanding the capacity, first take a look at the hard disk of my Synology virtual machine, which is 30G;
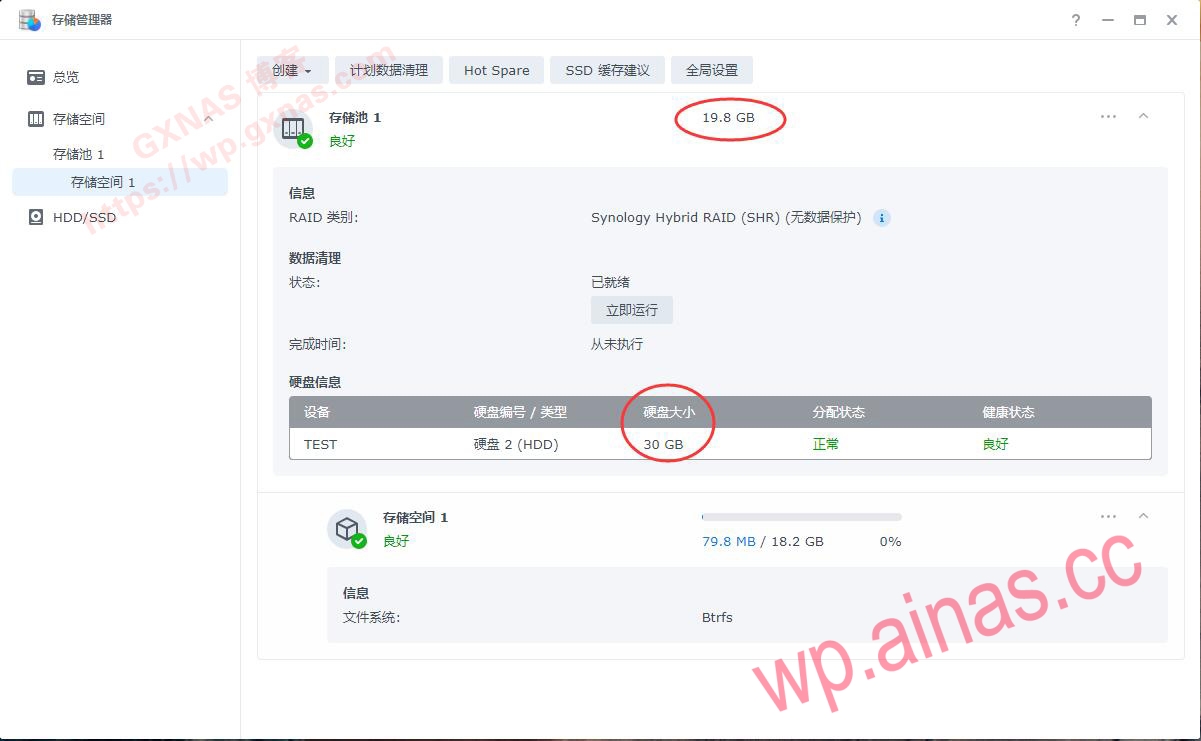
2. The hard disk size is 30G. After installing the Black Synology system with DSM7.
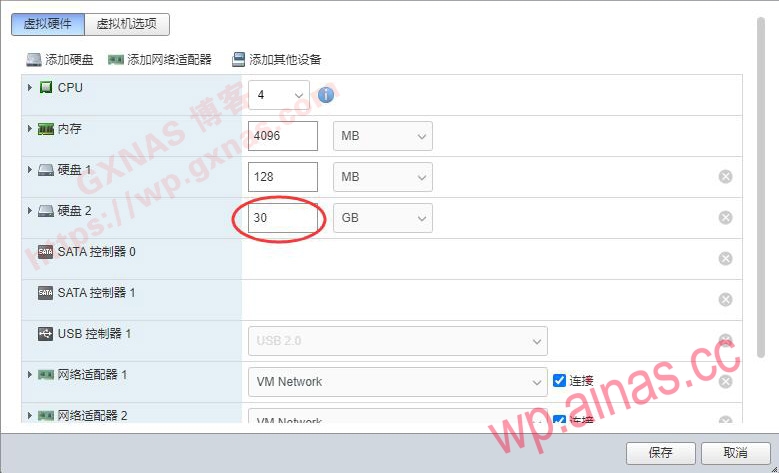
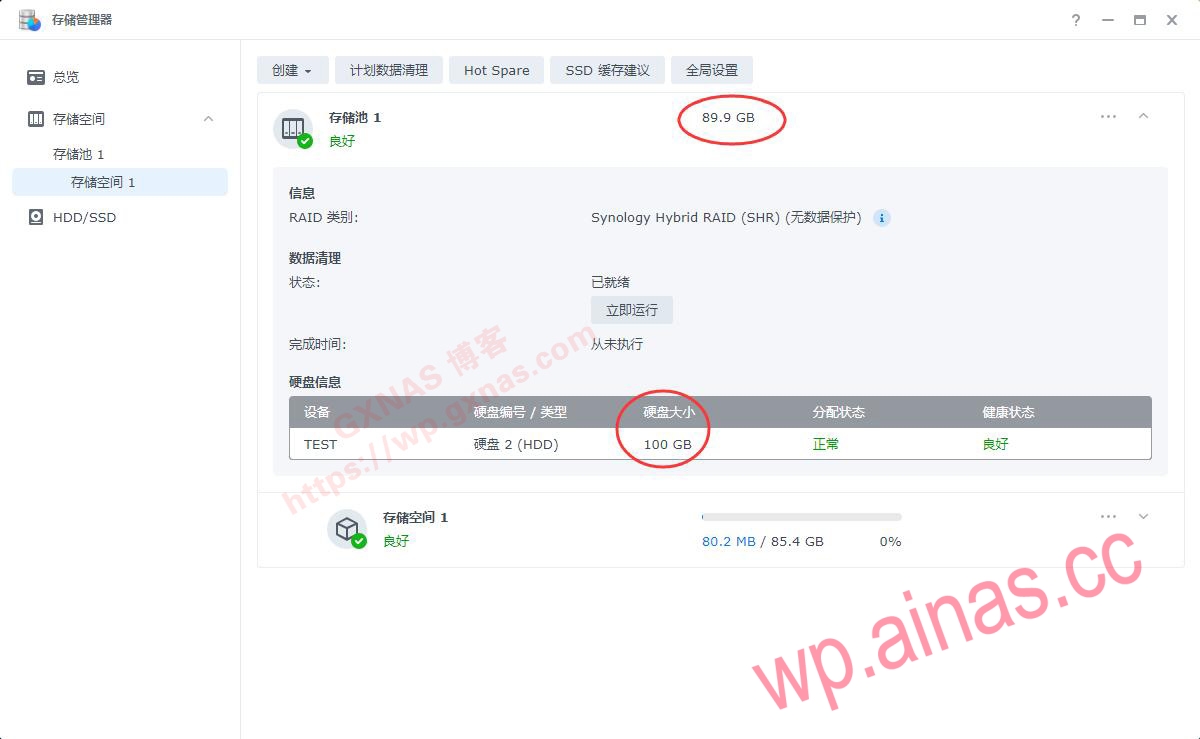
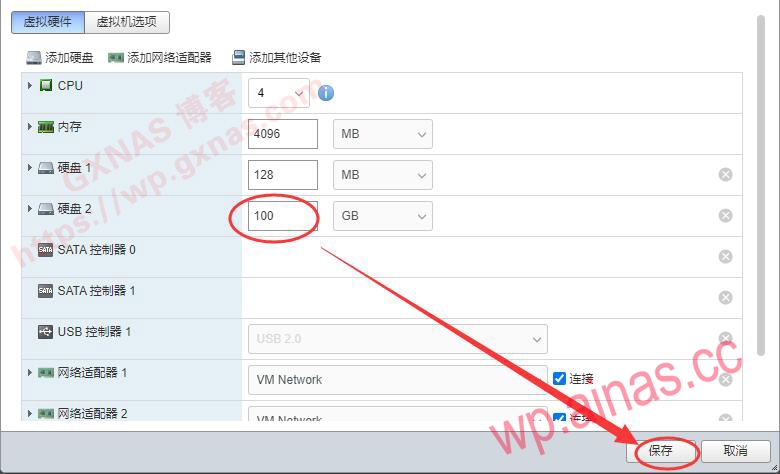
3. Edit the virtual machine hard disk, change it to the capacity you want (I changed it to 100G here), save it, and then boot Synology Virtual;
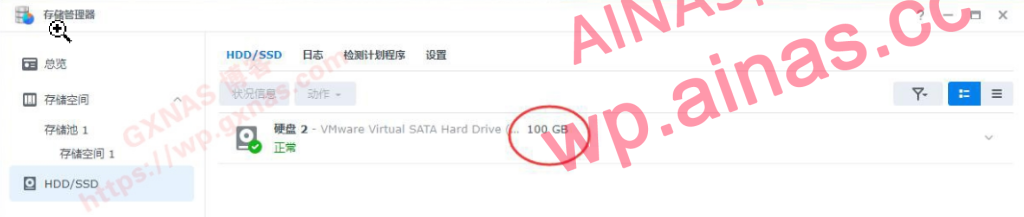
4. After entering the system, first look at the storage manager. The hard disk displayed here for HDD/SSD has changed to 100G;
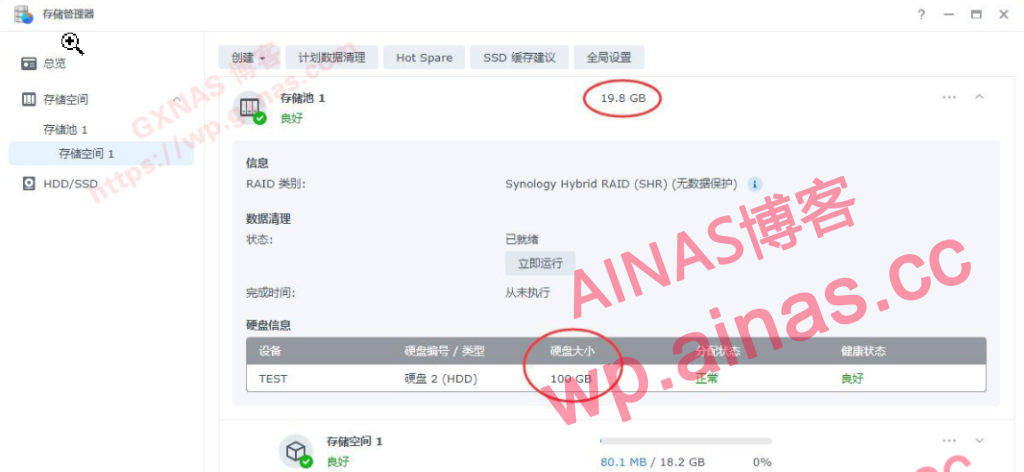
5. Although the hard disk size has become 100G, the storage space still shows 19.8G, unchanged.
1. Execute the following command in the terminal. If you don’t know how to enter, please refer to the following tutorial.:Tutorial address
ls /dev/sd*
ls /dev/nvme*
ls /dev/sata*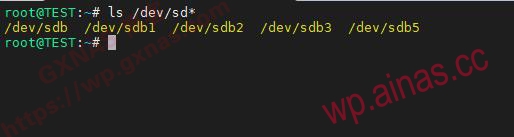
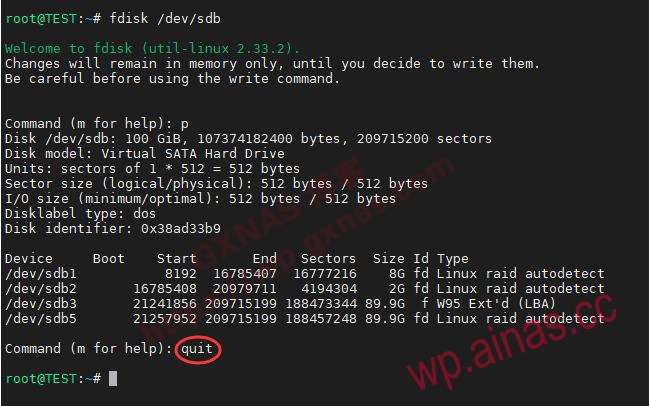
2. My Synology only has one storage hard drive. The name of this storage hard drive is /dev/sdb (if yours is not this name, please modify the following command yourself). There are also 4 partitions: /dev/sdb1, /dev/sdb2, /dev/sdb3 and /dev/sdb5. Enter the command.
fdisk /dev/sdbPress Enter and enter again
pPress Enter to check the status of each partition:
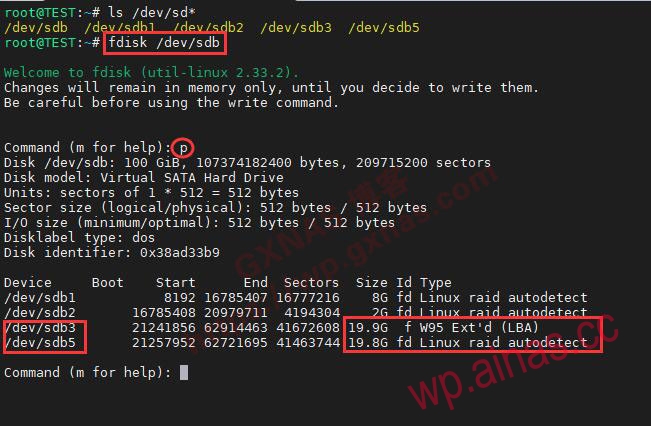
3. You can see that /dev/sdb5 shows 19.8G, which is the storage hard disk. Enter
quit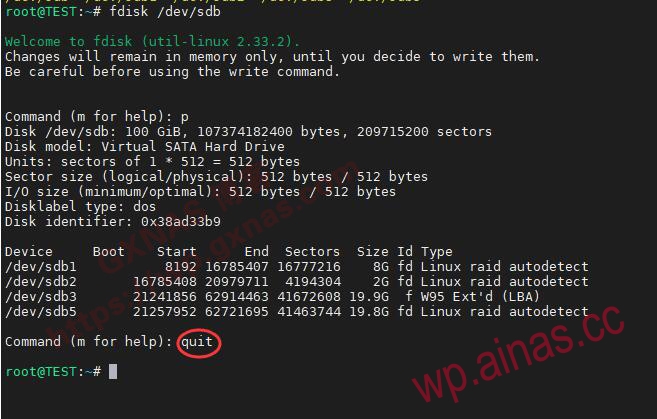
Press Enter to exit viewing;
4. Enter the command to expand the storage pool (3 in the command corresponds to /dev/sdb3):
parted /dev/sdb resizepart 3 100%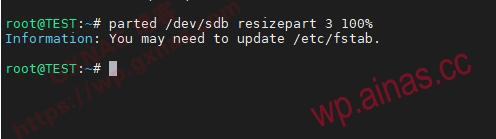
5. Enter the command to expand the storage space (5 in the command corresponds to /dev/sdb5):
parted /dev/sdb resizepart 5 100%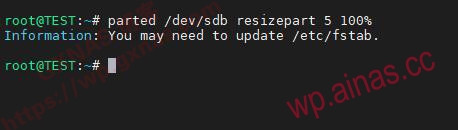
6. Enter the command again
fdisk /dev/sdbPress Enter and then enter
p
Press Enter and check the status of each partition. You can see that /dev/sdb3 and /dev/sdb5 have been expanded:
7. InputquitPress Enter, exit viewing, and close the SSH tool;
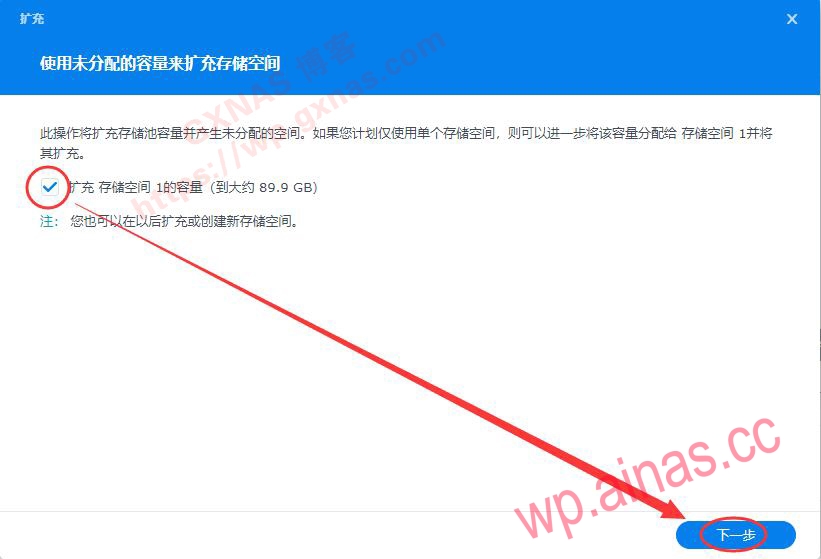
1. Go back to Synology’s Storage Manager, select Storage Space 1, and you will see the system prompt “Unused hard disk space detected, please click Expand Now to expand this storage pool”, and click the blue “Expand Now”;

2. Check “Expand the capacity of storage space 1” and click the next step;
3. Click Apply;
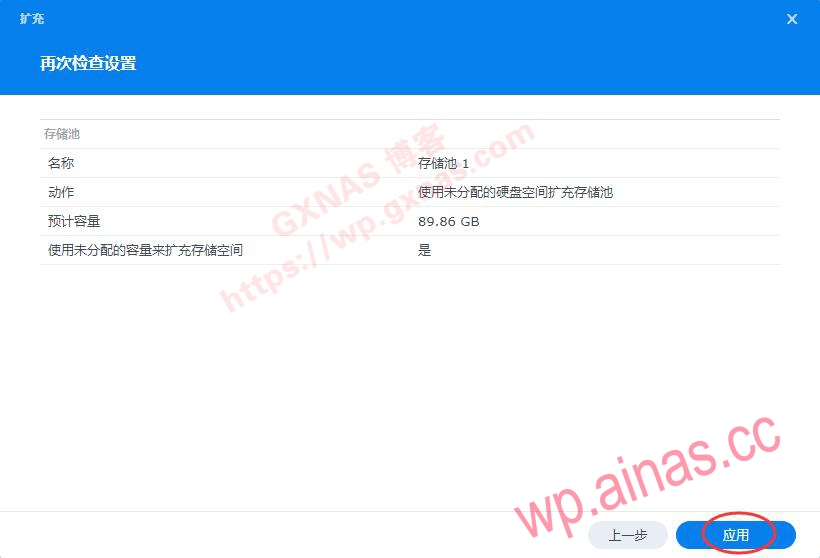
4. After a while, it was expanded, and the storage pool changed from 19.8G to 89.9G;