Our Location
304 North Cardinal St.
Dorchester Center, MA 02124


1. Download firstch_cpuinfo patch package, pay attention to the version number
2. Upload ch_cpuinfo (ch_cpuinfo_dsm7 for DSM7) to the NAS shared folder. Here I randomly selected the docker folder under volume1.
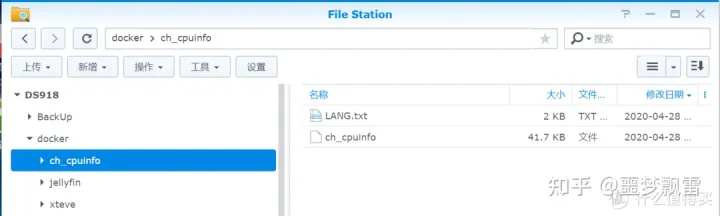
Just find a shared folder and upload it yourself
3. Open the Synology “Control Panel” – “Terminal and SNMP” and turn on the telnet and SSH functions.
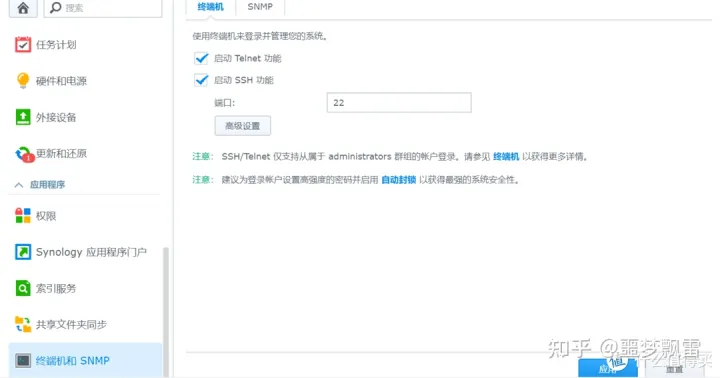
Open temporarily. Remember to turn off the terminal login function after the operation.
4. Use putty to log in to Synology, and use the sudo -i command to obtain root permissions. Note that the content will not be displayed when entering the password here. Just press Enter after entering the password.
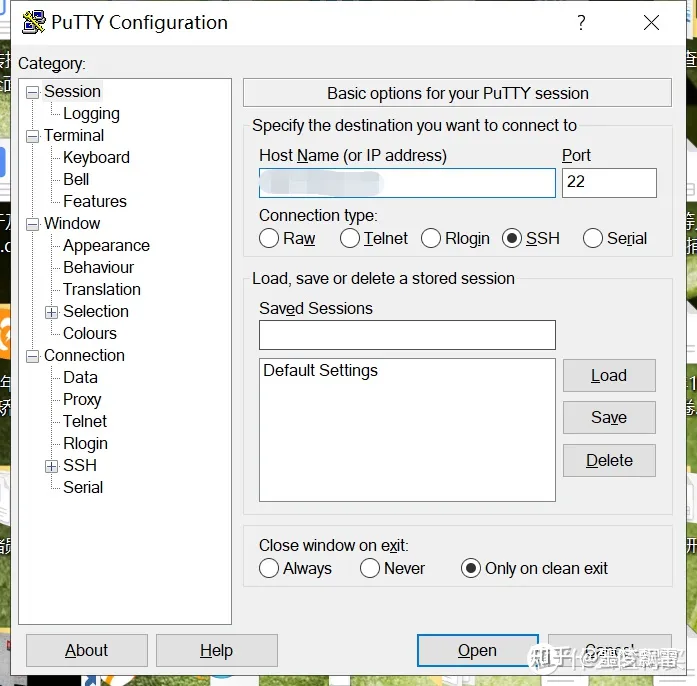
Fill in the Synology IP in the mosaic field and leave the port number unchanged.
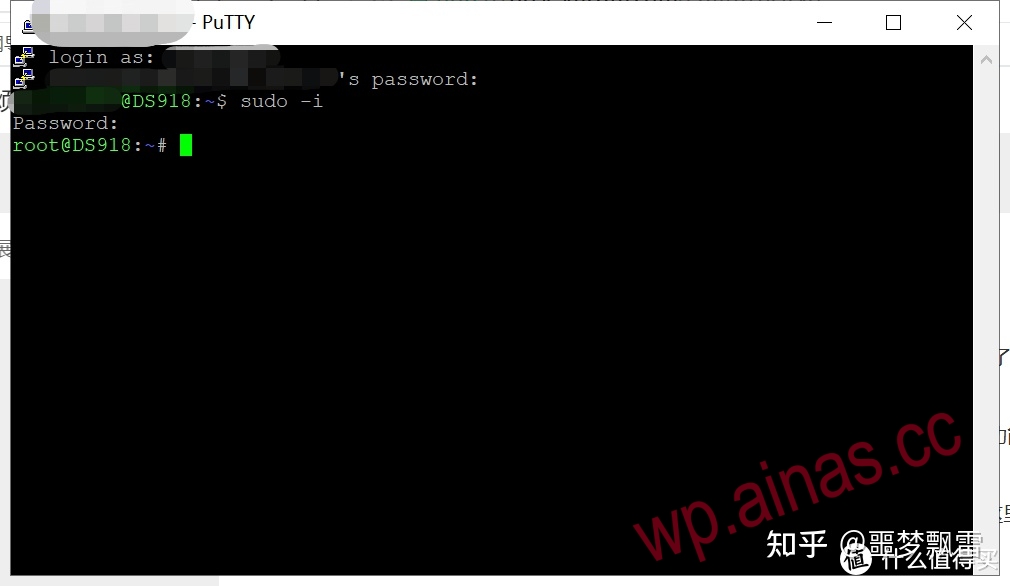
Log in to Synology
5. Enter the following two lines of commands in sequence (the first command is entered according to your own situation, if it is storage space 1, it is volume1):
cd /volume1/docker/ch_cpuinfo./ch_cpuinfoor
./ch_cpuinfo_dsm7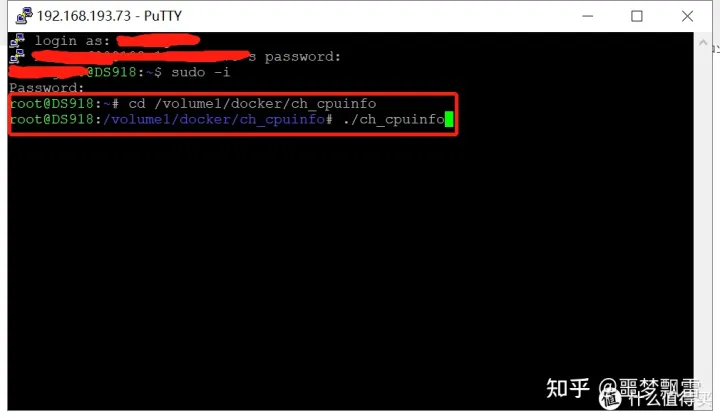
Then press Enter to run the patch.
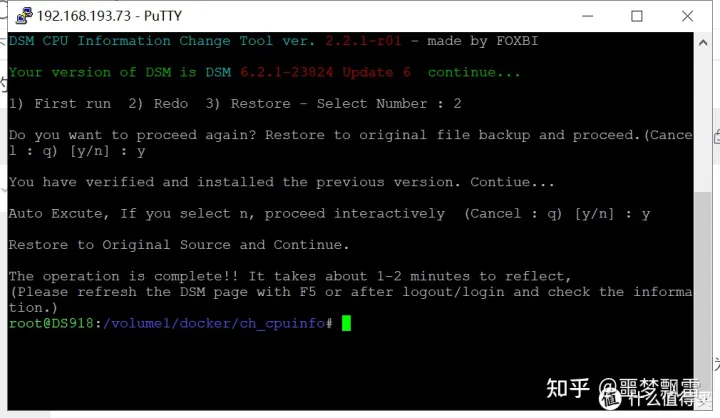
6. Select 1 to run, 2 to re-patch, and 3 to restore.
Here, friends, just press “1” and then press “y”.
Because I installed it once during the test, I can only choose “2”. But the results are the same.
The message “The operation is complete!!” appears, indicating that the modification has been successful. Next, you only need to close the SSH tool, log out as the current Synology login user, and log in again to display the actual hardware information.
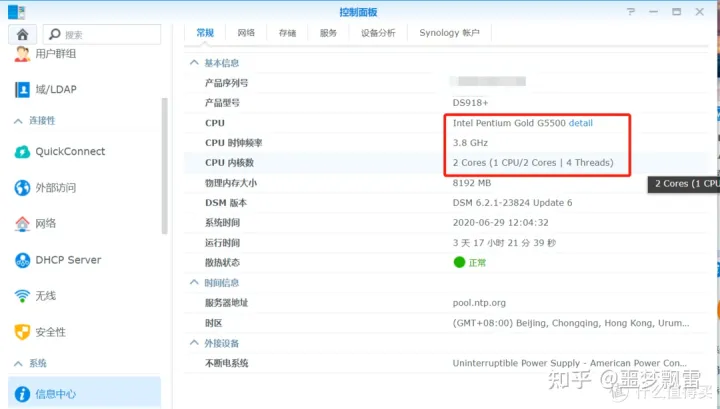
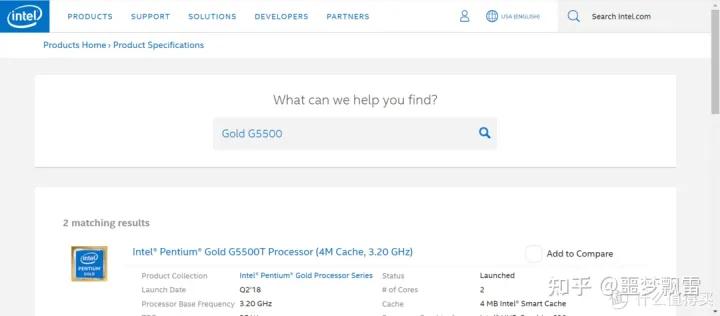
Real CPU information can be displayed correctly.
Click the detail link after the CPU information and you can also jump tointelAn introduction page to this CPU.