Our Location
304 North Cardinal St.
Dorchester Center, MA 02124

For external network disk mapping, we need to use the software Rai Drive (the free version is enough) to map the external network disk. Of course, in addition to software, there are three
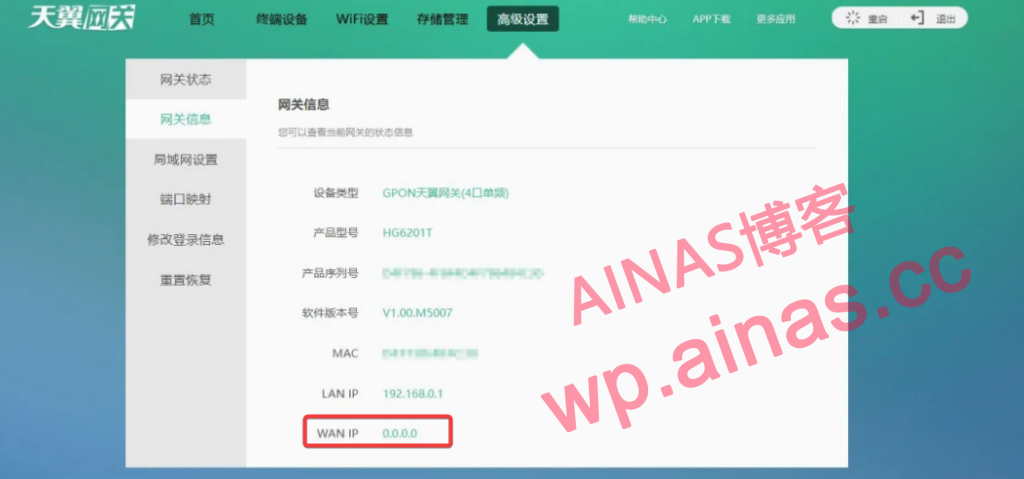
1. A public IP is required
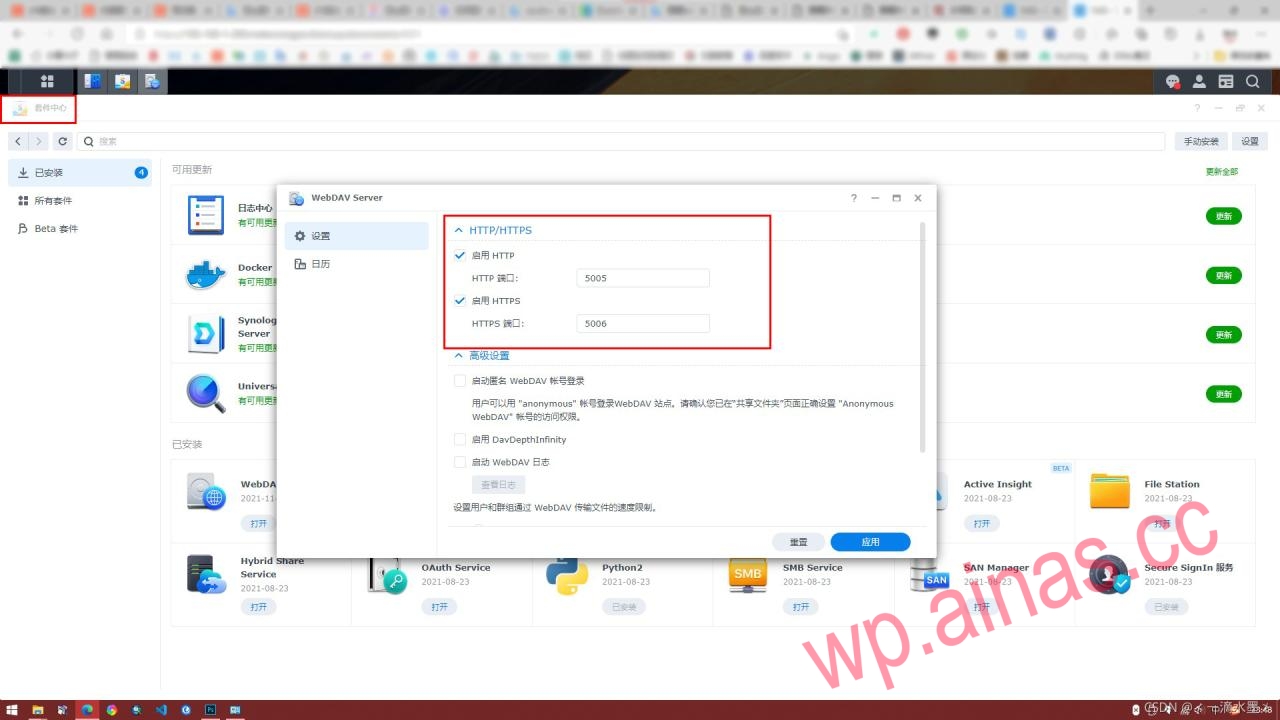
2. Synology NAS needs to enable WebDAV Server
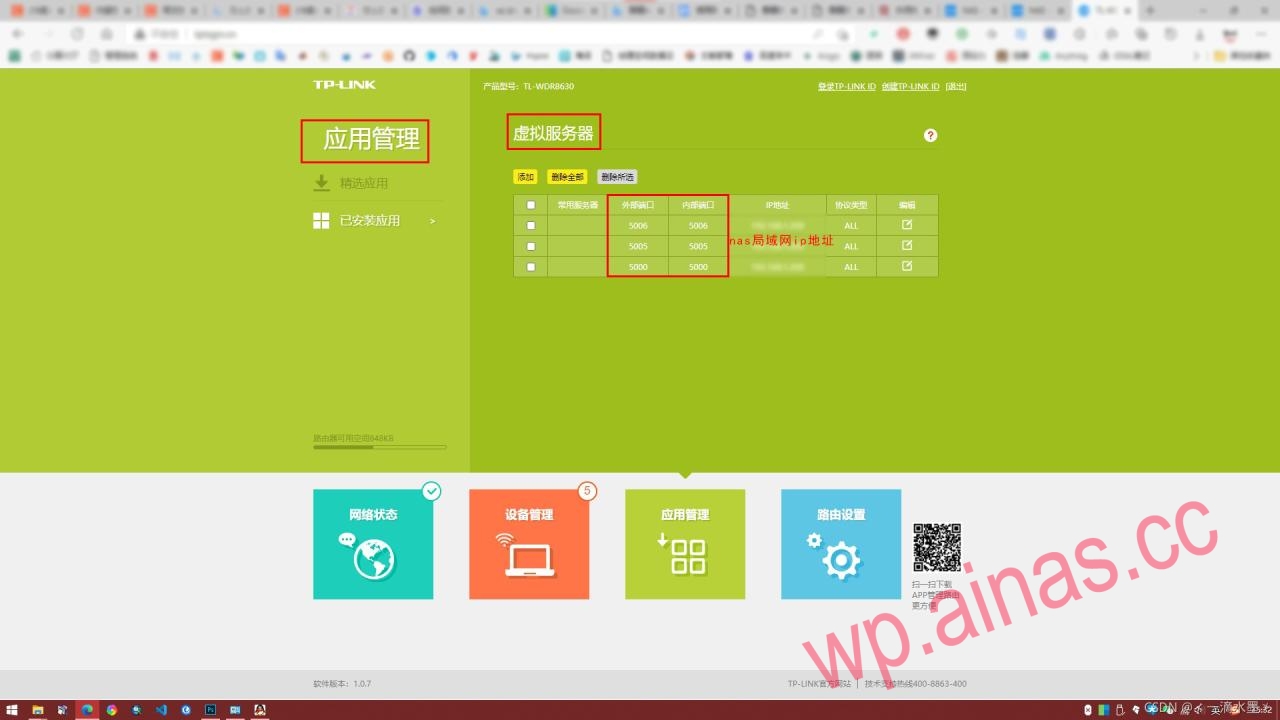
3. Router port forwarding
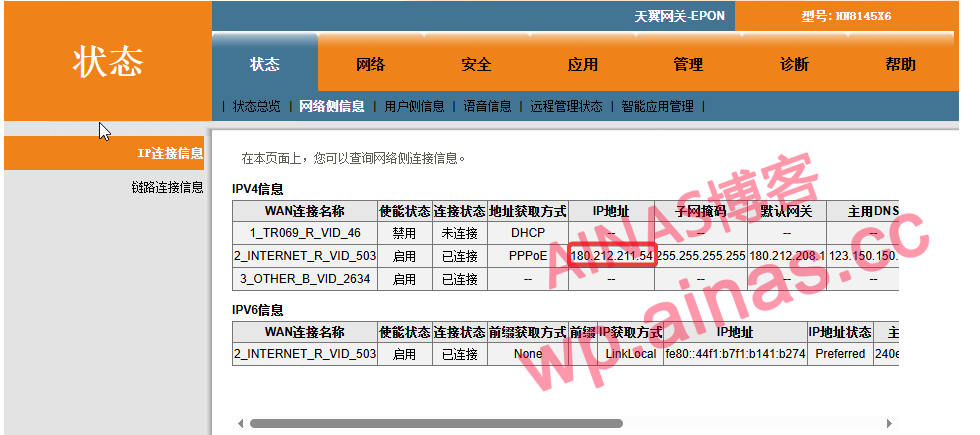
1. If it is dial-up via optical modem, log in to the optical modem backend to view the wan port IP of optical modem.

2. If it is a router dialing, check the router wan port ip
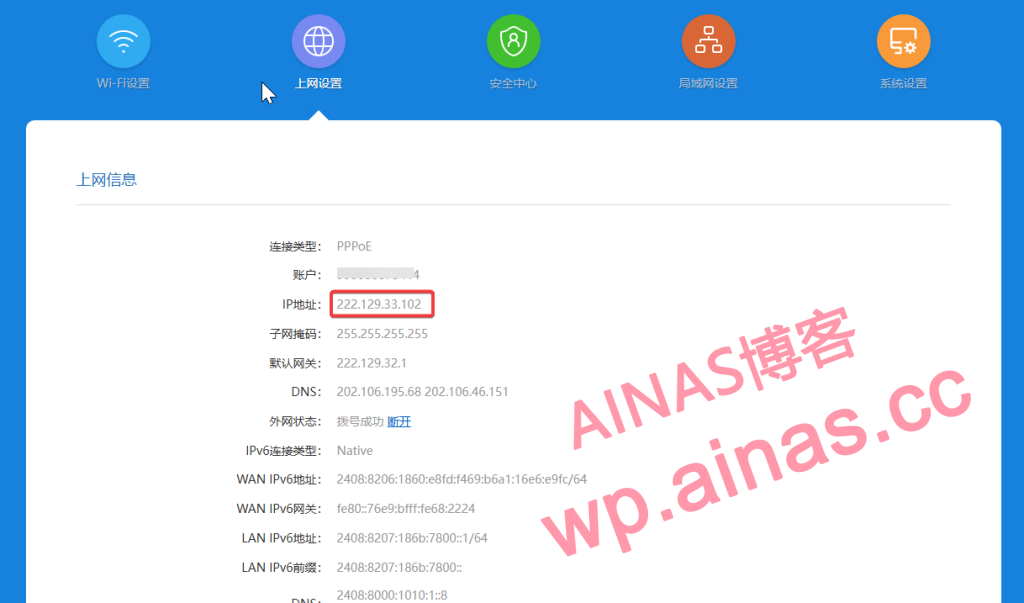
3. If the IP address does not start with 192, 100, 10, or 172, congratulations, you have obtained the public IP.
Install WebDAV Server in Synology NAS Package Center.
After entering the router management interface, set it in the virtual server application in the application management.
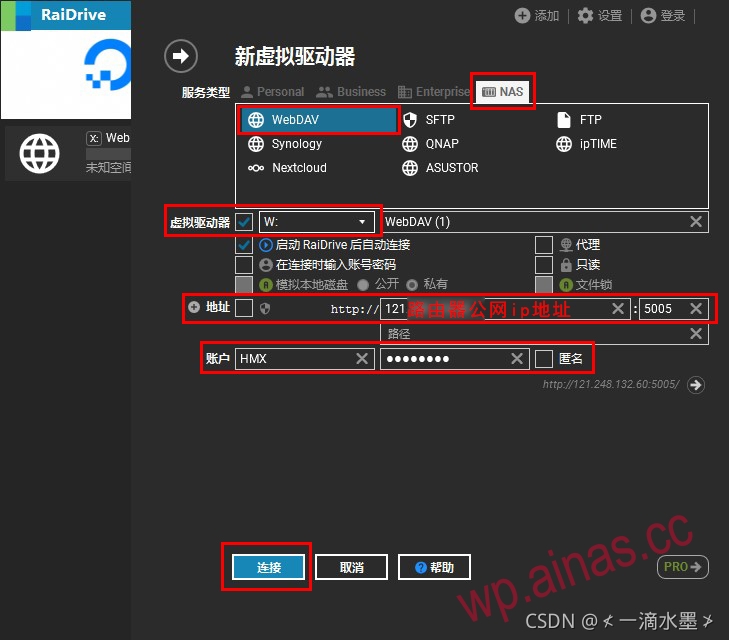
1. Install Raidrive client:Download address
2. After the installation is completed, fill in the configuration as follows. If you have done DDNS, you can directly enter the domain name in the address bar.
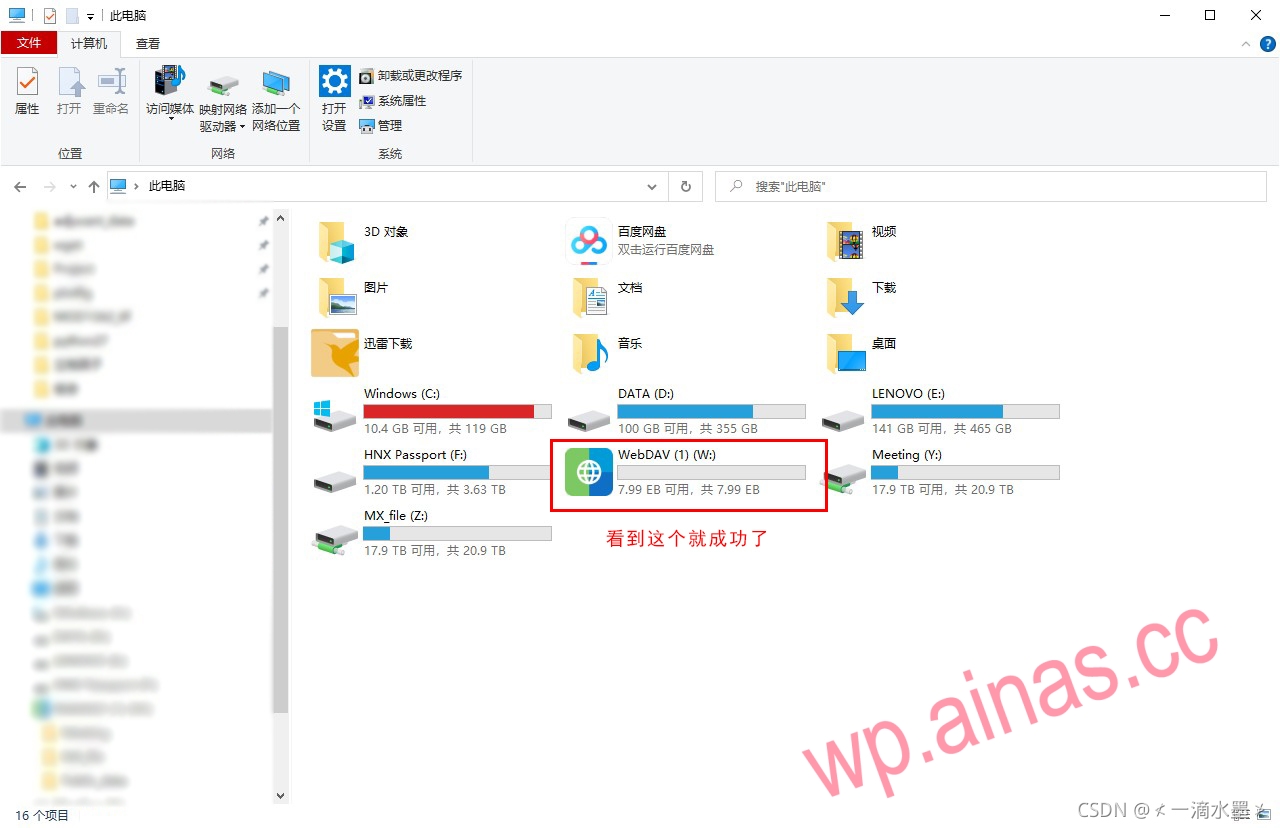
2. After the configuration is successful, one more disk will appear, as shown in the figure
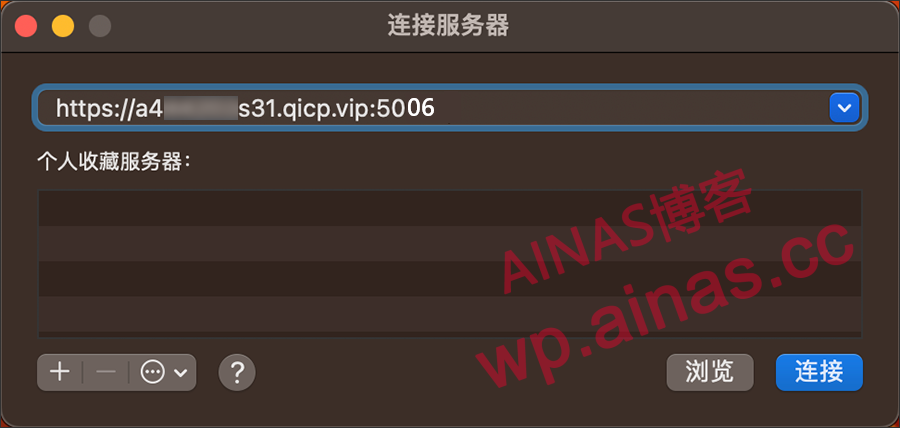
1. Click [Go]->[Connect to Server] and fill in the public IP or domain name and port number of Synology WebDAV service.

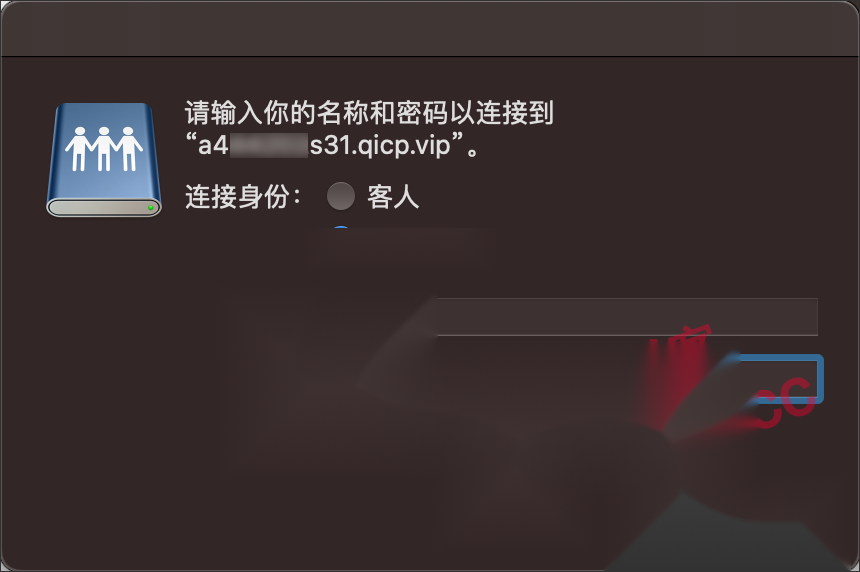
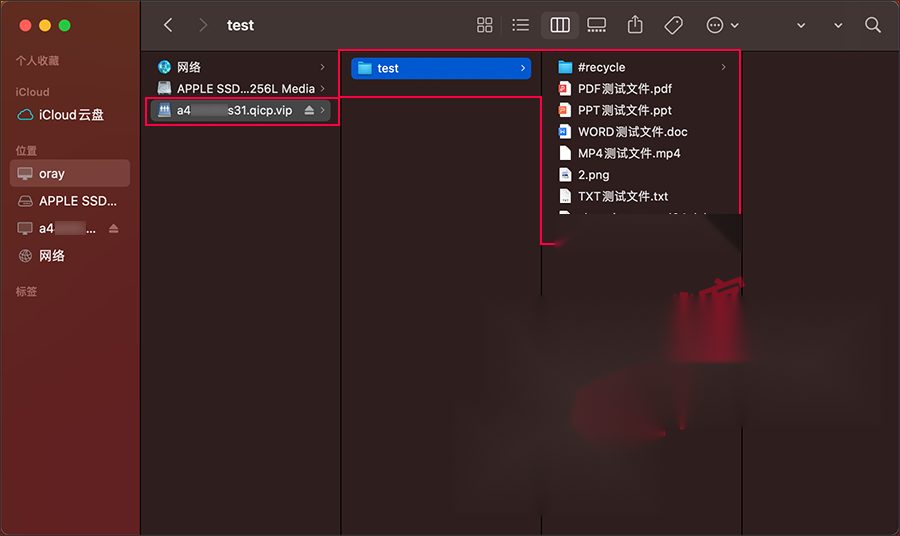
2. Fill in the account information that can access the Synology shared folder, and then click “Connect” to generate a mounting disk. Click to access the Synology NAS files.