Our Location
304 North Cardinal St.
Dorchester Center, MA 02124


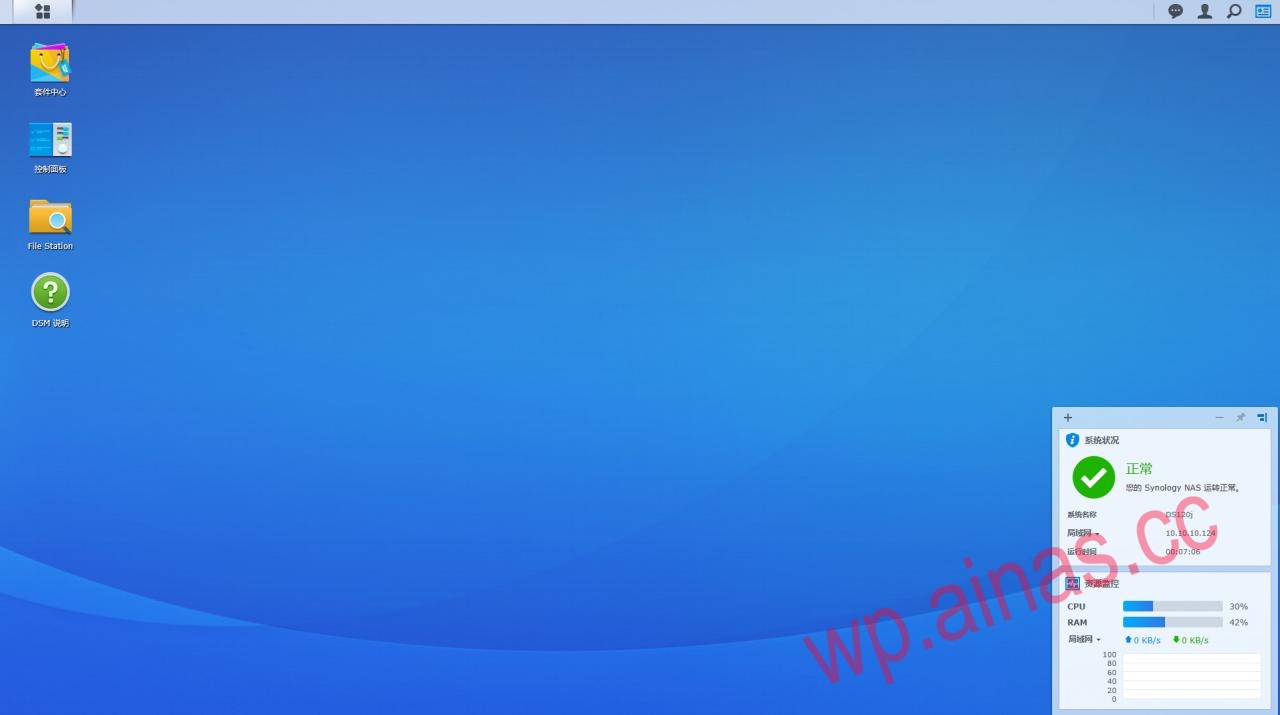
1. First log in to Synology, open the shared folder in the control panel and add a new folder name 123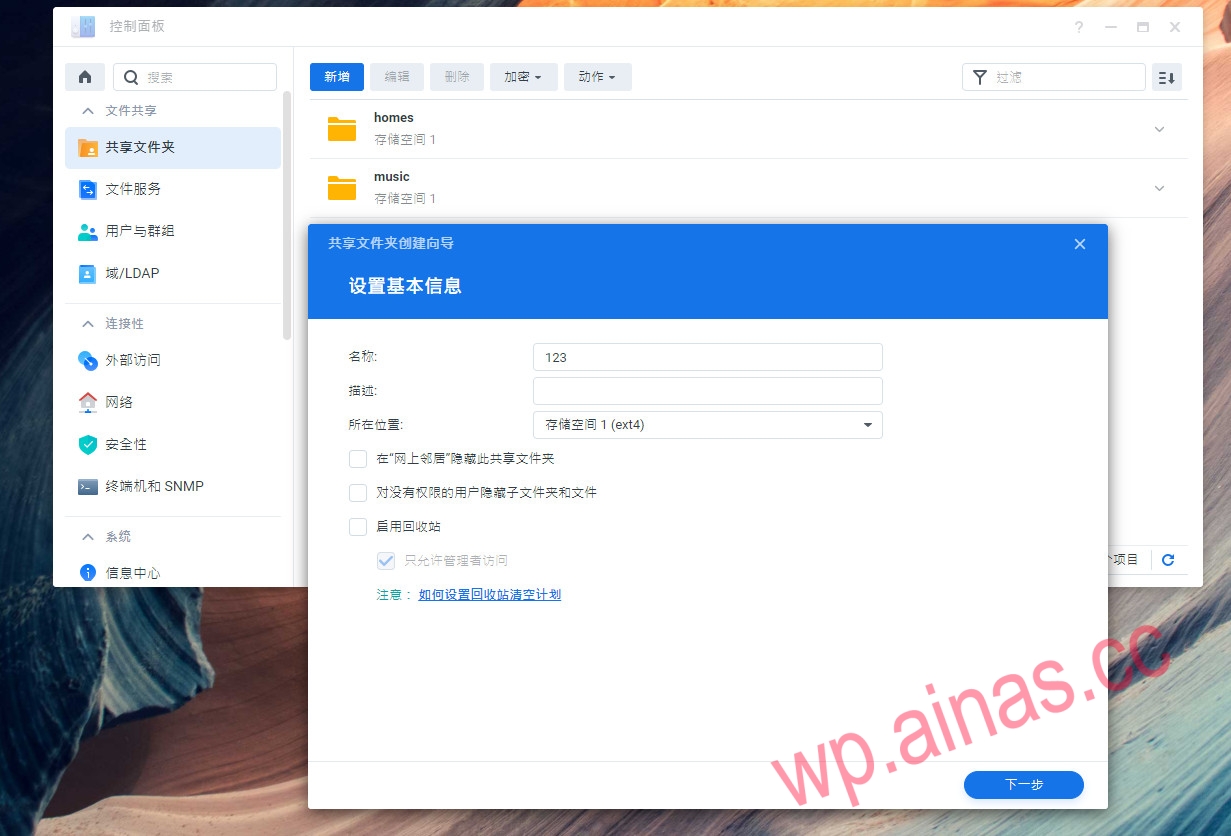 2. Then put the boot into it and download the DS119j and DS120j boots:https://www.lanzoux.com/iEpilh80griPay attention to distinguish whether yours is 119j or 120j
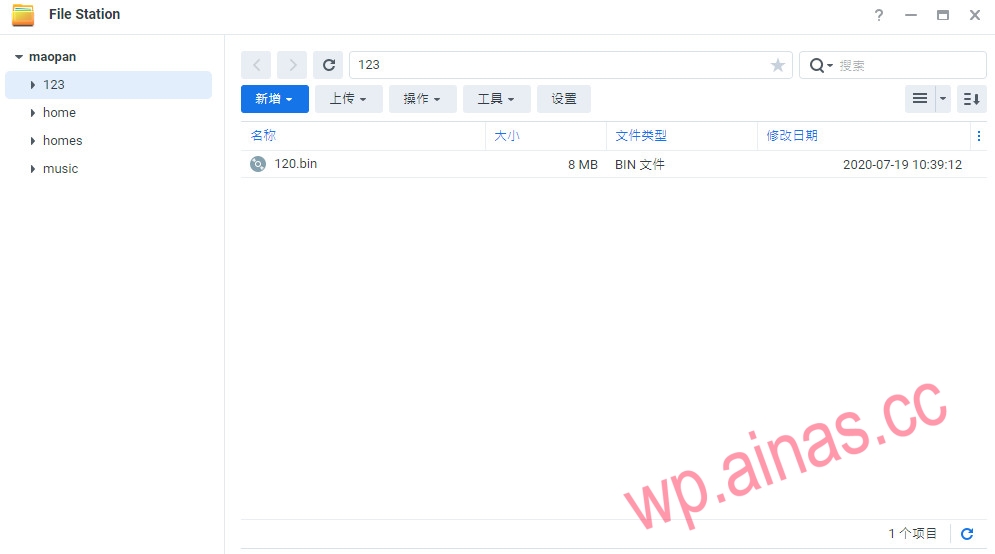 3. Turn on the SSH function in the control panel
 4. Open SSH tools such as Xshell or putty to connect to the cat disk
After logging in, enter the sudo -i command, then enter the password to switch root permissions 5. Run these four commands in sequence. If it is booted by 119j, change 120.bin to 119.bin. The first two are slower, please wait patiently.
dd if=120.bin of=/dev/mtdblock0 bs=1 skip=0 count=$((0x000d5000))dd if=120.bin of=/dev/mtdblock1 bs=1 skip=$((0x000d5000)) count=$((0x00306000))dd if=120.bin of=/dev/mtdblock2 bs=1 skip=$((0x003db000)) count=$((0x00410000))dd if=120.bin of=/dev/mtdblock3 bs=1 skip=$((0x007eb000)) count=$((0x00010000))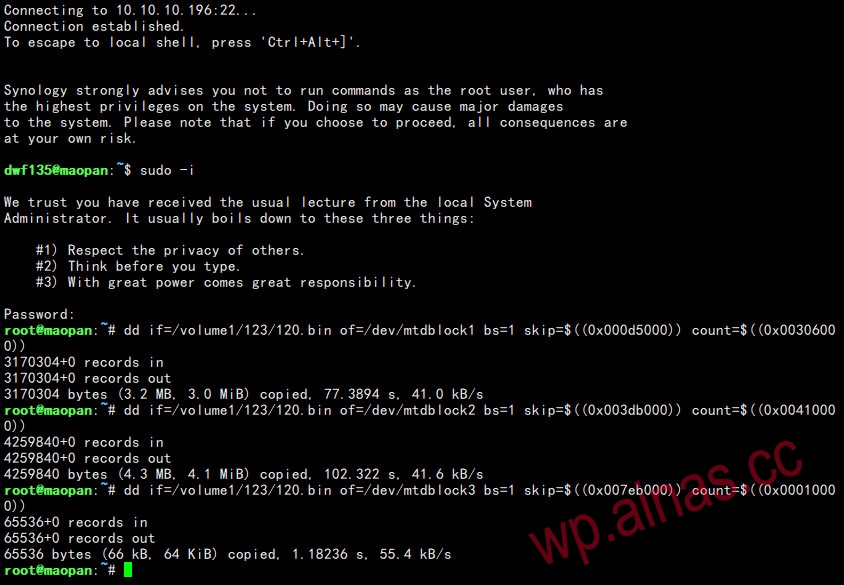 6. Turn off the power and format the hard drive.
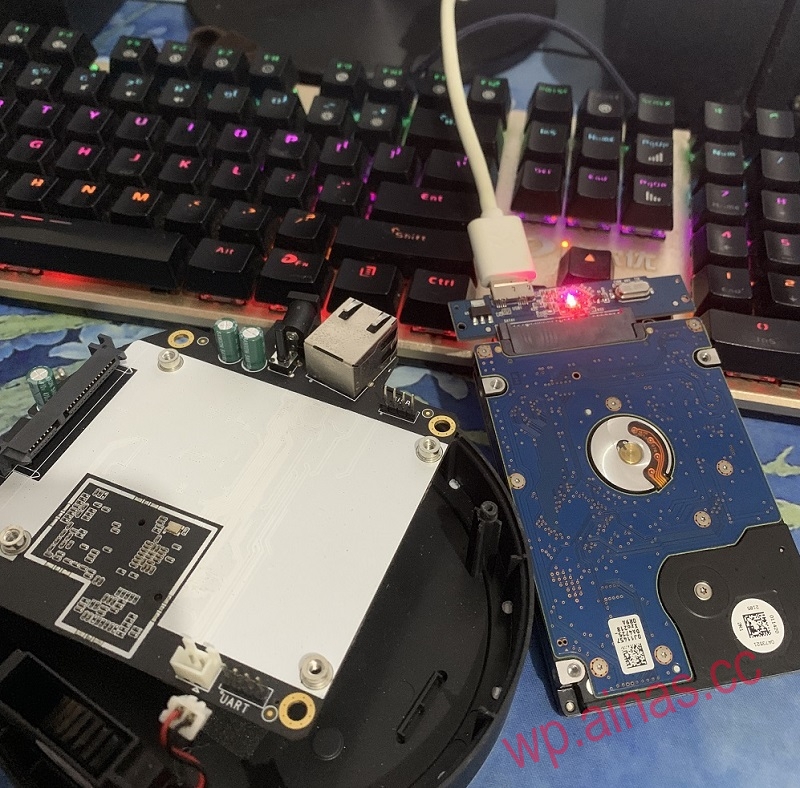 7. After formatting, turn on the computer and open the IP address settings.
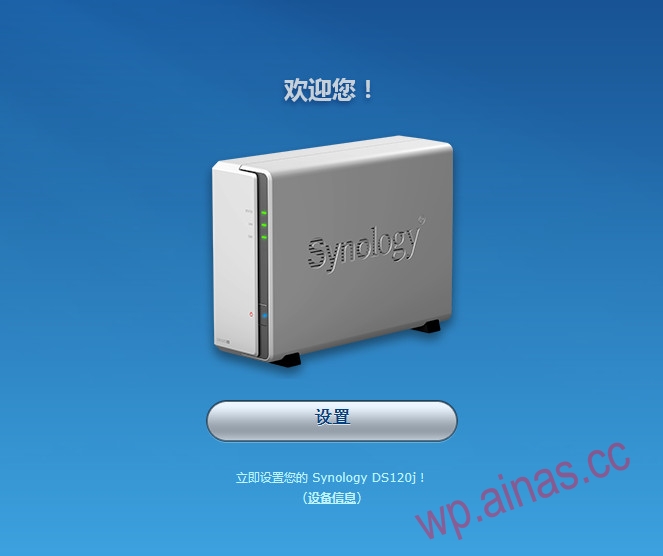
https://cndl.synology.cn/download/DSM/release/6.2.3/25426/DSM_DS120j_25426.pat
https://cndl.synology.cn/download/DSM/release/6.2.3/25426/DSM_DS119j_25426.pat 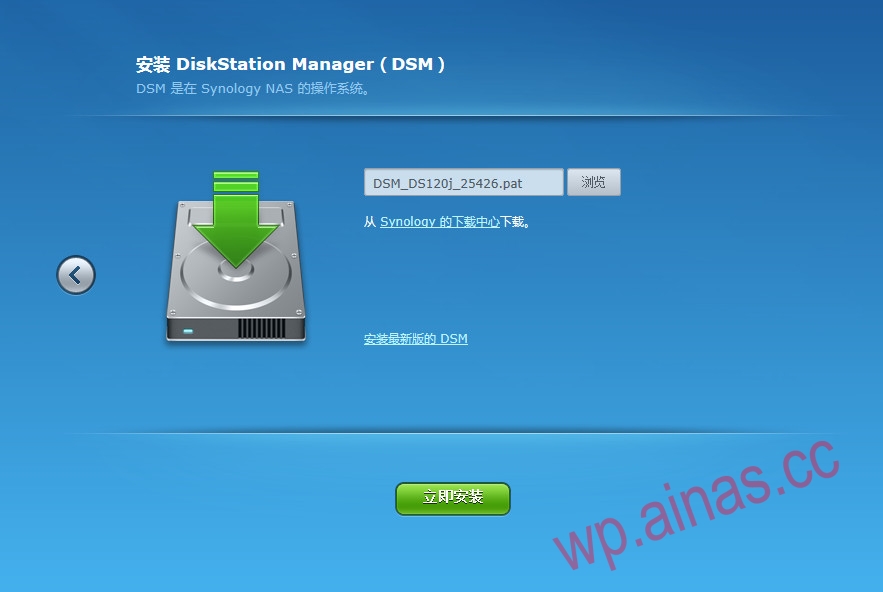
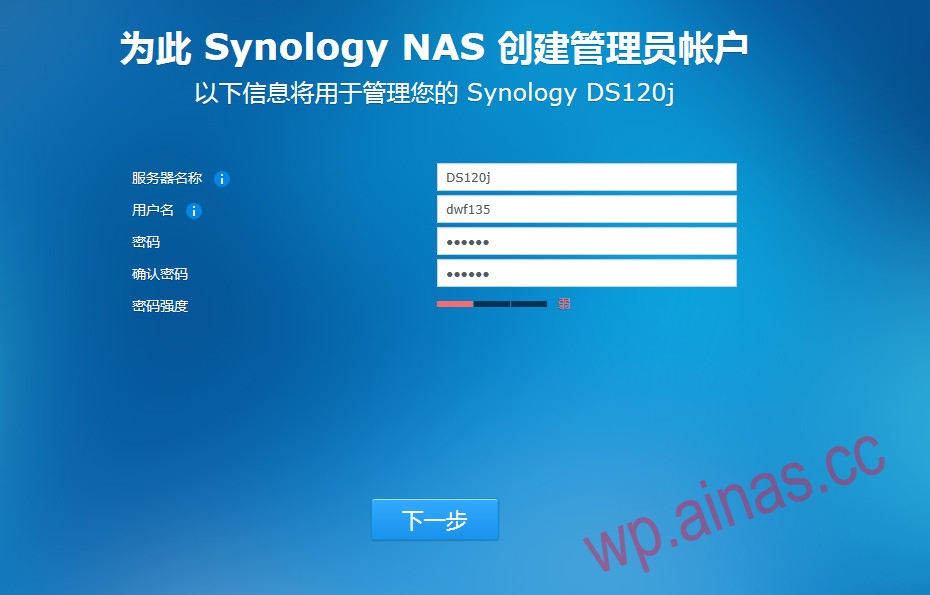 8. Downgrade completed, familiar interface