The specific steps are as follows:
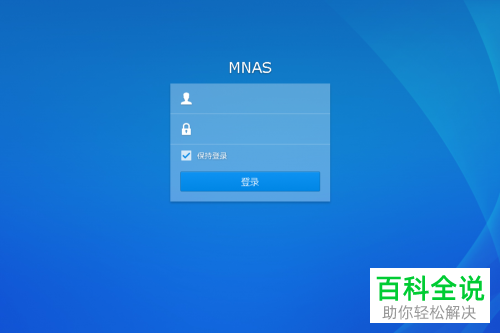
1. Open the Synology management interface, and the login module as shown below will appear. Enter the account and password information to log in.
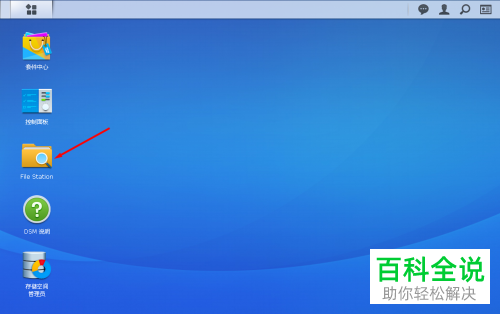
2. After logging in, enter the interface and find the File Station icon on the desktop.
3. Click to open and run File Station
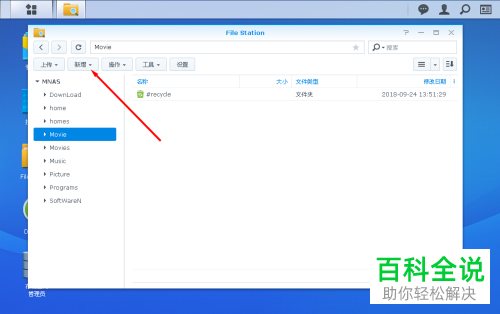
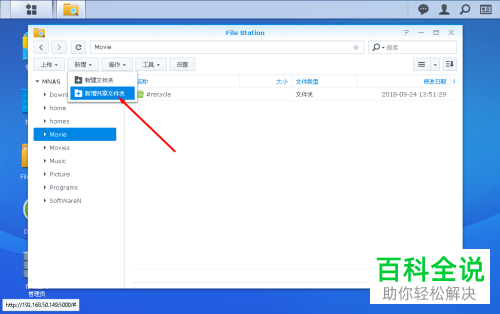
4. After running, find the “Add” button in the menu list at the top of the opened interface.
5. Click the Select New button, and the extension drop-down menu will pop up. Select New Shared Folder.
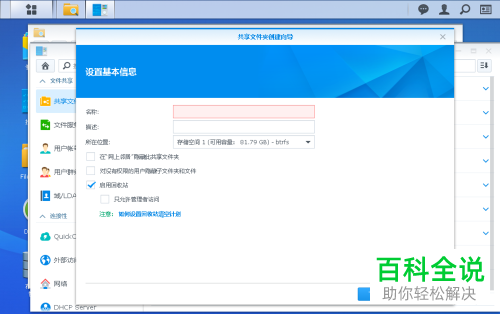
6. Open the shared folder creation wizard and select the option “Enable”, as shown in the figure below
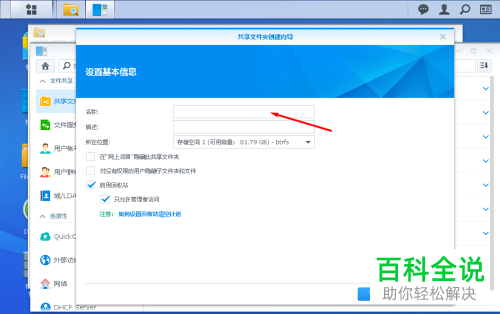
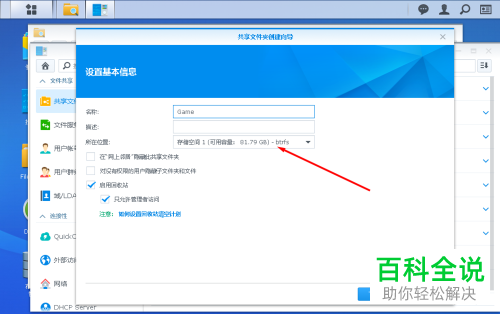
7. Fill in the name and description of the folder where you want to create the settings
8. Then select the specific location where the folder is to be created, i.e. on which disk.
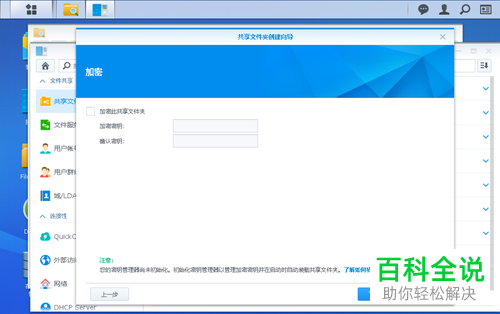
9. Then set whether to encrypt the shared folder and the key that needs to be encrypted
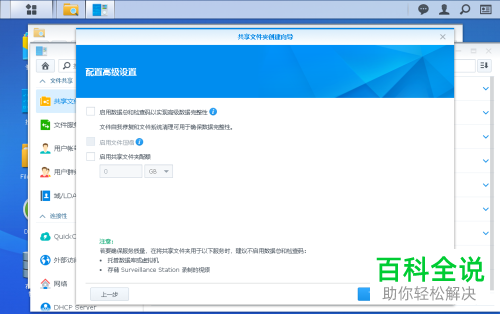
10. Configure advanced settings to set whether to enable data protection and other operations
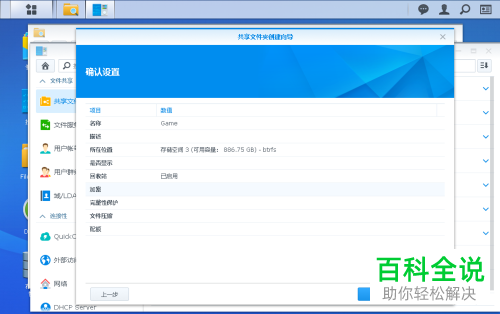
11. Confirm the settings, click Apply, and complete the final operation.
Previous Post
How to correctly create storage pools and storage spaces on Synology NAS storage
Next Post
Unraid installation DSM Black Group Hui 7.x tutorial
Newsletter Updates
Enter your email address below and subscribe to our newsletter