Our Location
304 North Cardinal St.
Dorchester Center, MA 02124


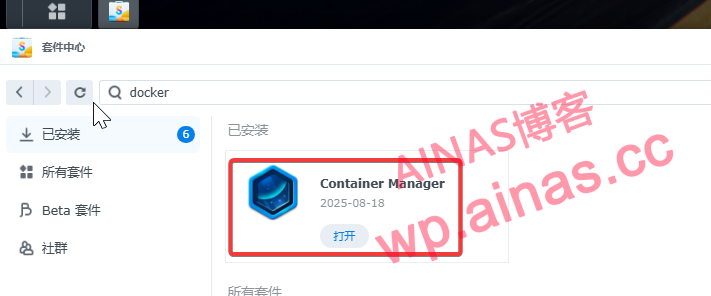
1. First, Synology needs to install the docker package. If it is not installed, please install docker in the package center.
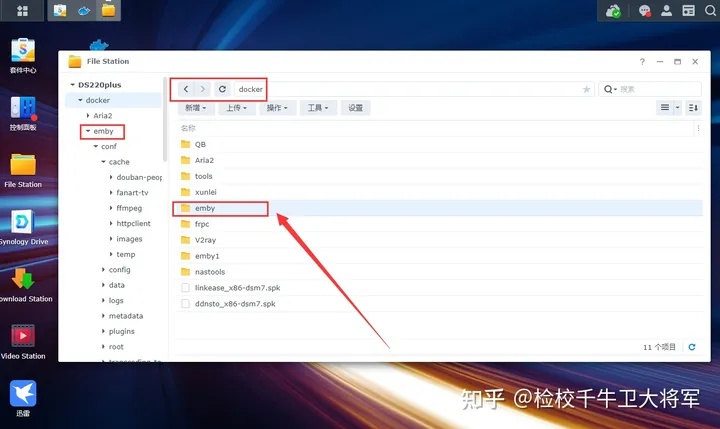
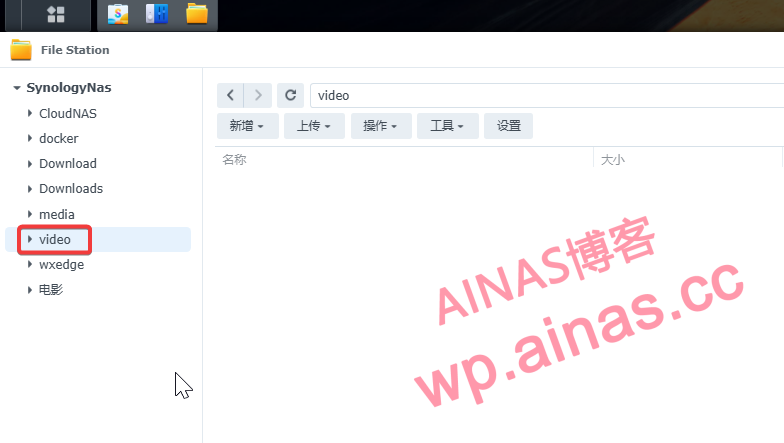
2. After installing docker, a docker directory will be automatically generated in the file station. Please create an emby folder in the docker directory to store the emby configuration.
3. Grant everyone permission to the Emby folder. This step is very important and must be done.
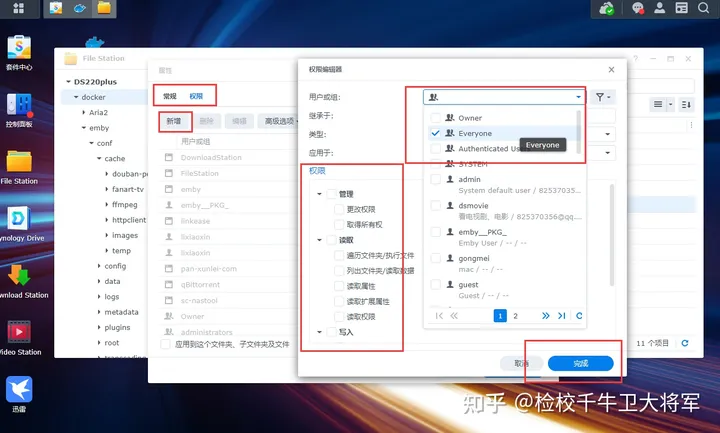
Right-click the emby folder → Properties → Permissions → Add → User Group (Everyone) → Permissions (select all) → Complete
4. Use the same method to create a new video shared folder and set permissions
1. Enable SSH function on Synology NAS
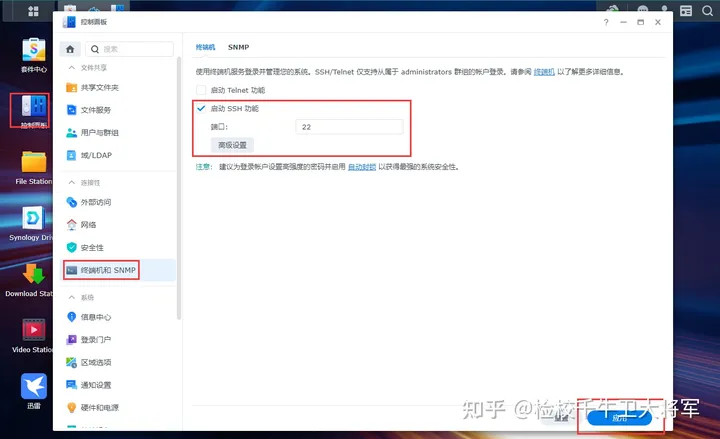
Synology Control Panel→Terminal and SNMP→Check Enable SSH function, and then click Apply.
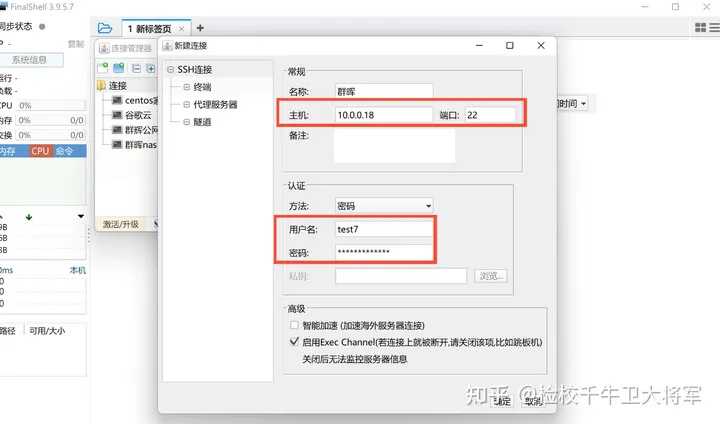
2. Use the SSH terminal tool to log in to Synology
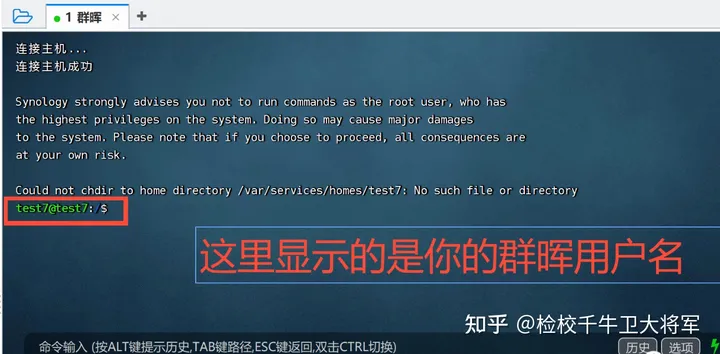
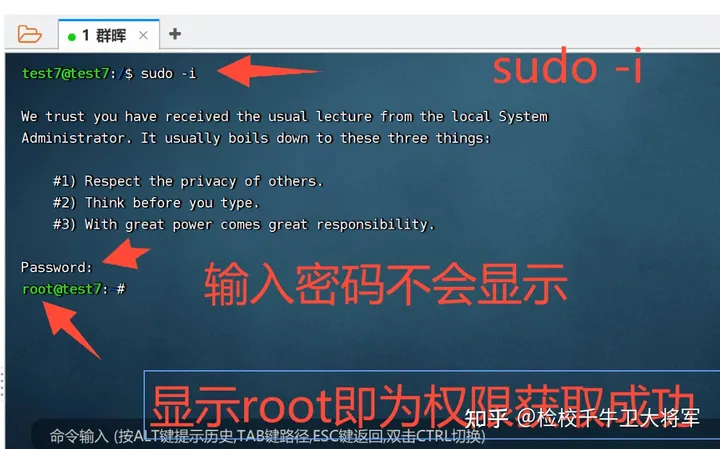
3. After logging in to Synology, the interface is as follows
4. Enter sudo-i, hit Enter, and then enter the password (the password is not displayed) to obtain root permissions.
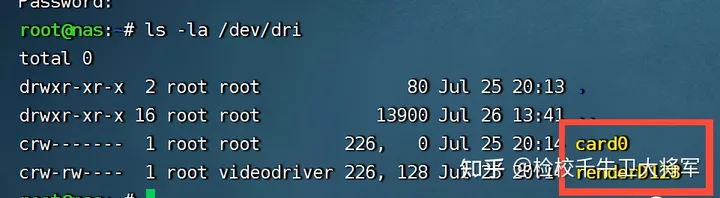
5. Enter the following command to first determine whether Synology has a core display driver. If you use a CPU with a core display for the white skirt, you can ignore this step. For the black skirt, please enter this command to check whether the core display driver is successful.
ls -la /dev/dri6. When the following picture appears, the core display has been successfully driven.
7. Enter the following command to give all users executable permissions for the /dev/dri file.
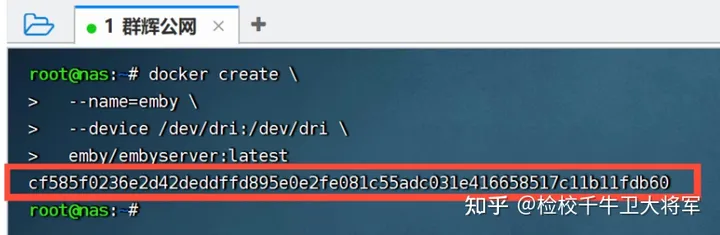
chmod a+x /dev/dri8. Enter the following command to create a container. (The command can be completely copied to mine. Later, we can modify the personalized configuration through the graphical interface.)
docker run -d \
  --name emby \
  --network host \
  --restart always \
  --device /dev/dri:/dev/dri \
  -v /volume1/docker/emby:/config \
  -v /volume1/video:/video \
  -e UID=0 \
  -e GID=0 \
  -e GIDLIST=0 \
  --privileged \
  amilys/embyserver:latest
services:
Emby:
image: amilys/embyserver:latest
container_name: emby
network_mode: host
restart: always
privileged: true
environment:
-UID=0
-GID=0
-GIDLIST=0
# - HTTP_PROXY=http://192.168.31.2:7890
# - ALL_PROXY=http://192.168.31.2:7890
# - NO_PROXY=172.17.0.1,127.0.0.1,localhost
volumes:
- /volume1/docker/emby:/config
- /volume1/video:/video
devices:
-/dev/dri:/dev/driIf you need to call the NVIDIA graphics card driver, you need to use the following command
docker run -itd \
  --name emby \
  --network host \
  --restart always \
  --privileged \
  --runtime=nvidia \
  -e NVIDIA_VISIBLE_DEVICES=all \
  -e NVIDIA_DRIVER_CAPABILITIES=all \
  -v /volume1/docker/emby:/config \
  -v /volume1/video:/video \
  -e UID=0 \
  -e GID=0 \
  -e GIDLIST=0 \
  amilys/embyserver:latest
version: '3.8'
services:
Emby:
image: amilys/embyserver:latest
container_name: emby
network_mode: host
restart: always
privileged: true
runtime: nvidia
environment:
-UID=0
-GID=0
-GIDLIST=0
- NVIDIA_VISIBLE_DEVICES=all
- NVIDIA_DRIVER_CAPABILITIES=all
# - HTTP_PROXY=http://192.168.31.2:7890
# - ALL_PROXY=http://192.168.31.2:7890
# - NO_PROXY=172.17.0.1,127.0.0.1,localhost
volumes:
- /volume1/docker/emby:/config
- /volume1/video:/video9. Click Enter to execute the command. Text similar to what I marked in red appears, which means the command was executed successfully.
10. The SSH side configuration has been completed. Now we can close the SSH tool. Remember to uncheck the startup SSH tool for security reasons.
Emby has been installed on the NAS, and you still need to set up the emby web client.
1. Open the browser and enter xx.xx.xx.x:8096 in the address bar.
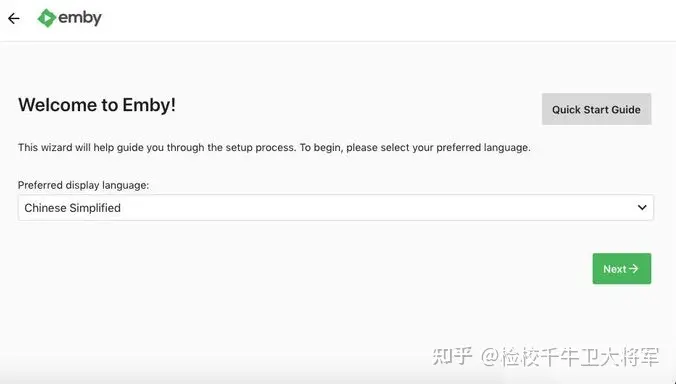
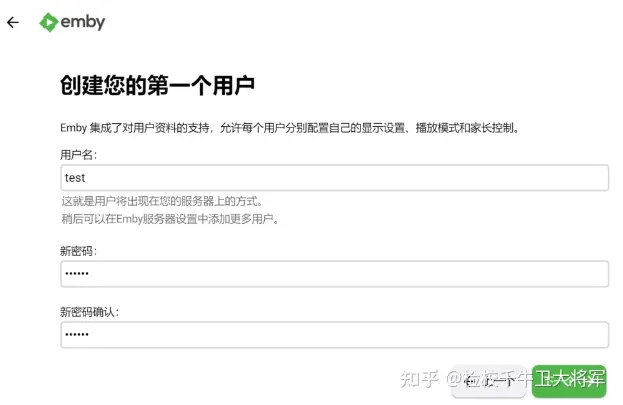
2. First click refresh to change this page to Chinese, and then configureUsername and password, click Next.
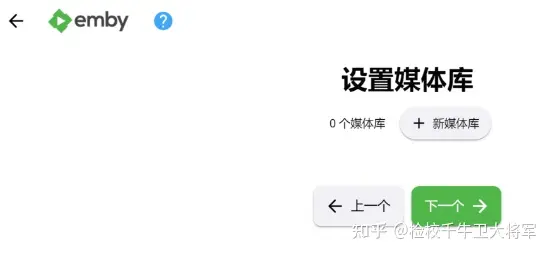
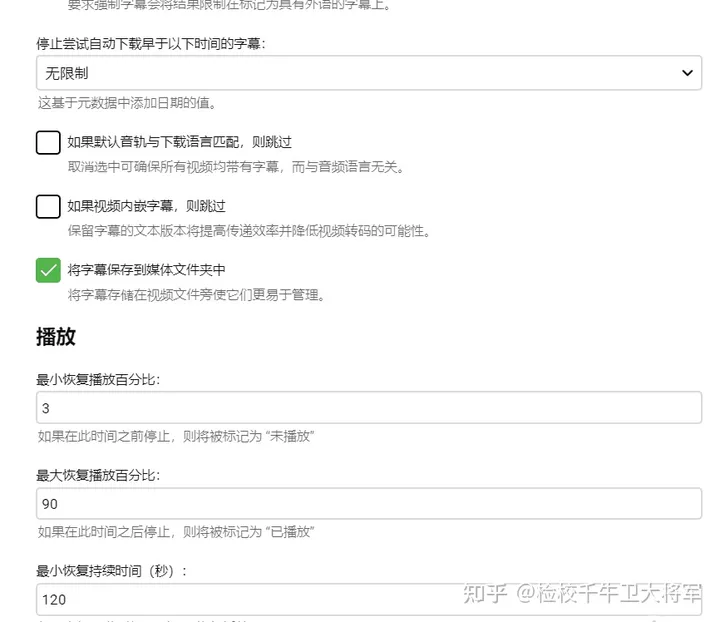
3.Set up media libraryThere are too many setting options here, we will configure them later, click Next.
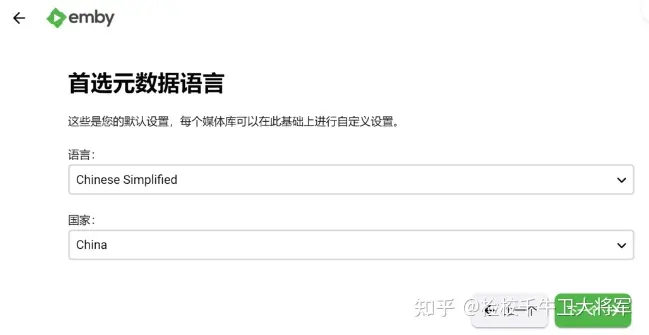
4.Preferred metadata languageandnationChoose according to your own needs. Here I choose Chinese and Chinese.
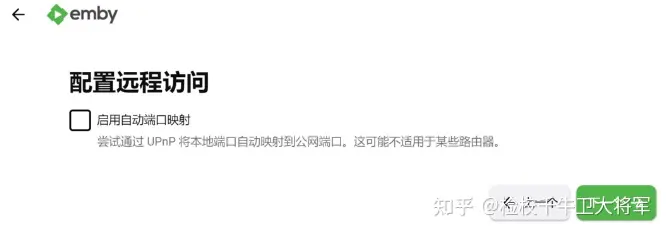
5.Configure remote accessWhether it is checked here has no effect and you can directly choose the next one.
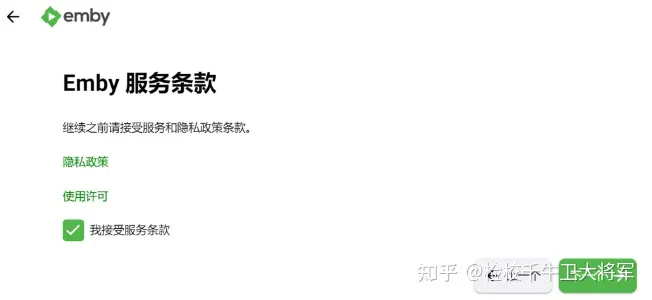
6.Accept emby terms, then continue clicking Next.
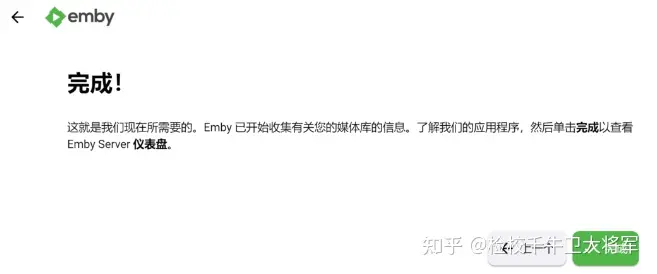
7. Click Finish when the initialization step is completed.
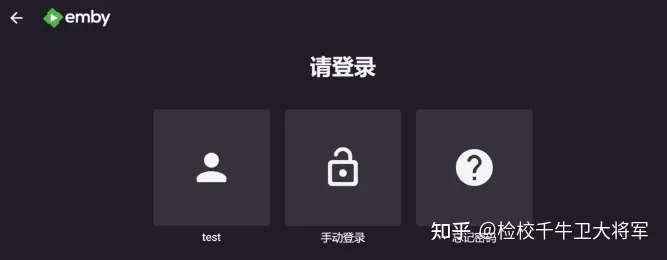
8. Login page.
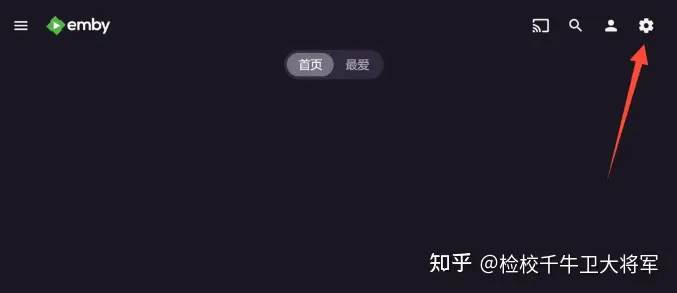
1. Log in to emby and click the small gear icon in the upper right corner to enter the emby settings page.
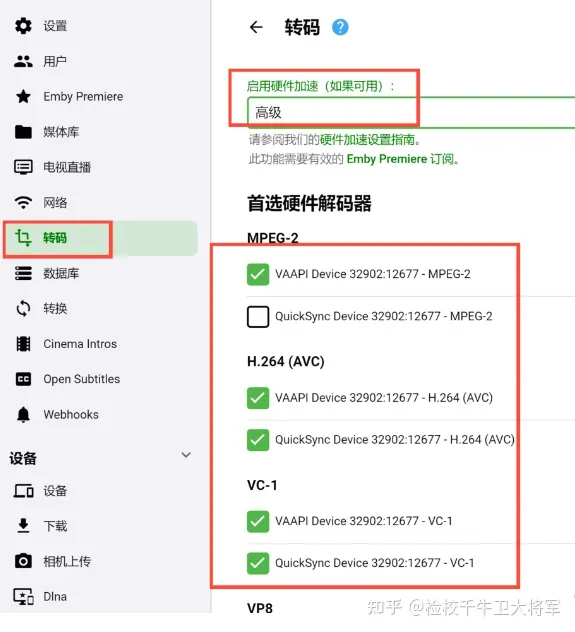
2. Click Transcoding and select Start Hardware Acceleration.advanced, if a style similar to the one in the picture appears in the preferred hard decoder, the decoder is called successfully, and then click Save in the lower right corner.
3. When playing the video, you can see the logo that has been hard-coded through the background (this step can be tested after adding the media library).

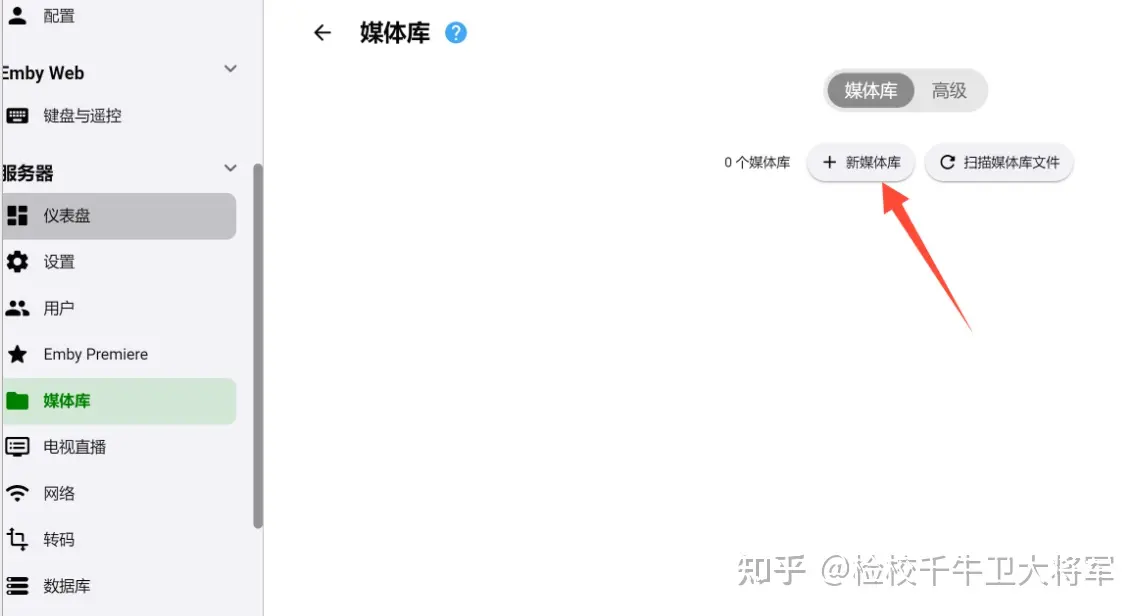
1. Click Media Library and click Add Media Library.
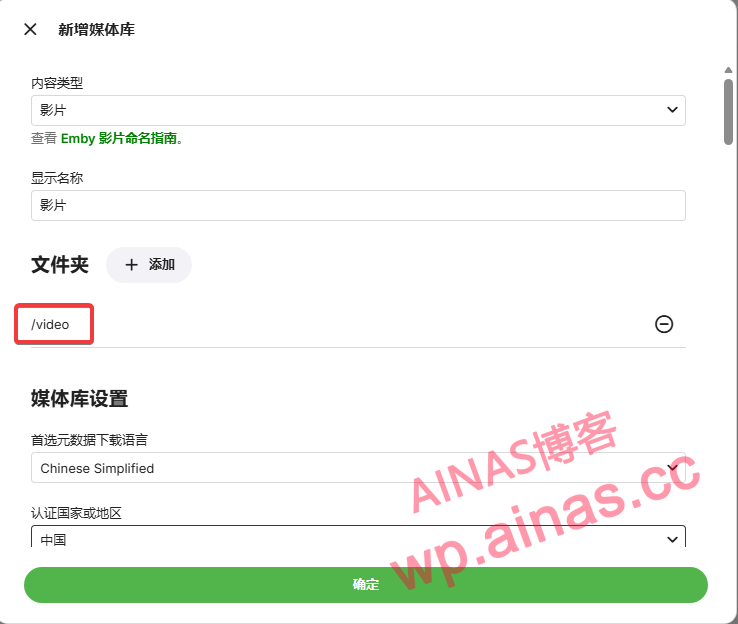
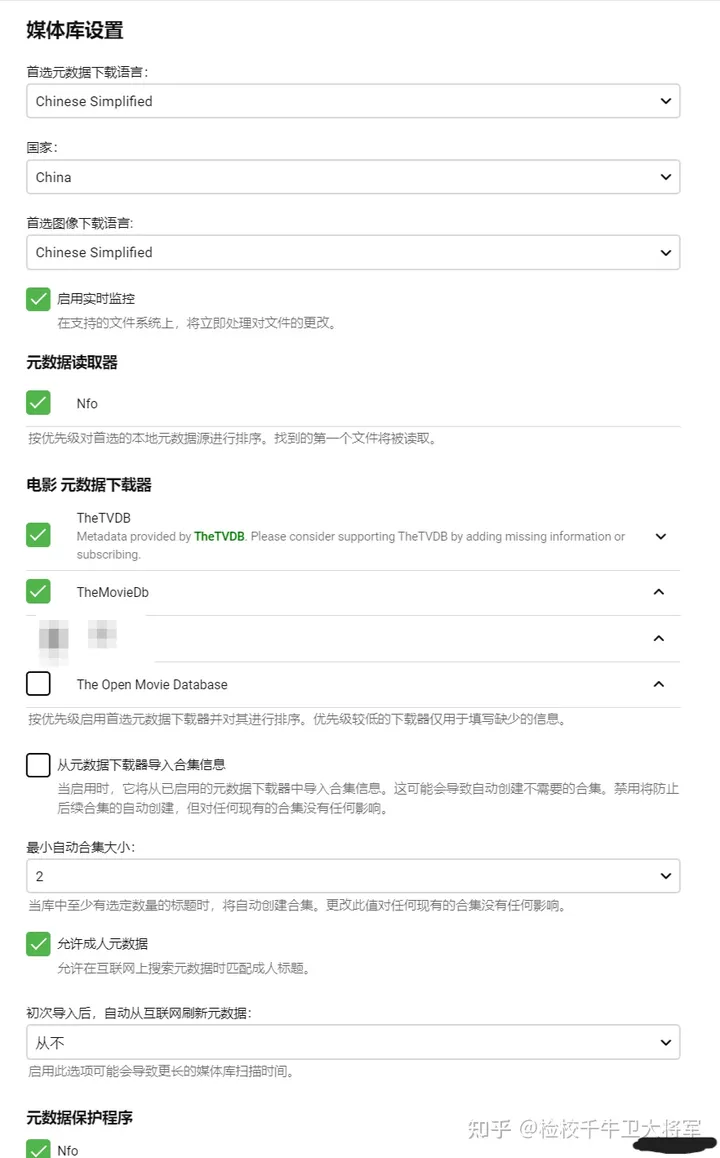
2. In addition to the folder parameters, other parameters can be filled in as I did. After setting, click Save and the media library is added.
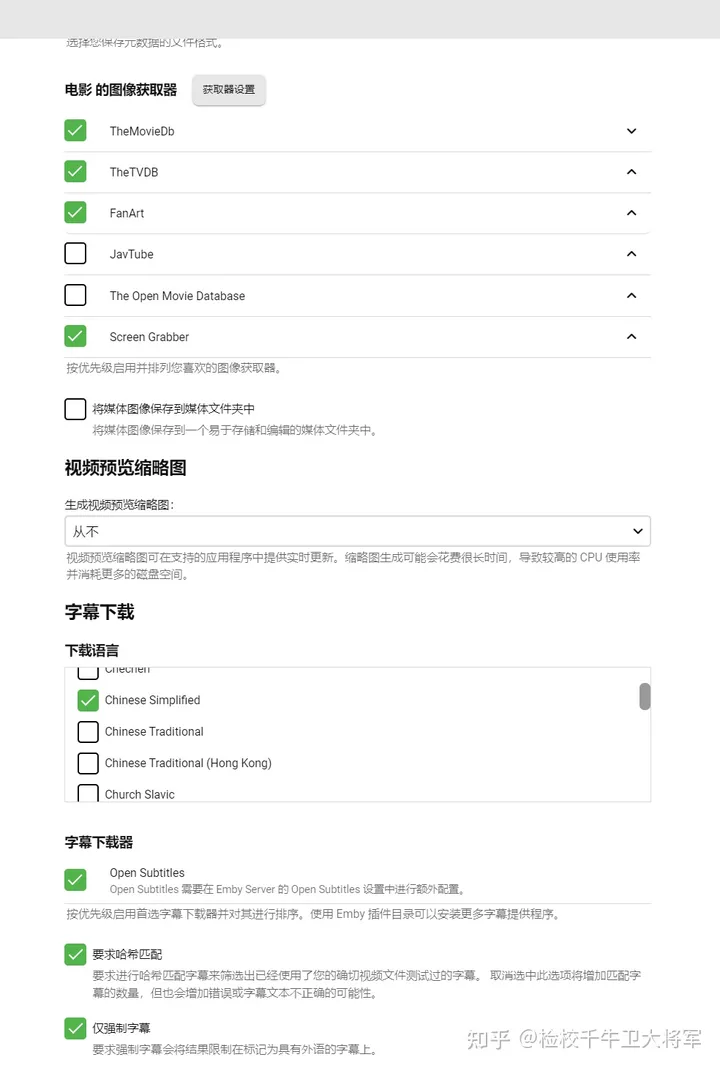
Emby scraping requires a scientific environment, otherwise various cracks will occur due to network factors, among whichhttp://192.168.31.2:7890Change it to your own http proxy address.
NO_PROXY=172.17.0.1,127.0.0.1,localhost
HTTP_PROXY=http://192.168.31.2:7890
ALL_PROXY=http://192.168.31.2:7890
1. After the media library is added, emby will automatically scan the relevant folder data. At this time, click on the homepage and you will see the relevant videos (the scanning and search time depends on the number of video files)
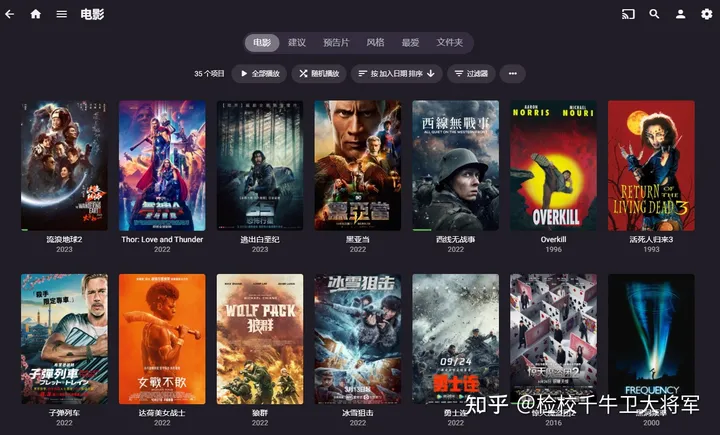
2. Click on the video to see the relevant video information.

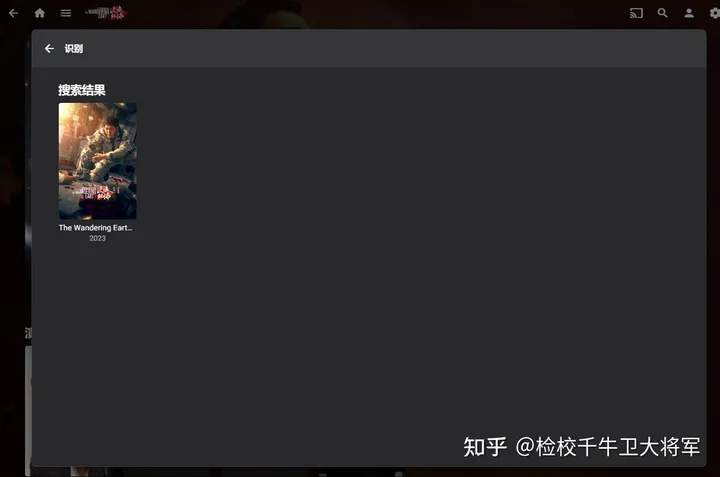
3. Click the three dots in the video details and select Recognize

4. Enter the film title information in the title to search and then personalize it.