Our Location
304 North Cardinal St.
Dorchester Center, MA 02124


Many Synology players are using the Synology Surveillance Station suite to access surveillance cameras. By default, the official version can only access two cameras for free. If it exceeds the requirement, you need to purchase a high-cost license to use it. Therefore, in the era of DSM6. However, under the DSM7. Not long ago, I saw two models “DVA1622” and “DVA3221” on Synology’s official website, both of which stated that they included 8 sets of free licenses. I felt that they were much more conscientious than the default two licenses. So let’s install one today and take a look.

1. This tutorial uses the arpl project for compilation (if you don’t understand what arpl is, please move on to learn “The simplest Black Synology DSM7.X boot compilation method in history》, read this tutorial after you have learned it): After configuring the machine, turn it on until the IP address is displayed, and open the IP address in the computer browser;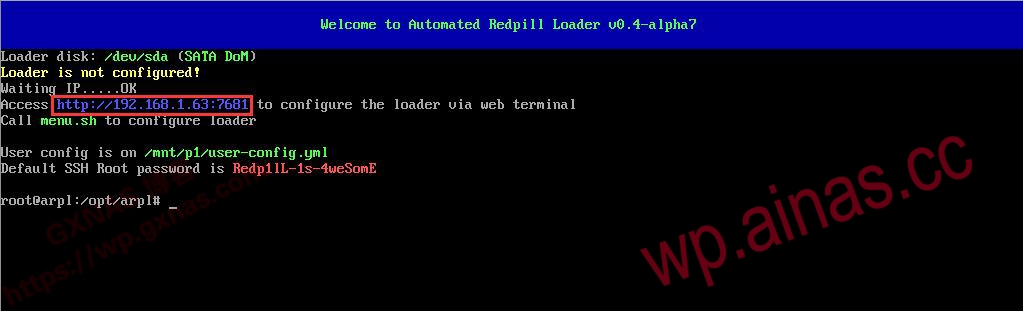
2. Press Enter on the first line of “Choose a model”;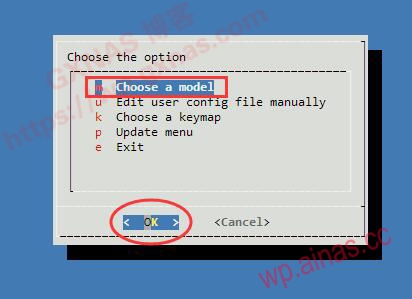
3. Press the down key, move to “DVA3221” and press Enter;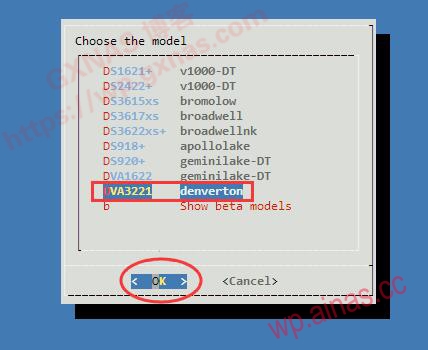
4. Press Enter at “Choose a Build Number”;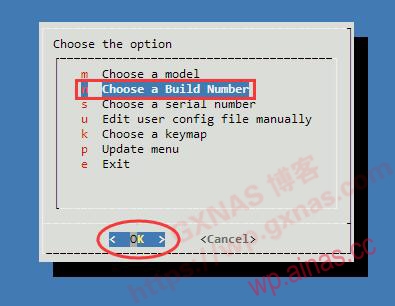
5. Select the version you want to compile Black Group Hui. I chose the latest version 7.1.1-42962. Use the arrow keys to select and press the Enter key;
6. Press Enter at “Choose a serial number”;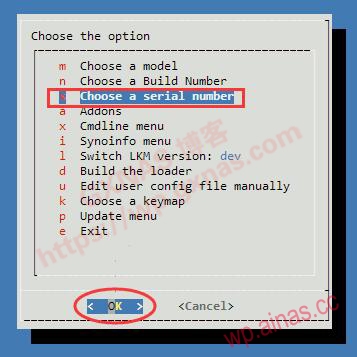
7. If you select “Generate a random serial number” and press Enter, the compilation system will randomly generate a serial number. If you want to use a custom serial number, you can select “Enter a serial number” and press Enter and enter the serial number you want to use. I use random generation here;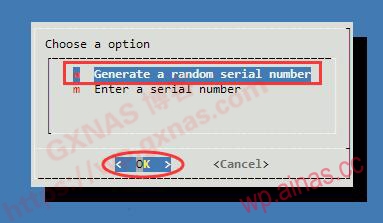
8. Press Enter at “Build the loader” to start compilation;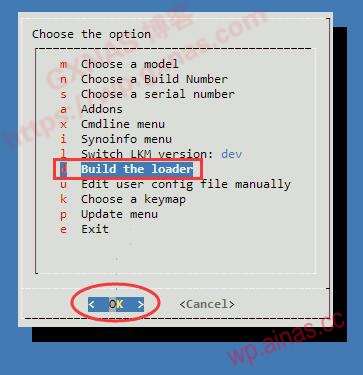
9. During the compilation process, there will be a progress bar on the interface. Please wait patiently. The waiting time depends on your network environment. (If you have an environment to go abroad scientifically, please put this IP address on the mandatory proxy list to speed up the compilation);
10. When “Ready!” is displayed on the screen, it means it is about to be completed;
11. After the compilation is completed, it will automatically jump back to the menu, and there will be an extra line of menu “Boot the loder”, press Enter on this line of menu;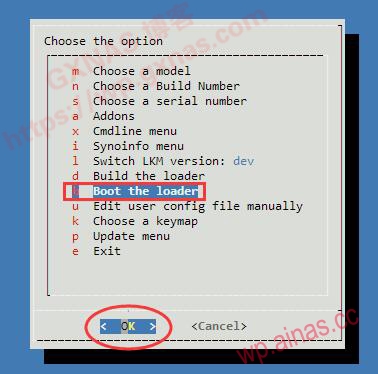
12. The compiled boot will start automatically. The interface displayed after the boot compiled by this project is as follows. It will display: system model, system version, pid, vid, sn, mac, etc.;
13. Use Synology Assistant to search on your computer. You can see that the status of a NAS is displayed as “Not Installed”, which is this one (if the search cannot be found, it may be blocked by your computer’s firewall. Please turn off the firewall. If that doesn’t work, go to the router to find the IP). Right-click the displayed IP address and install it;
14. Check “I have read and agree to the EULA terms” in the lower left corner of the pop-up interface, and then click “OK”;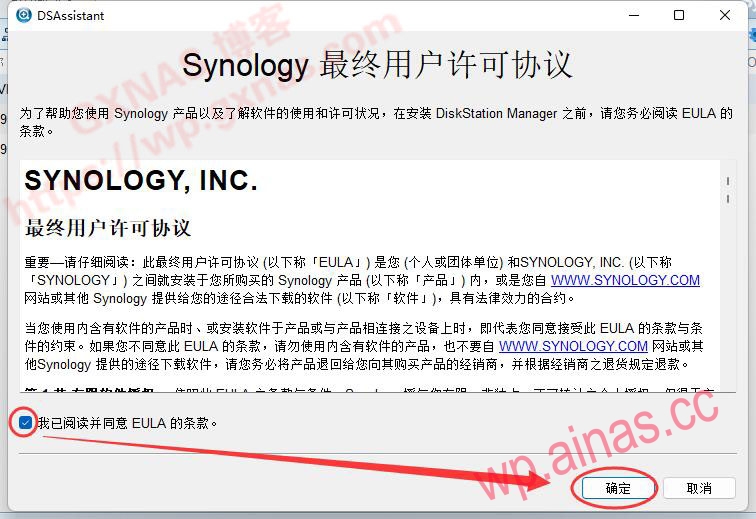
15. Installation;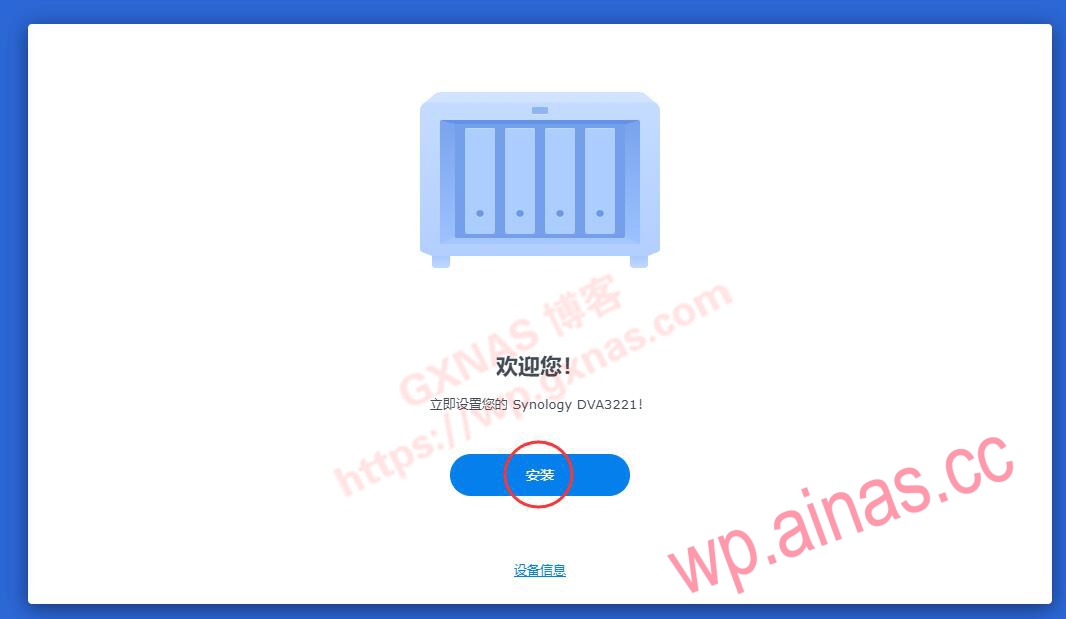
16. Select “Manually upload .PAT file from computer” and upload the PAT file of DVA3221_7.1.1-42962 downloaded in advance. Next step;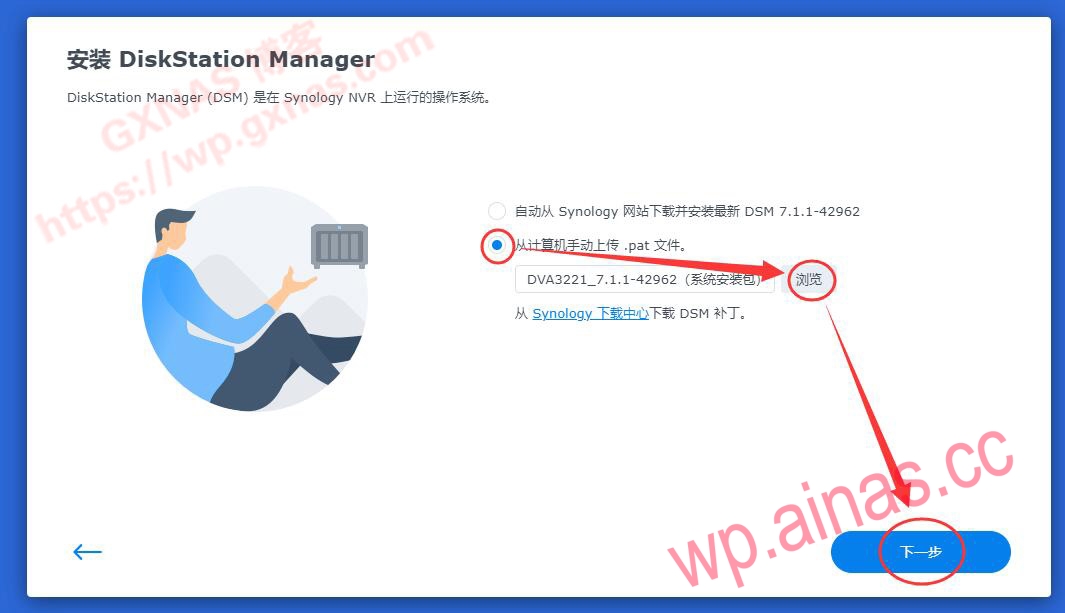
17. The installation process is similar. If there is nothing special about the specific process, I will not take a screenshot. After the installation is completed and restarted, “Starting built-in package” will be displayed;
18. Click “Start”;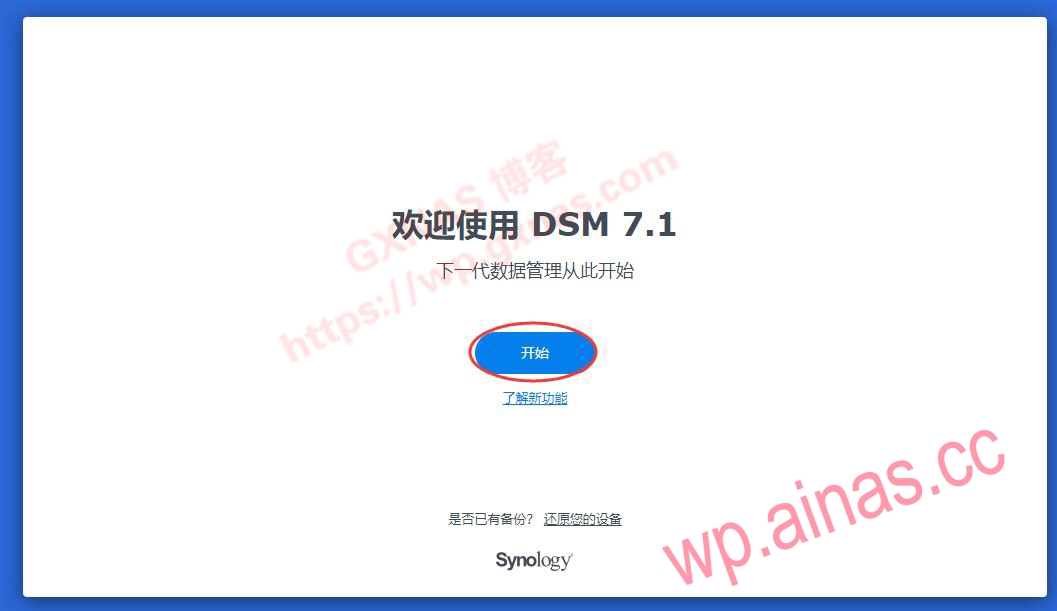
19. Set the device name, administrator account name, administrator login password, and next step;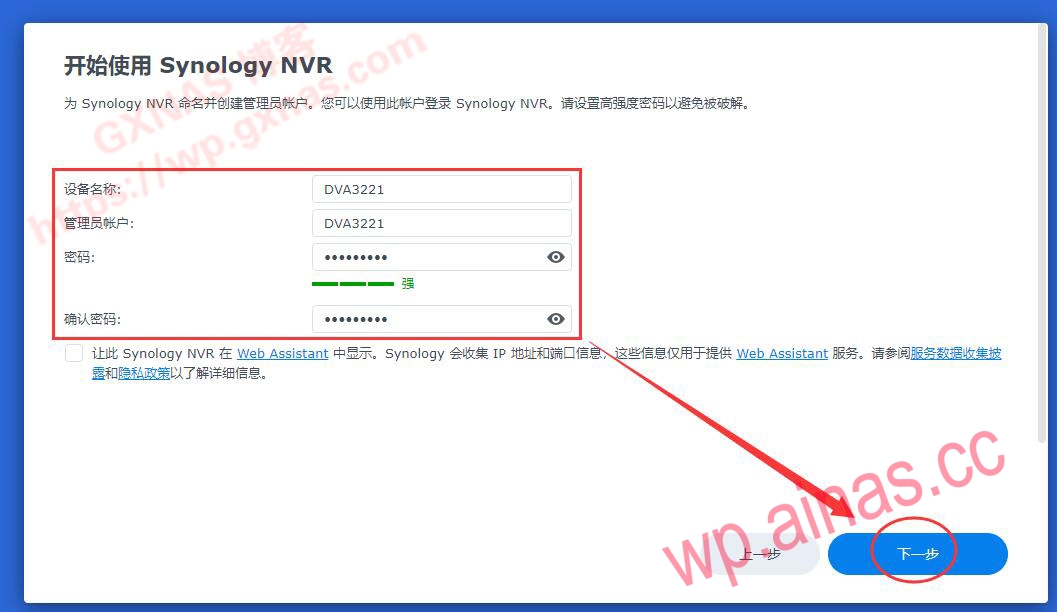
20. Select “Notify me when a DSM or package update is available and I will install it manually” and next step;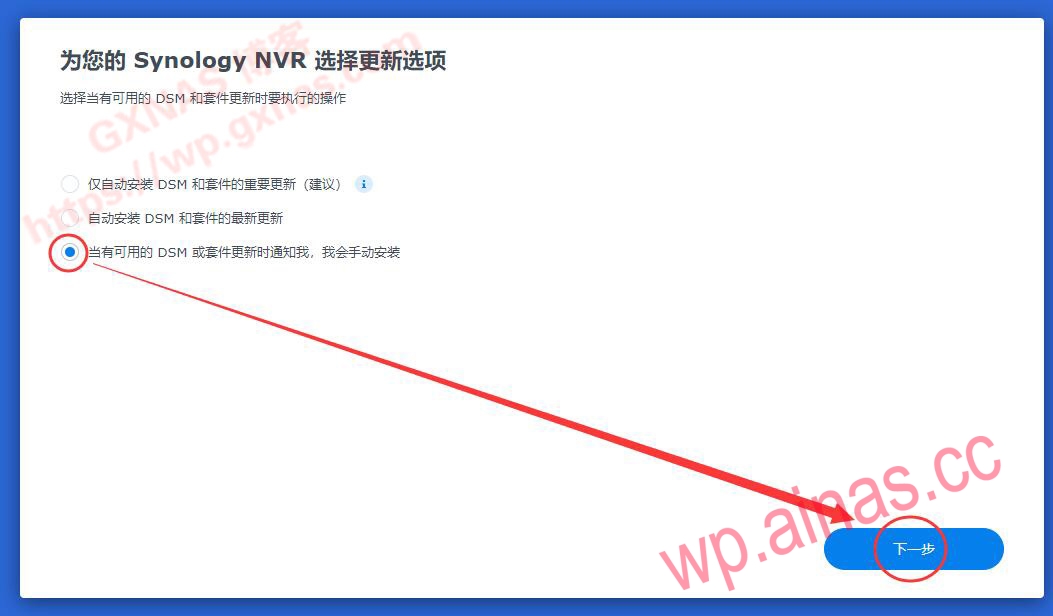
21. Skip;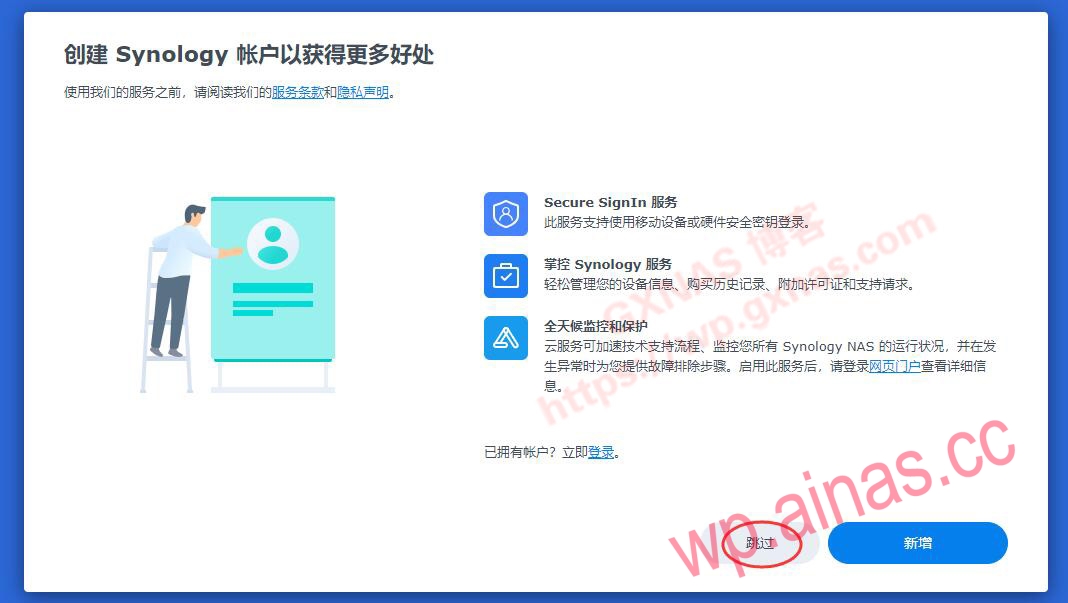
22. No need to tick, just click “Submit”;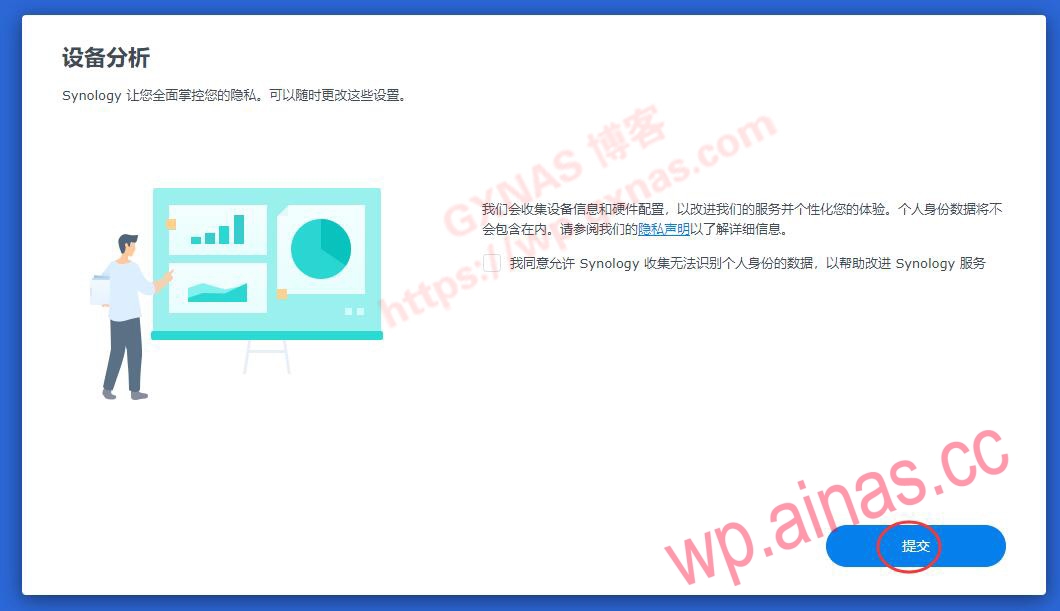
23. The system will automatically create storage space, and you need to wait for a while;
24. Here comes the key point: there is a line of small text prompting “Installing Surveillance Station”;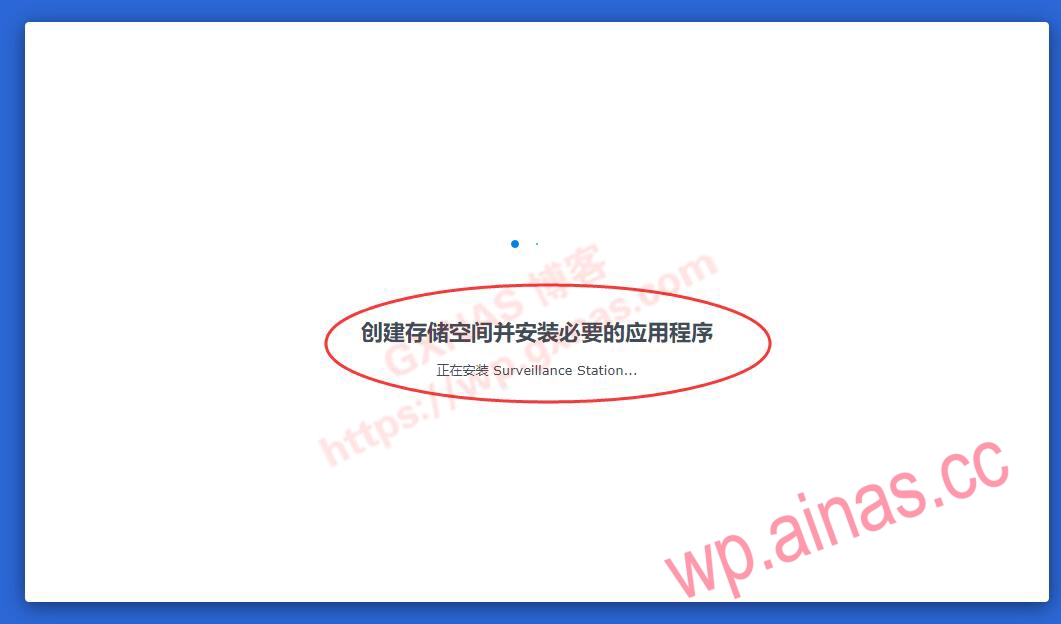
25. There will be a prompt “DSM is ready, but the Surveillance Station application is still being installed.” Please pay attention and click “Log in”;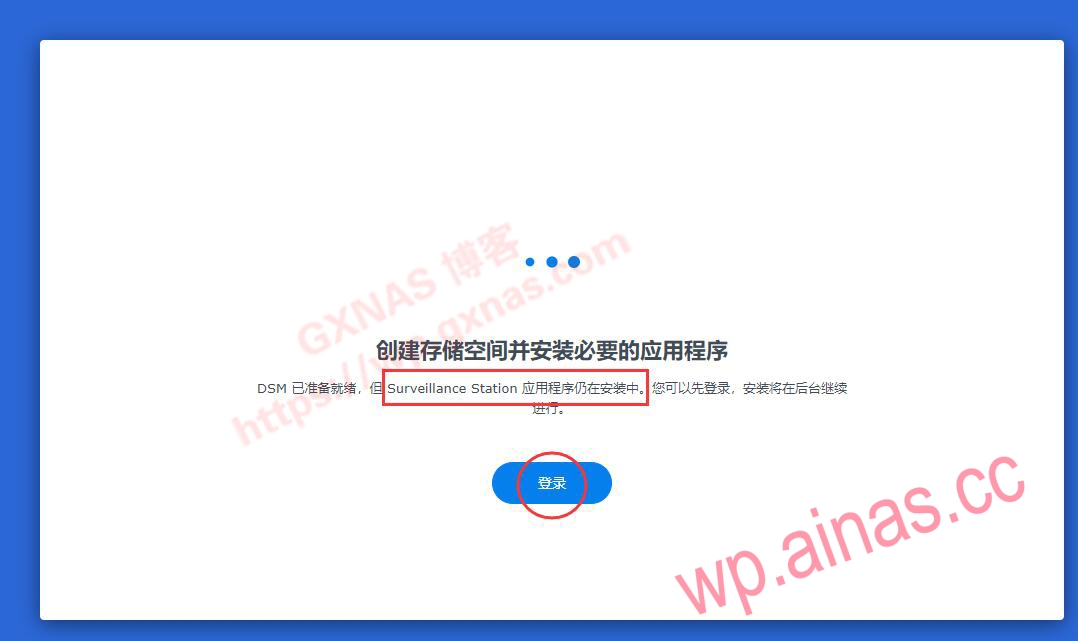
26. Go to Synology’s desktop, click “Package Center”, check “I have read and agree to the Package Center Terms of Service” and confirm;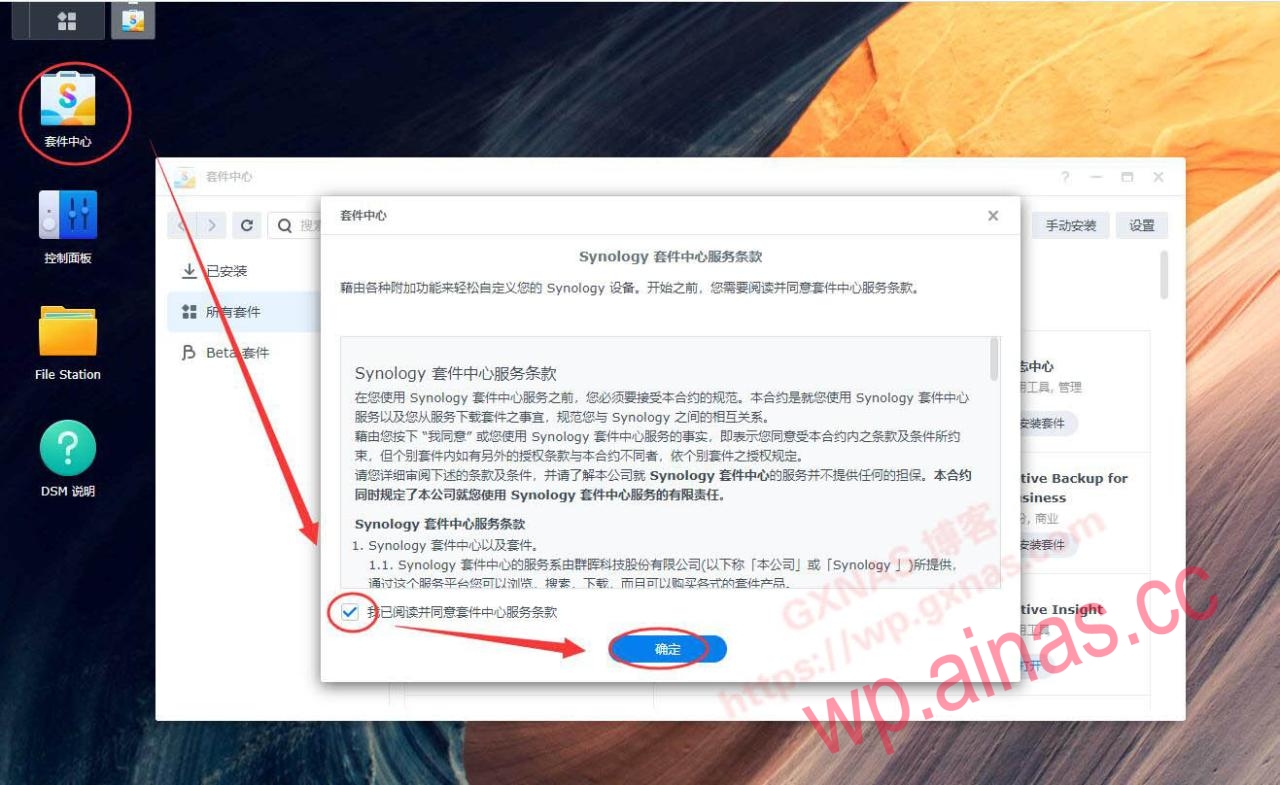
27. Click “Installed” on the left to see a list of all packages installed by the system by default. At this time, you find that Surveillance Station is not installed.But don’t be smart and install the package manually, otherwise you won’t have 8 free licenses.;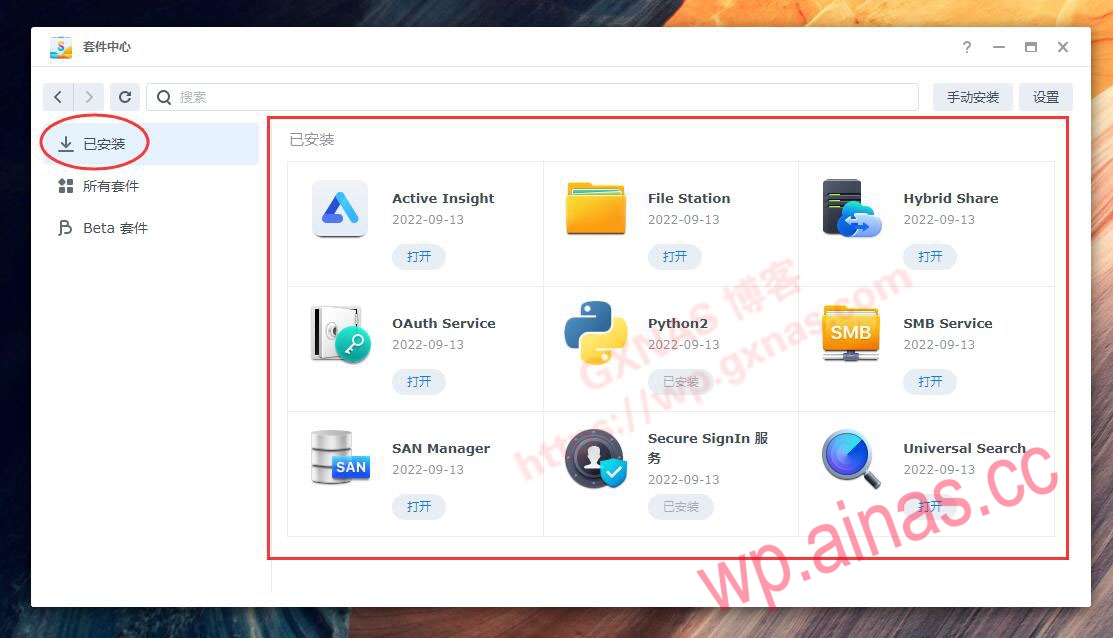
28. Just wait patiently for a while and you will see a prompt that Surveillance Station is being installed;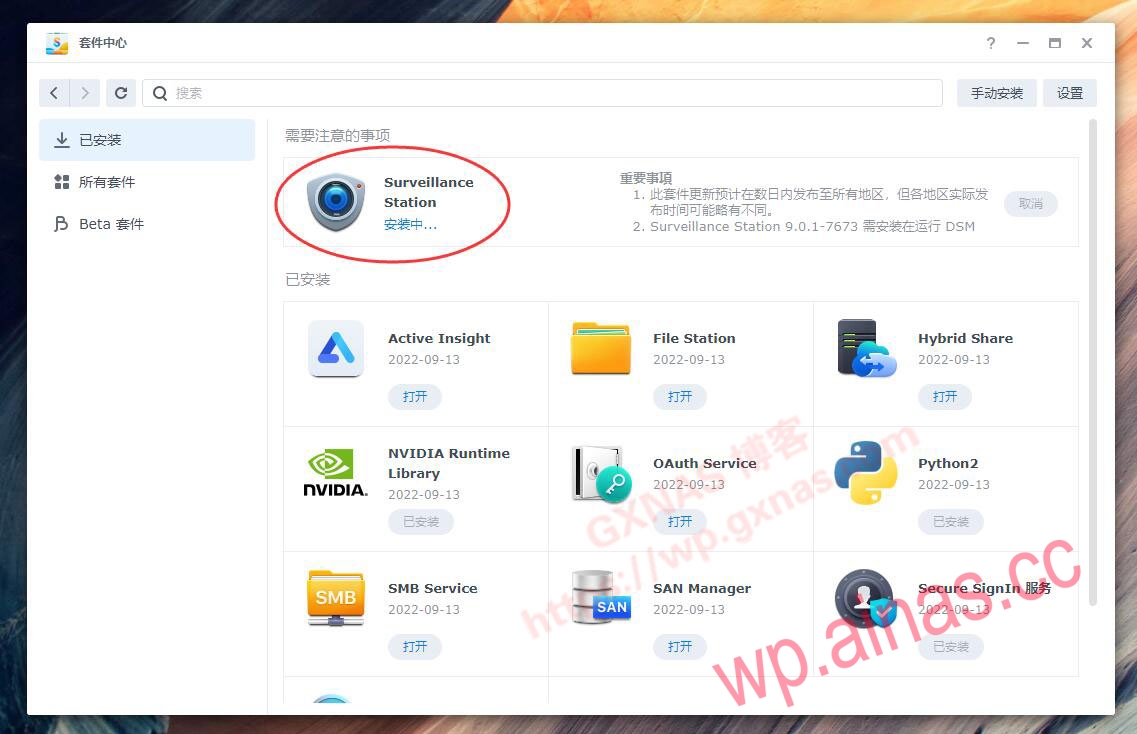
29. When the Surveillance Station package displays “Open”, it means that the package can be used normally. Click “Open”;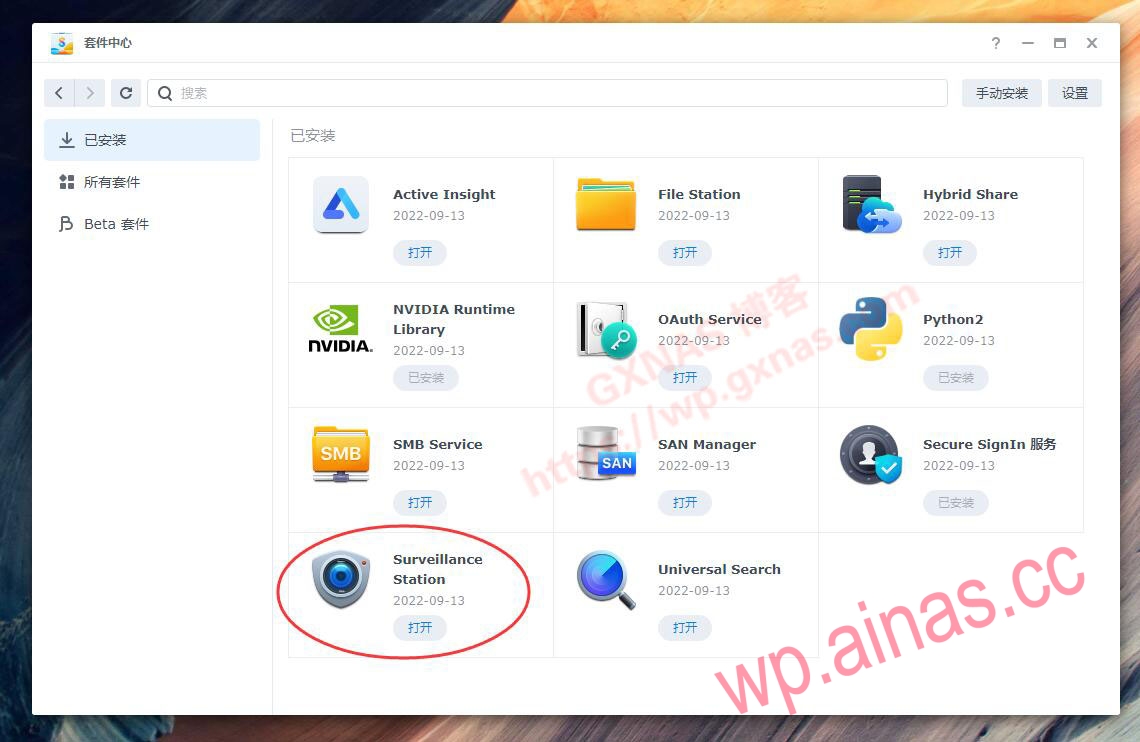
30. Enter the Surveillance Station interface, find the license through the menu in the upper left corner, and you can see that the default number of licenses is 8, and you can access 8 cameras;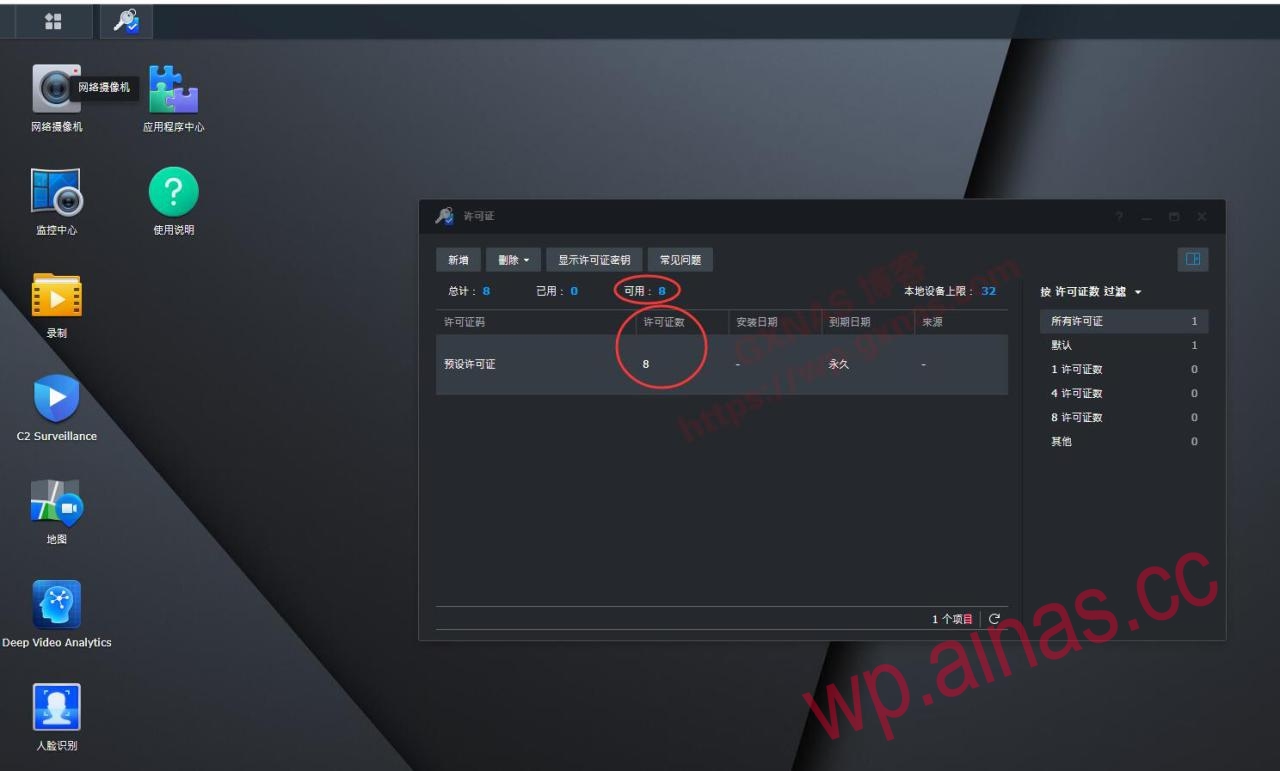
31. Okay, the installation is complete. For Black Synology users who want to use the DSM7.