Our Location
304 North Cardinal St.
Dorchester Center, MA 02124


In fact, the biggest problem for novices installing ESXi is that there is no integrated network card driver. If your network card happens to be outside the official support range of ESXi, you will be prompted with an error that GG cannot be installed. Theoretically, ESXi eliminates most of the network card drivers in order to pursue the stability of the production environment. Of course, it may also be a commercial behavior, because most enterprise-level network cards are just different model vests, and I have not seen any problems after using them for several years. Of course, if possible, try to use Intel’s server network card, which has the best compatibility. Of course, it doesn’t matter if you don’t. We have provided several images of integrated home network card drivers for download. And I wrote a simple installation tutorial to explain all the important points to everyone.
The tools required for this installation tutorial are a USB flash drive with a capacity larger than 4G and a Windows computer environment
ESXi system download includes 6.7, 7.0, 8.0https://www.123pan.com/s/7doDVv-007QANote: ESXi is not newer, the better. At present, 6.7u3 is a relatively stable version, and 7.x iterates faster. If you are not a new customer, it is not recommended to use it. Also, the 7.x installation will take up a lot of SSD space as virtual memory, and the content of the SSD will be small. It will be a pain to use, so choose carefully.
After selecting the ISO image suitable for your machine, download the iso file and disk writing tool together.

Open the disk writing tool icon. If you put the iso image in the same directory, it will automatically select an image file in the same directory, as shown below. If the file is not automatically selected, you can click Browse to find the image file and then proceed. Check the U disk and select the image and click Write to start the first step of writing the ESXi image boot disk.

Confirm all dialog boxes


Wait for data to be written

After writing, the following window will appear. Click OK to remove the USB disk and prepare to insert it into the machine where esxi will be installed.

Set the USB boot order to the first order on the host where ESXi is to be installed. After setting the USB boot, you will go through the following screens. Please wait for the loading to complete (if you want to install ESXi into a USB flash drive, please enter the BIOS to fix the USB flash drive as the first boot sequence).


Press Enter as prompted

Press F11 to agree to the terms

Select a disk space for installation (note that the hard disk will be formatted, and be careful to back up data). If you are using our 16G industrial-grade USB flash drive, we recommend that you install it in the USB flash drive. During the loading process, the ESXi installation file has been loaded into the memory, so you can directly load the installation disk you just wrote into ESXi. Because many servers do not support NVME startup or have other restrictions, U disk backup and migration are more flexible. U disk installation is also officially recommended. Our U disk is of relatively good quality and is not easy to break. There will be no problem running an ESXi system, especially if there is no SSD and the mechanical hard disk boot speed is slow. Using a U disk can improve the startup speed (it is recommended not to install a copycat or ordinary brand U disk as it is more likely to break). Use the up and down keys on the keyboard to select the disk, F5 to refresh the disk list, and press Enter to confirm the installation.

Select the input keyboard and press Enter to default.

Enter the password. This step is the easiest for people to get stuck. ESXi has security requirements for passwords. It must contain three characters and be at least 7 digits long. Many people can’t get past it by directly entering 1234567. Generally, it is easier to use uppercase and lowercase letters plus more than seven digits. My example password here is Abc.123. Of course, it is not recommended that you set such a simple password.

Press F11 to start installation

Waiting for progress bar

After writing, you will be prompted to restart. Press Enter to restart.


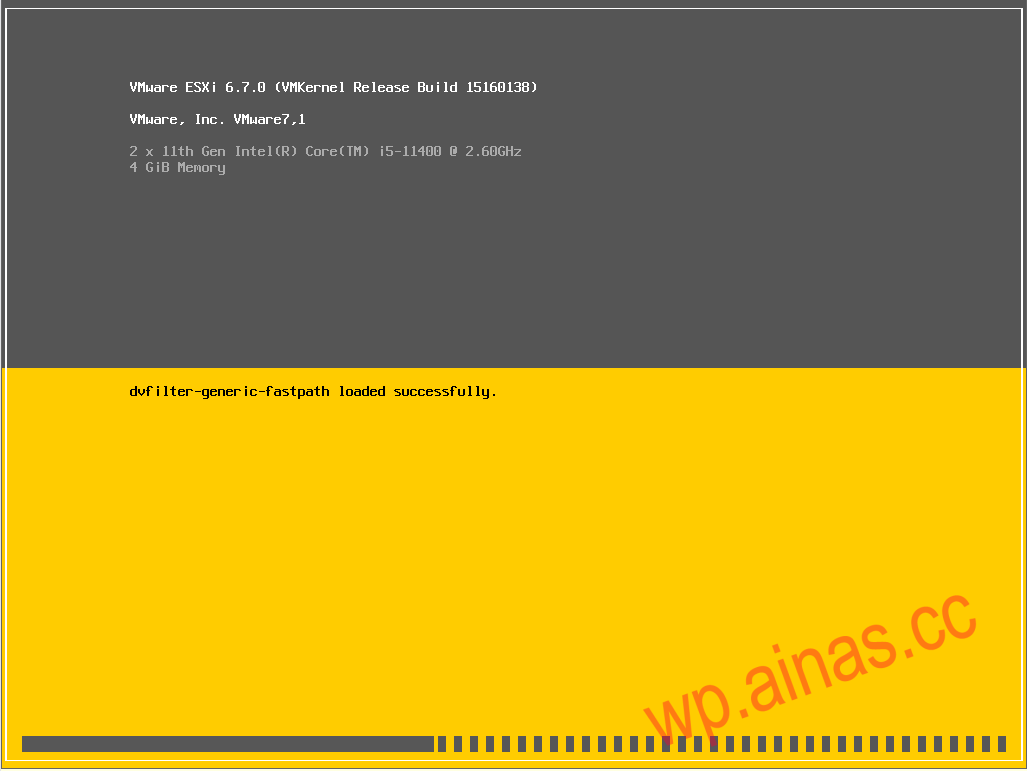
After restarting, you can enter the loading ESXi system interface normally.

After the startup is successful, you can see the access address of ESXi on the intranet. Enter this address in the browser to start using ESXi. Regarding virtual machine installation, it is too long to write here. You can check out other ESXi virtual machine articles on our site. You can also take a look at usESXi boot USB disk instruction manual
