Our Location
304 North Cardinal St.
Dorchester Center, MA 02124

1.DiskGenius: Tool to delete hard disk partition;
2.Youqitong: A very conscientious PE system with no ads and no Trojans.
3.Roadkil’s DiskImg: Tool to flash IMG to SSD;
4.notepad2: Software for editing files;
5. Black Synology’s boot file system installation package: please goDownload Centerdownload;
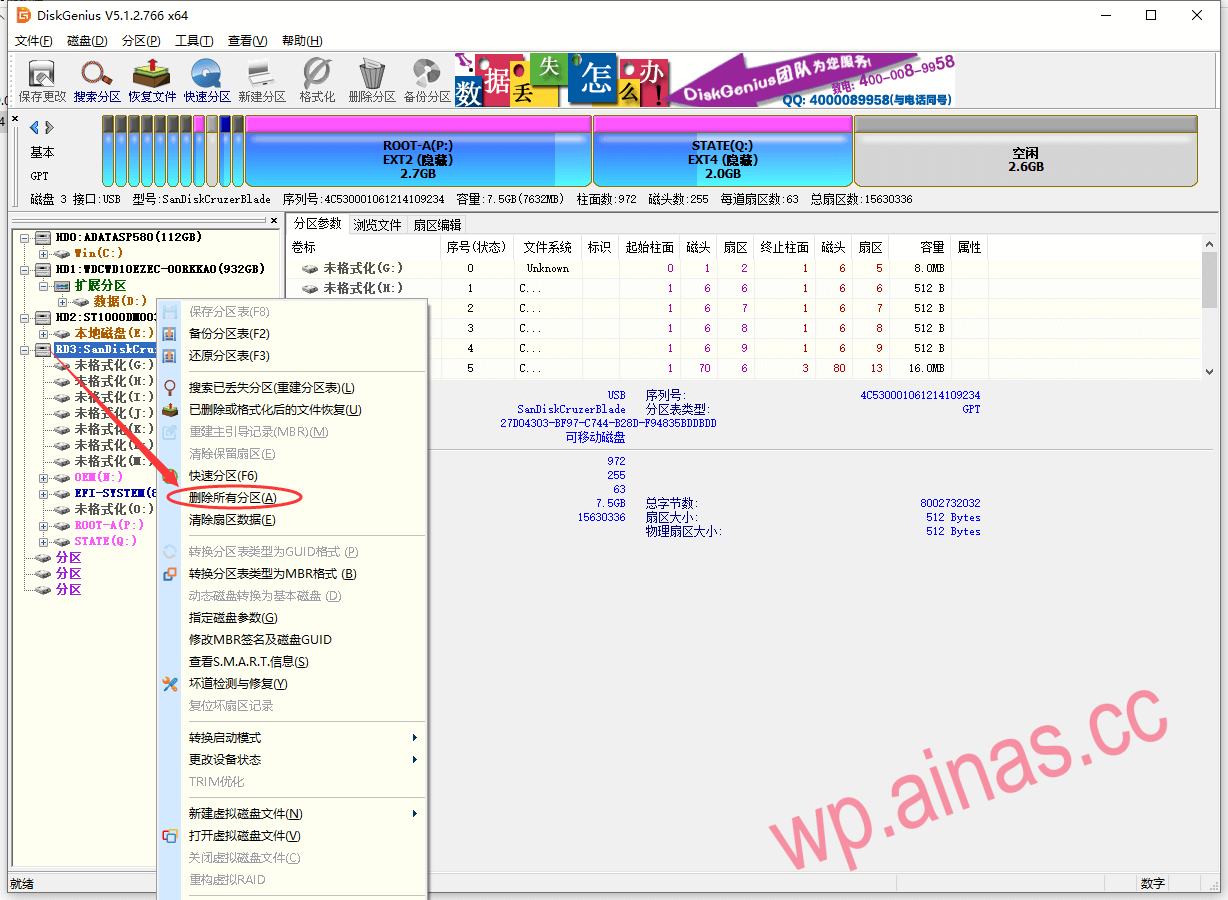
1. Use DiskGenius to check the U disk partition. If your U disk has only one partition, you can skip this step; if the U disk has no partition, you need to create a partition according to step 6. Since there is more than one USB flash drive in this tutorial, you need to delete all the partitions of the USB flash drive and then create a new partition.
2. Find the U disk in the left area, right-click the mouse and select Delete All Partitions

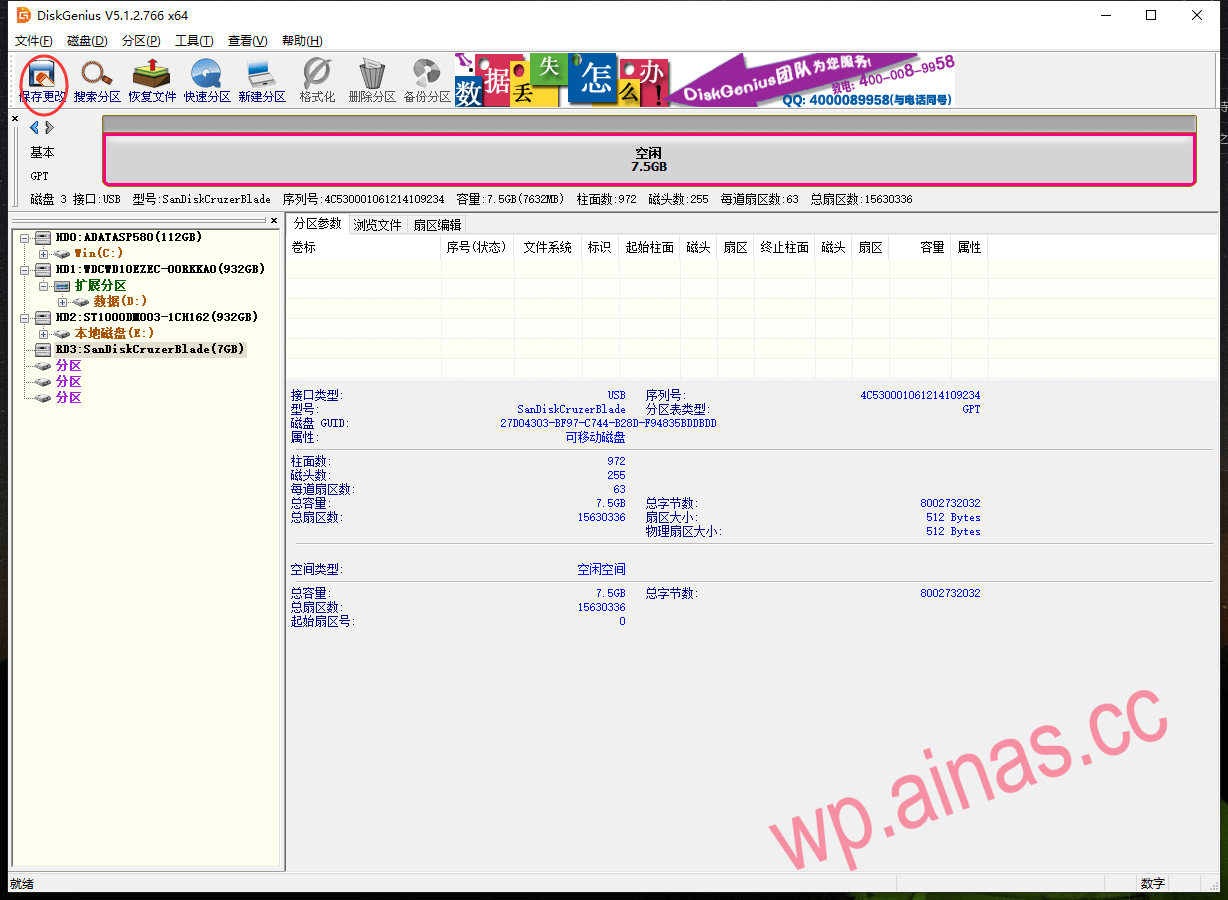
3. After confirming that everything is correct, click “Yes” and click “Save Changes” in the upper left corner.
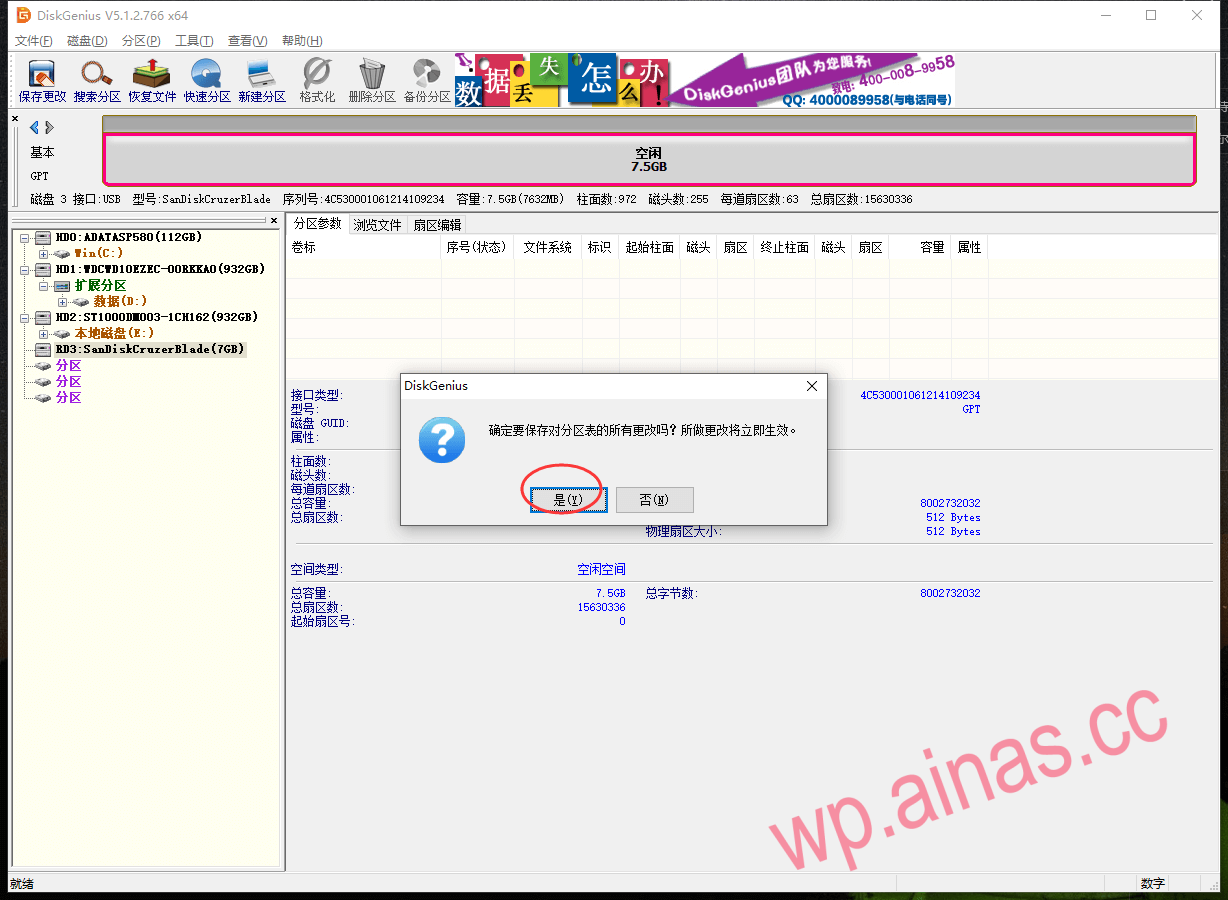
4. Click “Yes”
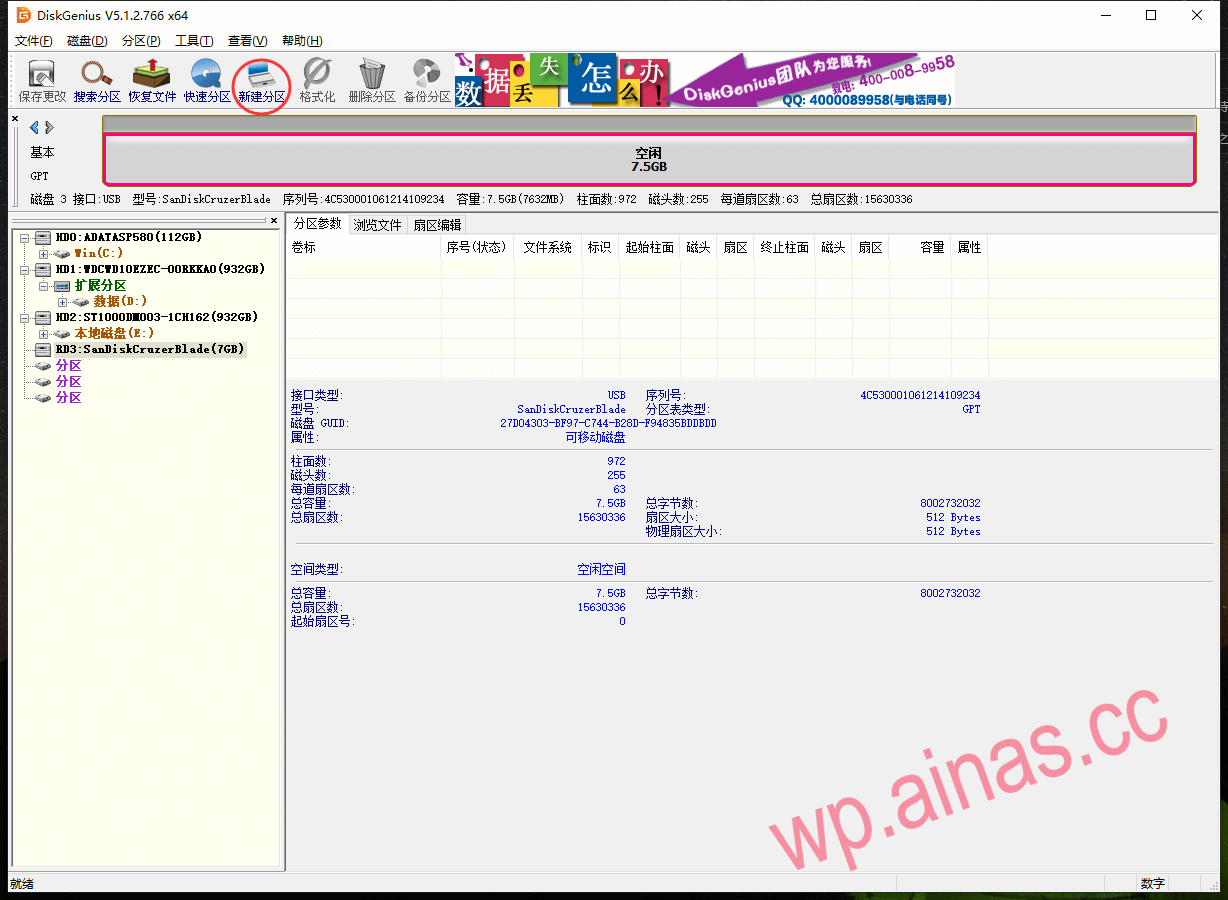
5. Create a new partition
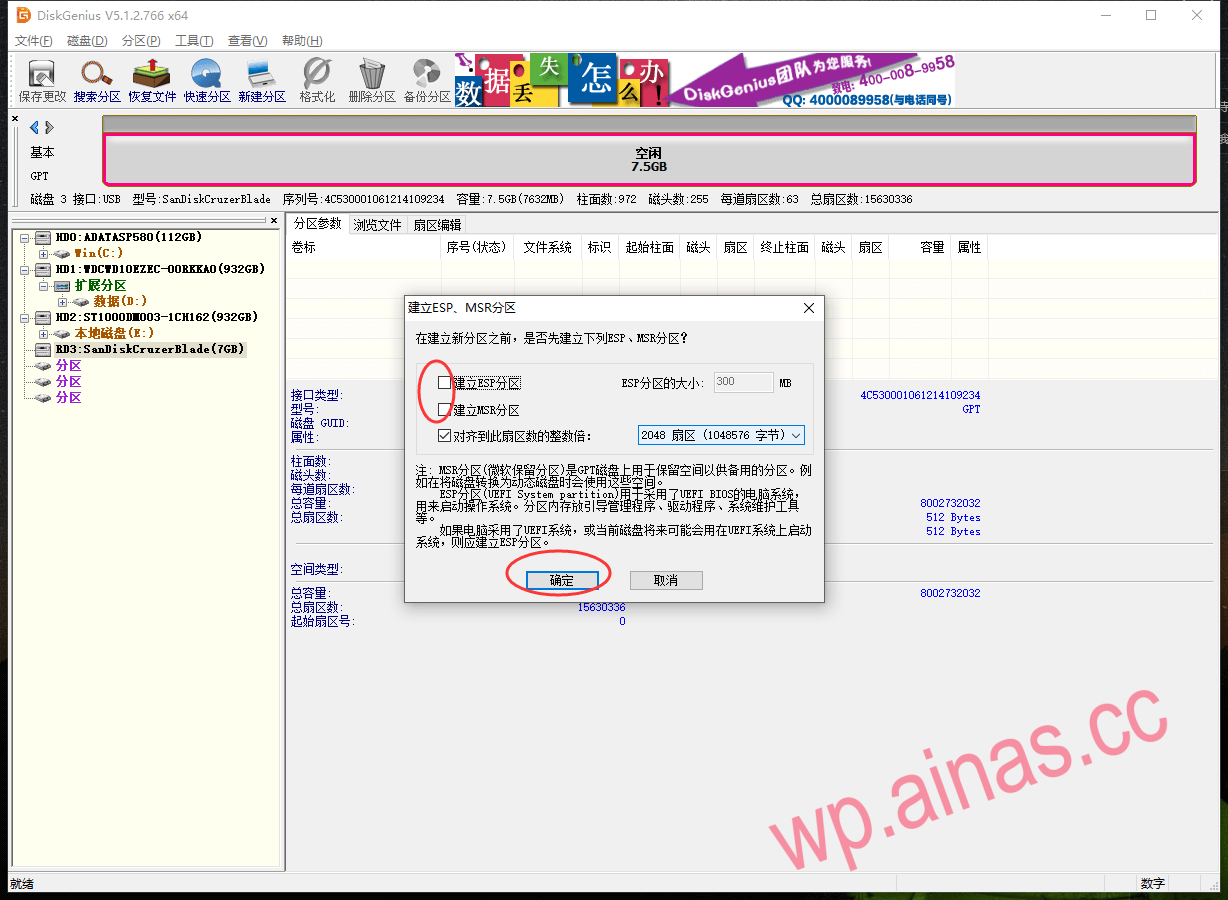
6. Do not check “Create ESP Partition” and “Create MSR Partition”, OK;
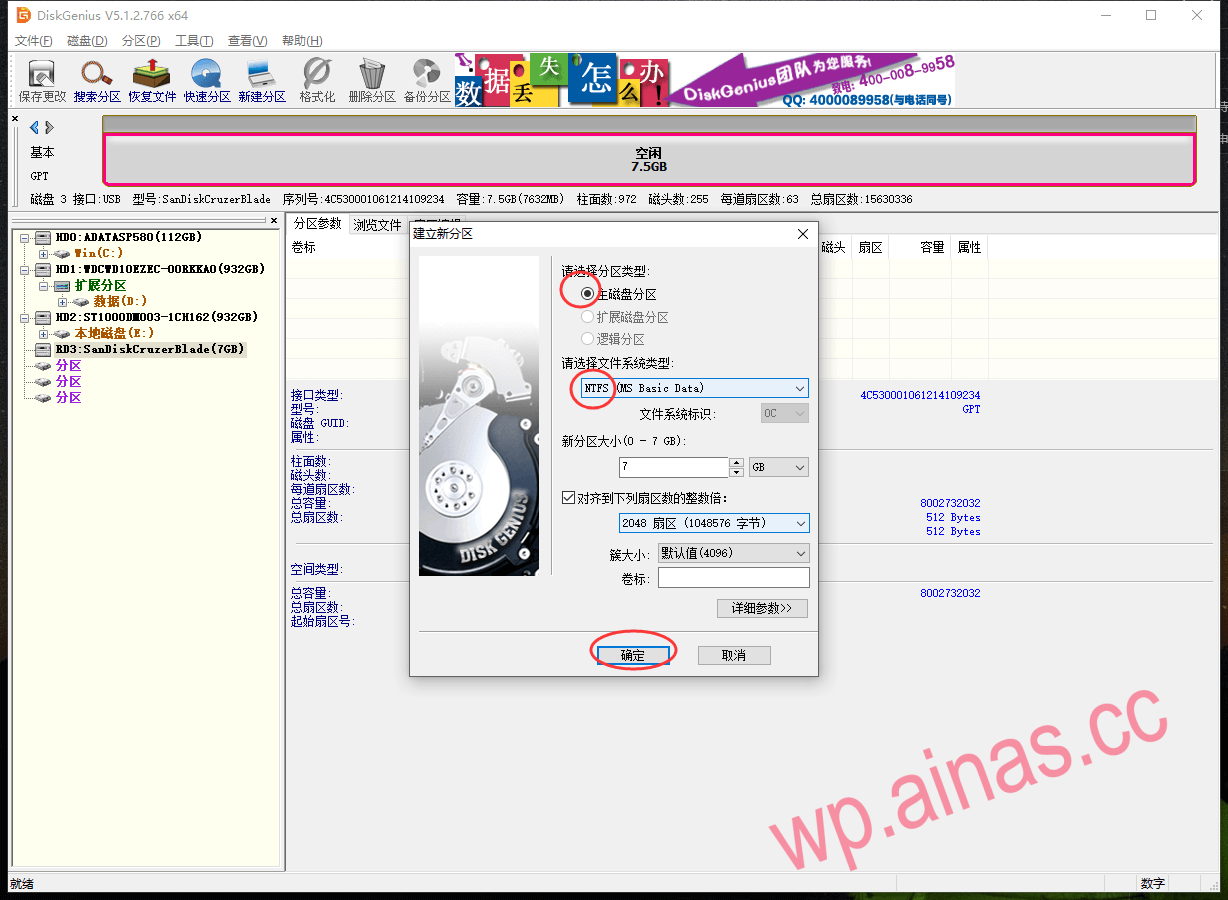
7. Select “Primary Disk Partition” as the partition type, and “NTFS” as the system type in this tutorial, and confirm;
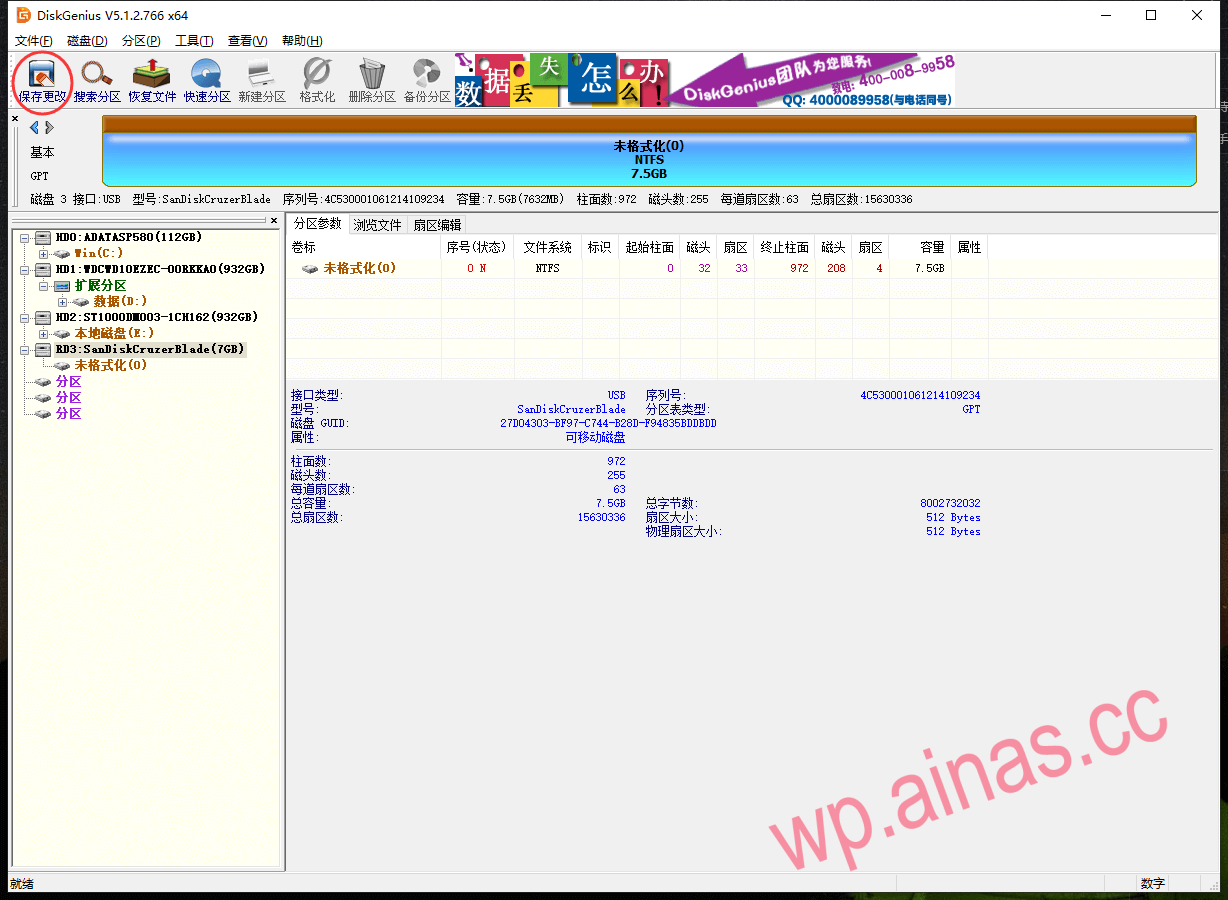
8. Save changes;
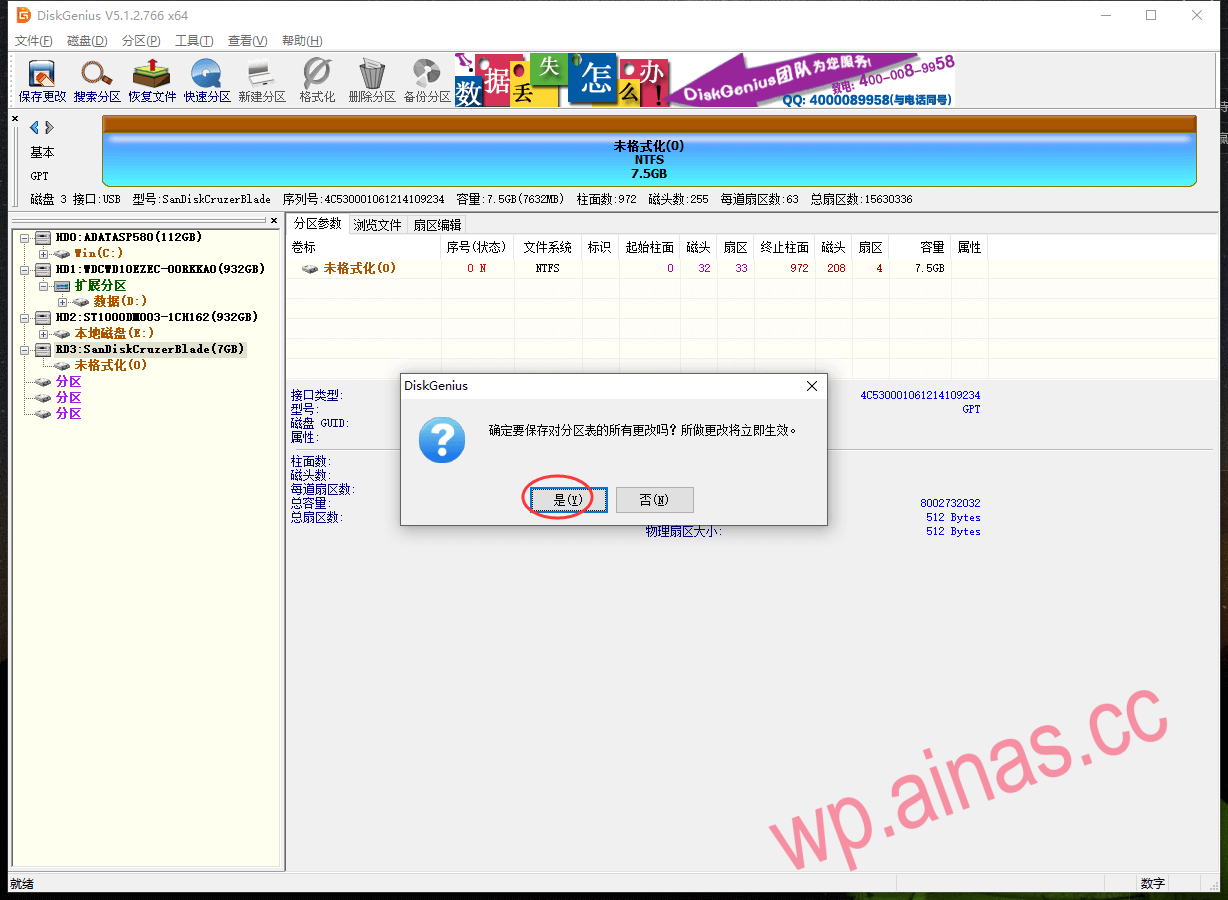
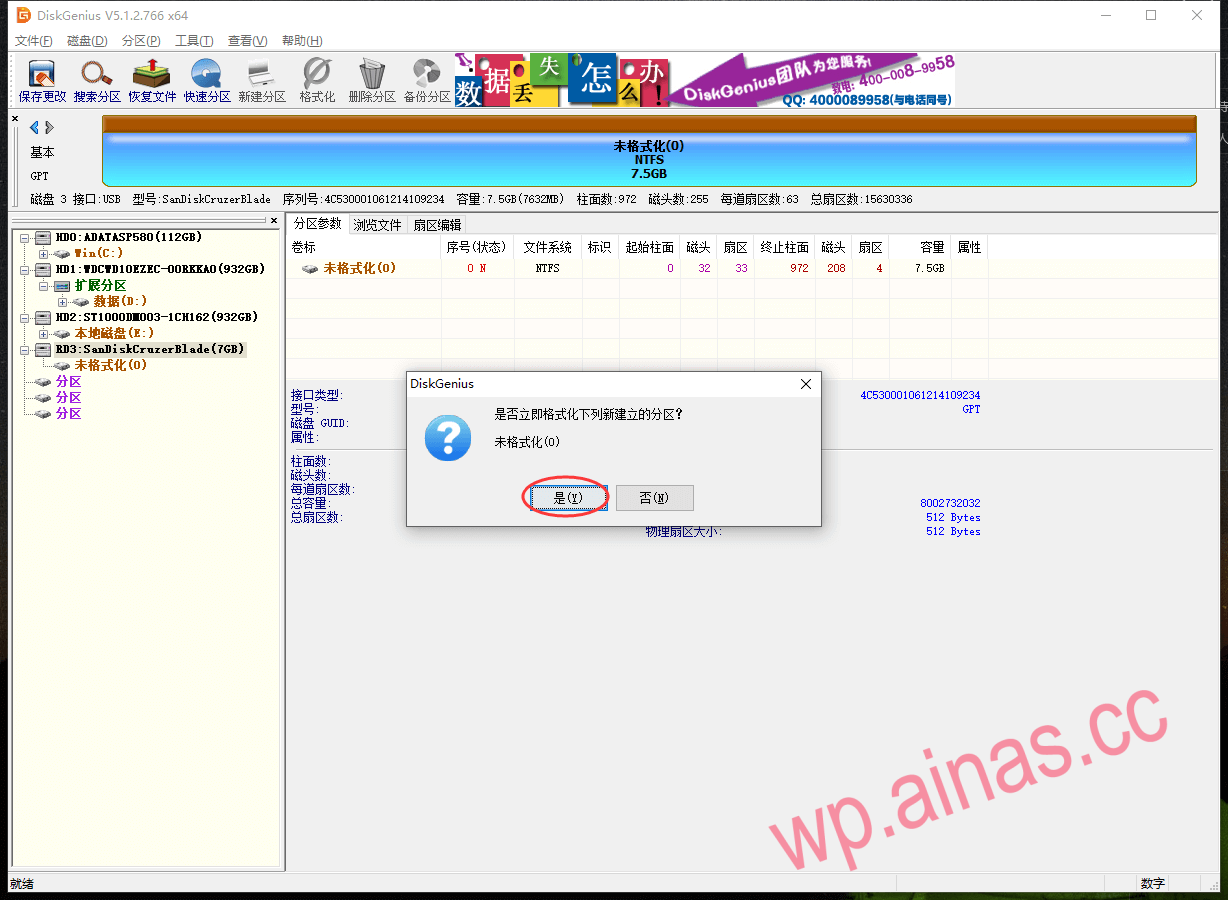
9. Select “Yes”
10. Click “Yes” to format the USB flash drive;
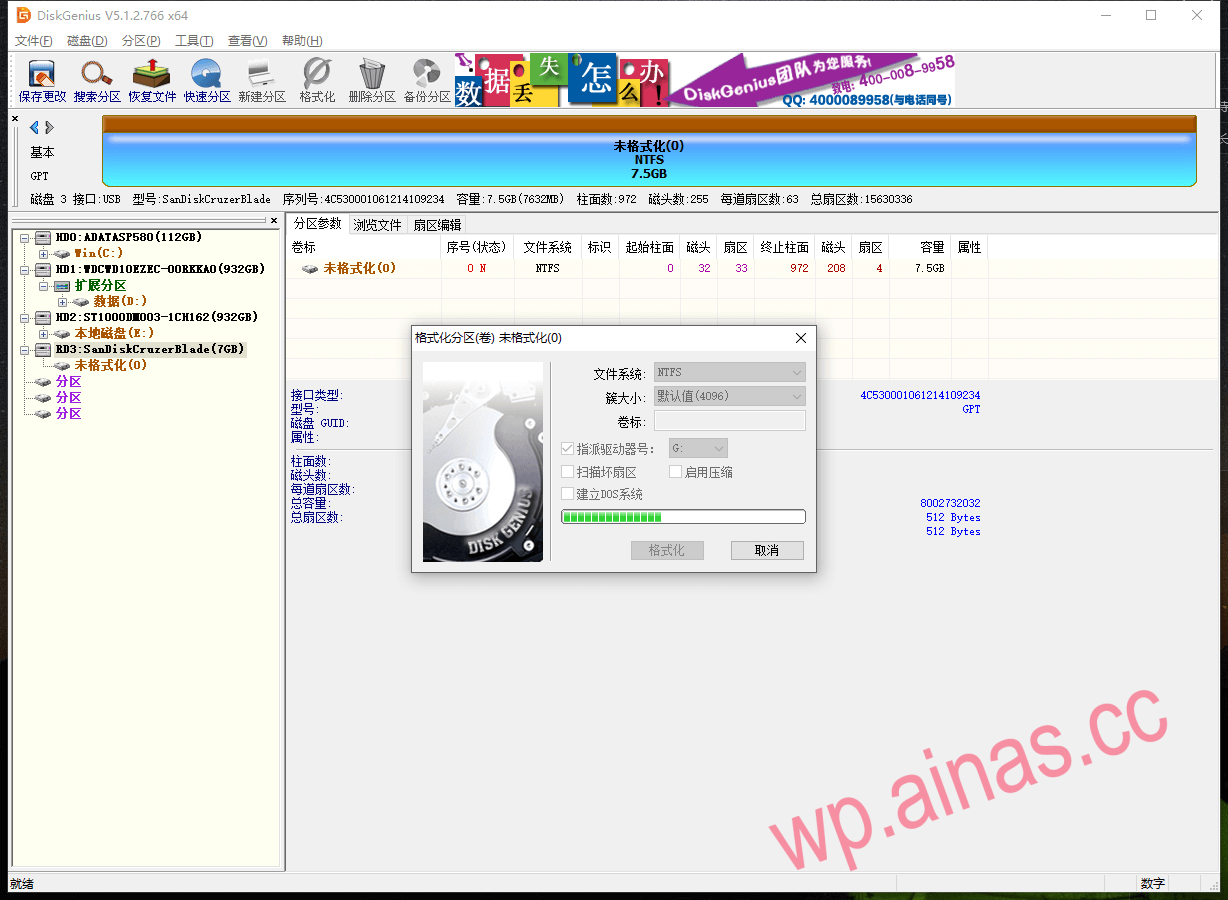
11. Formatting…
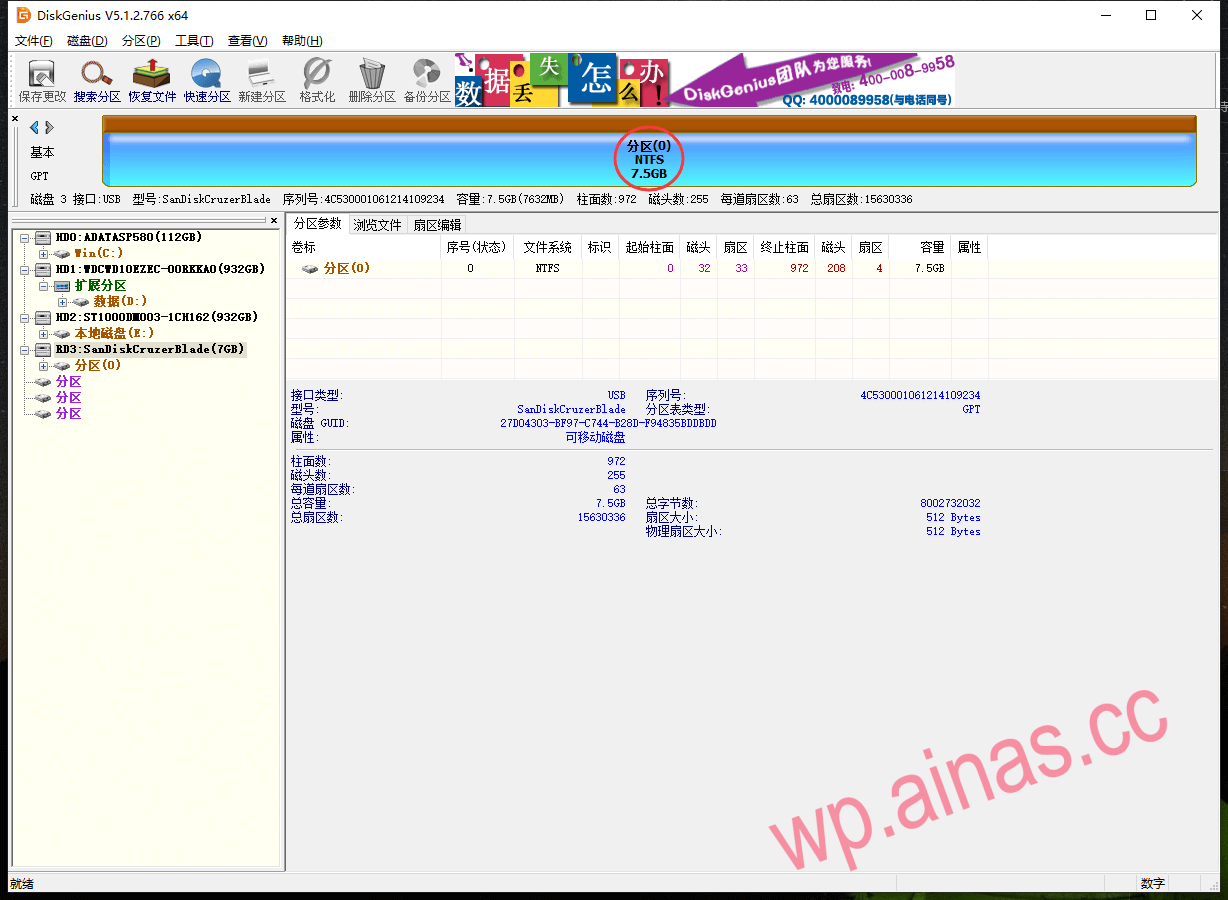
12. After formatting is completed, the normal capacity size of the USB flash drive and the format type of the partition are displayed;
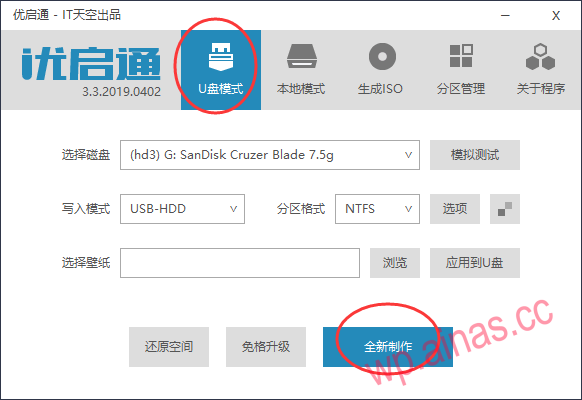
1. Unzip the downloaded Uqitong and run it, plug in the USB disk you just formatted, select “U disk mode” and click “New Creation”;
2. Click “OK”

3. In production…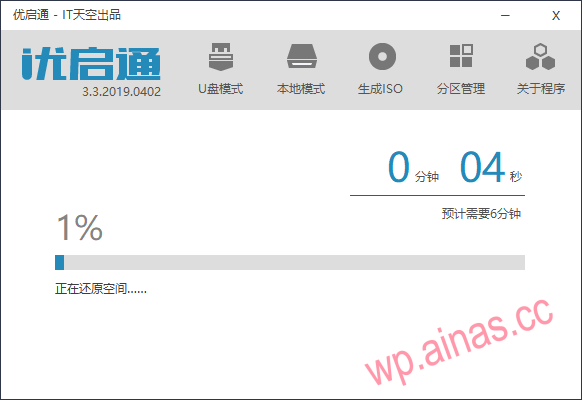
4. Wait for the prompt “The operation has been completed” and click “OK”;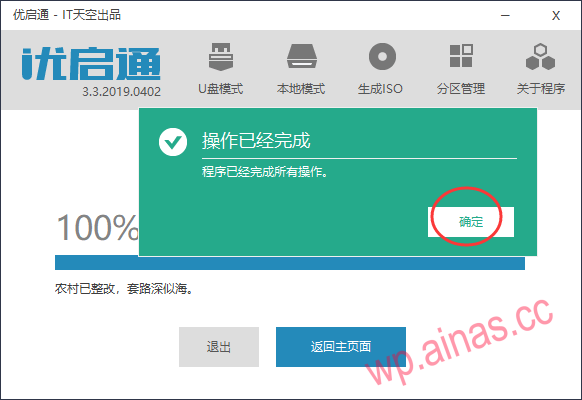
5. Click “Exit”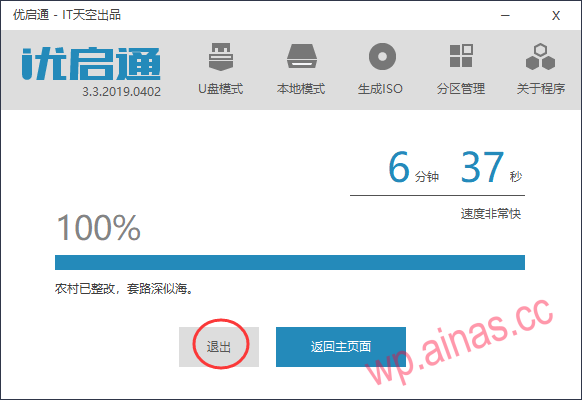
6. Confirm to exit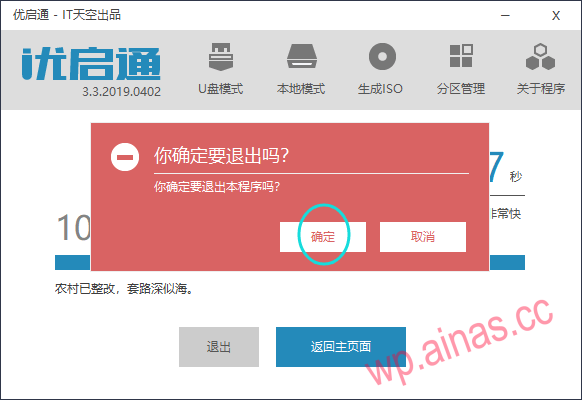
7. Copy the boot tool Roadkil’s DiskImg and the boot file or two-in-one file to the USB drive that has just created the PE system;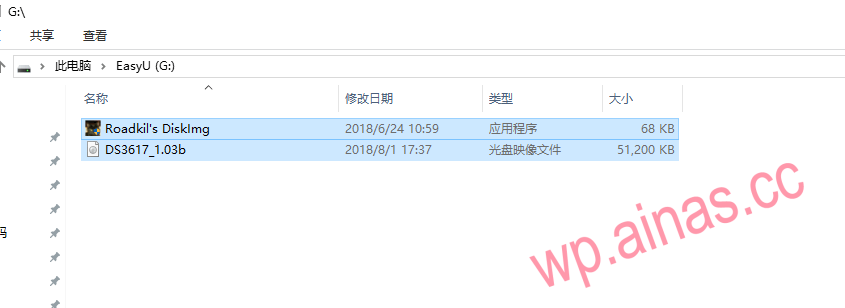
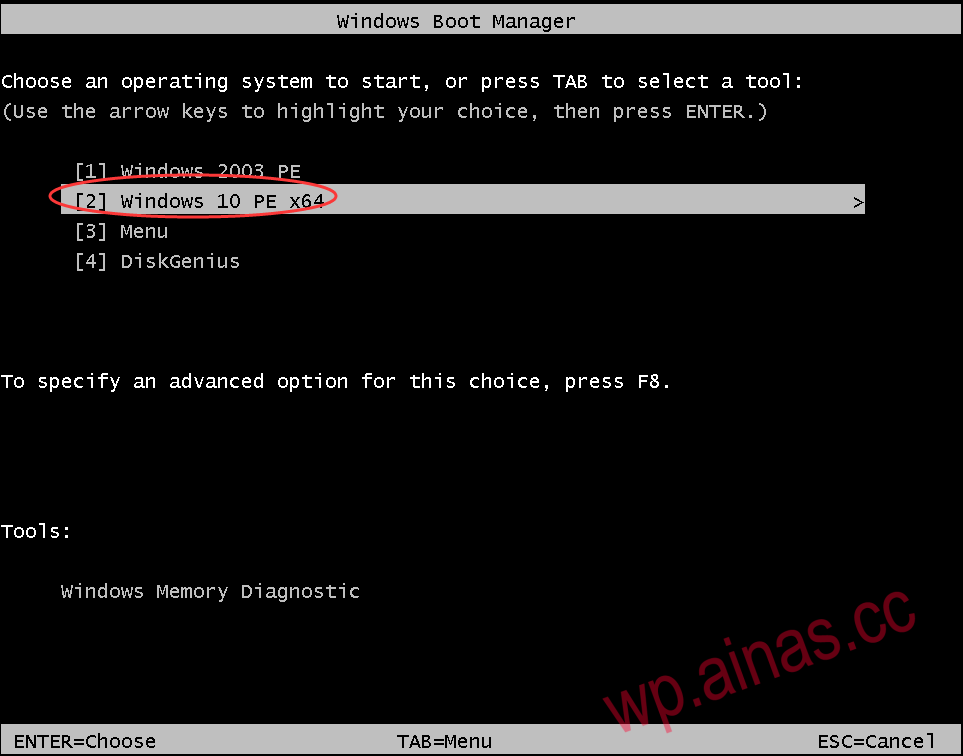
1. Insert the U disk into the computer where Synology needs to be installed, boot into the BIOS settings to boot from the U disk (due to the large number of various BIOS versions, this tutorial will not describe the settings for booting from the U disk), select “2. Windows 10 PE X64”, and press Enter;
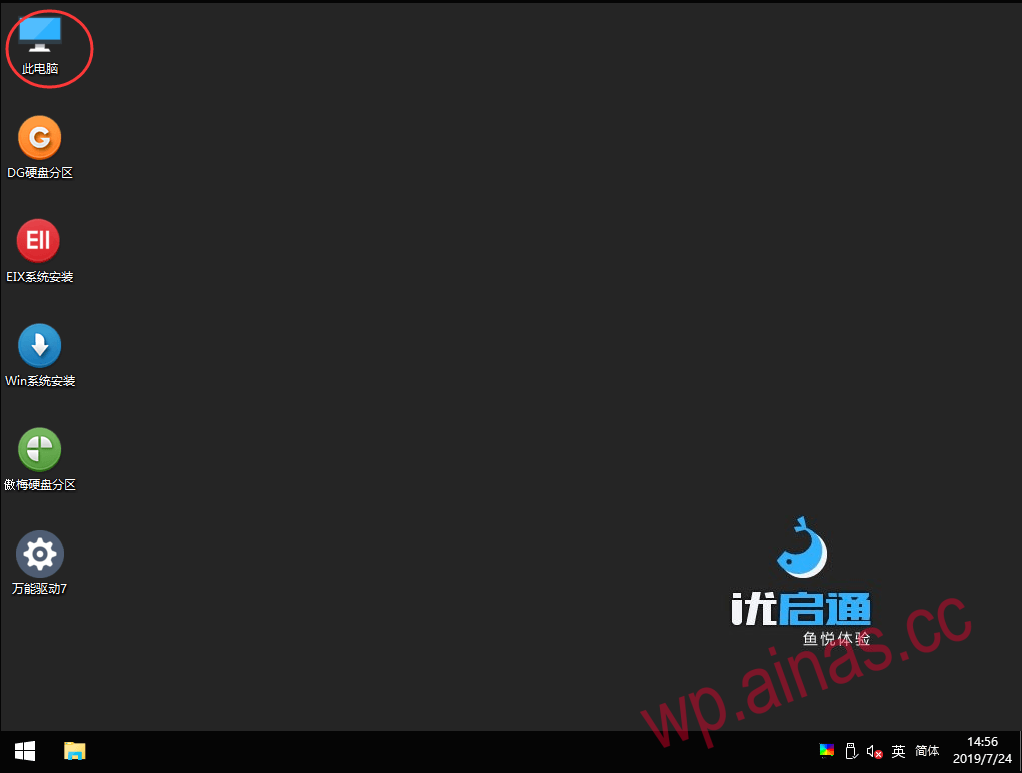
2. Wait for the desktop to display as follows, click “This PC” in the upper left corner;
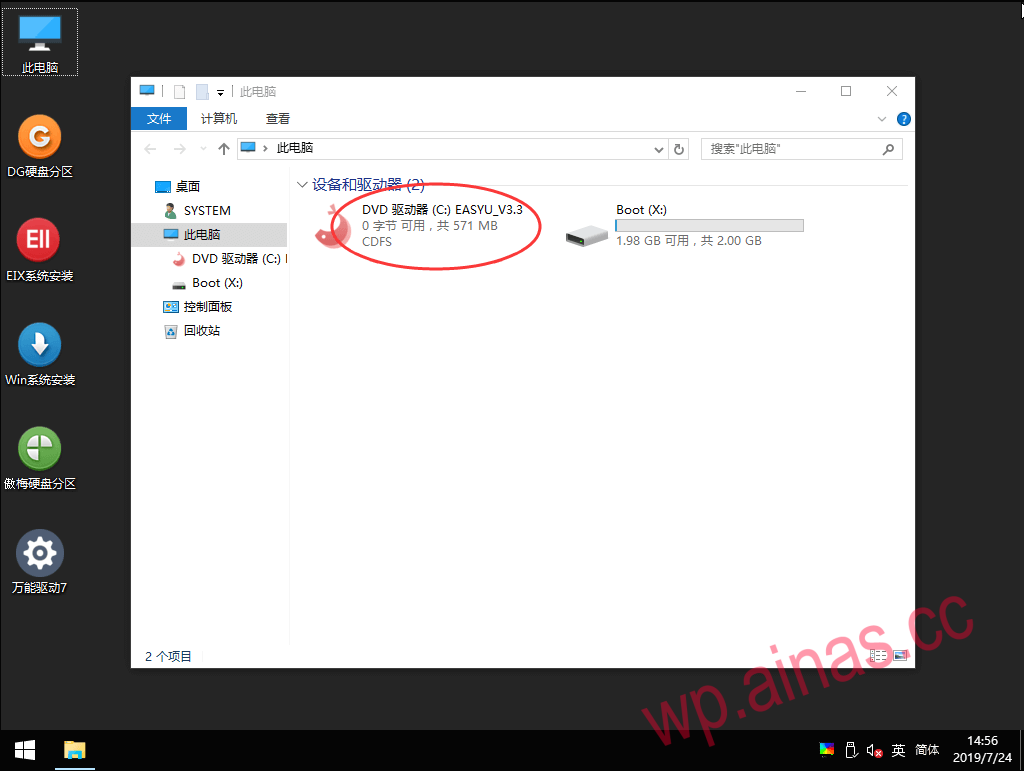
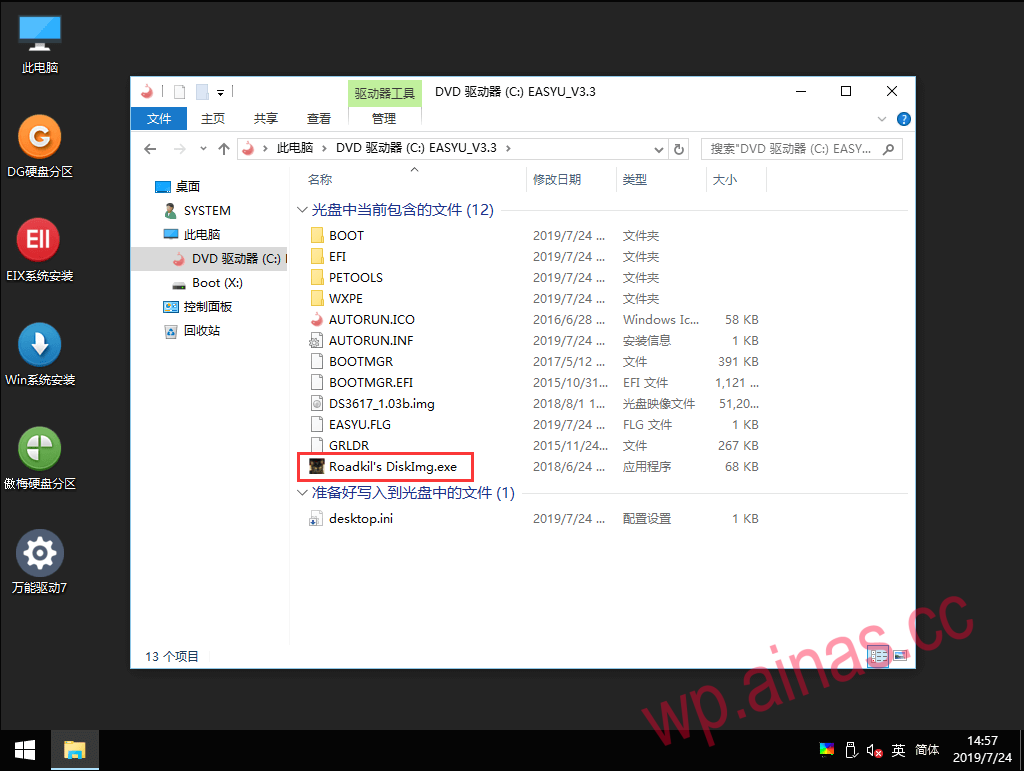
3.Before flashing the boot file, please confirm that the SSD partition has no partitions. If there are partitions, please use the DG hard disk partition tool to delete all SSD partitions. When it is determined that the SSD has no partitions, double-click to open the DVD drive;
4. Find Roadkil’s DiskImg, double-click to open and run;
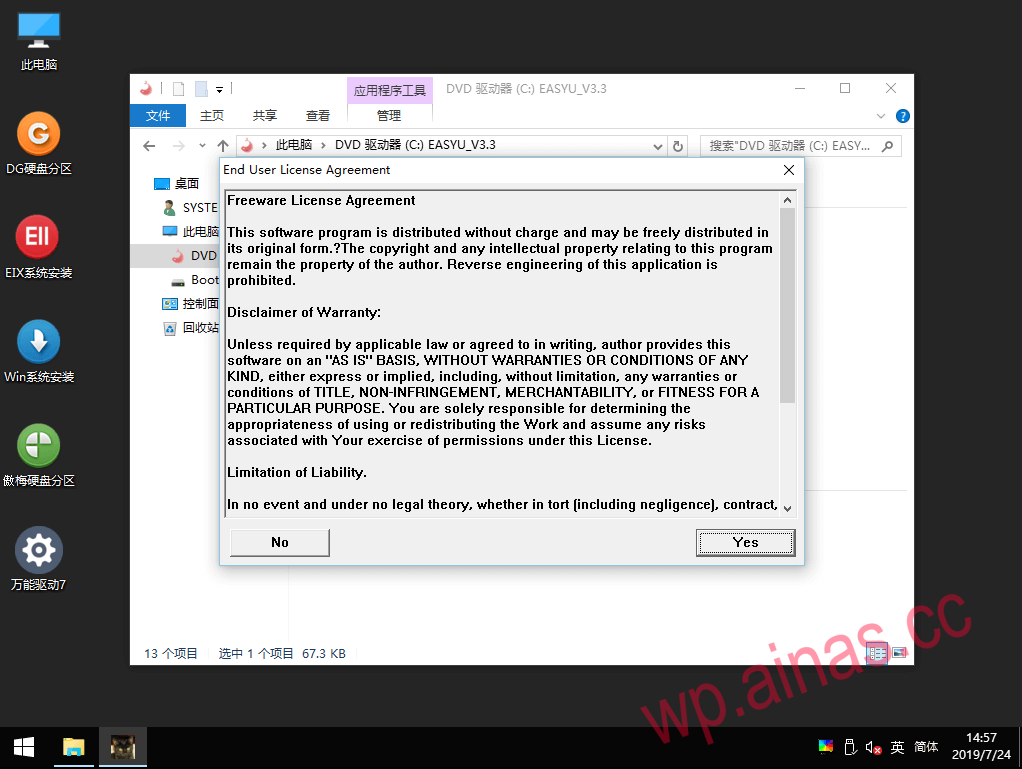
5. Click “YES”
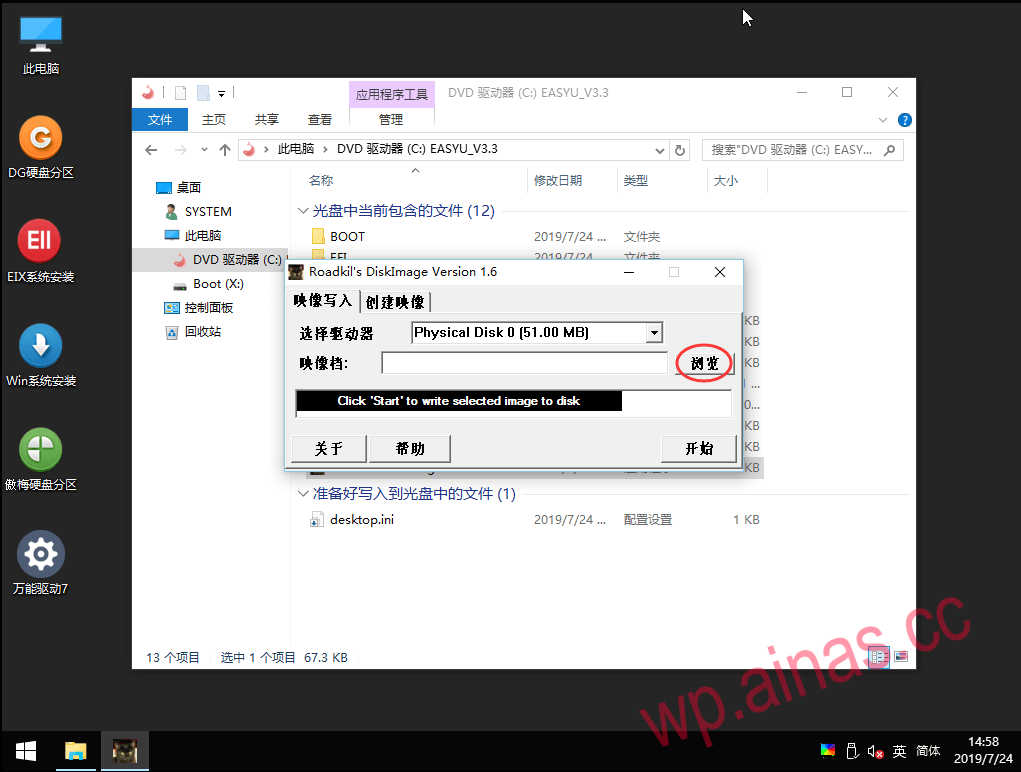
6. Click “Browse”;
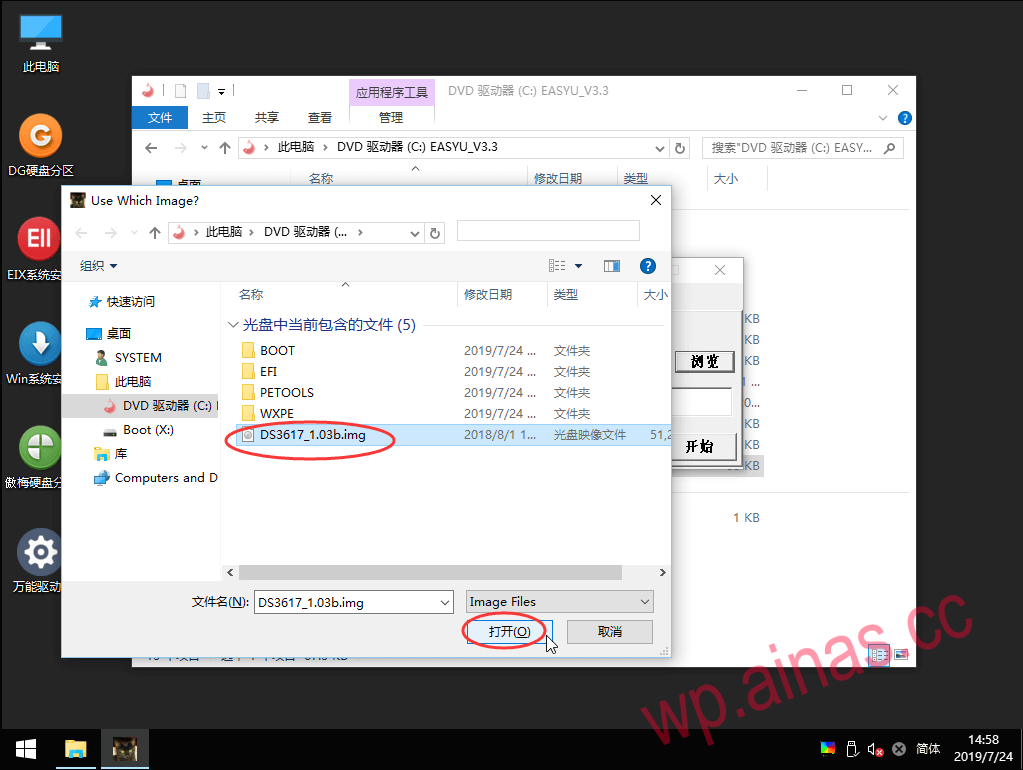
7. Find the boot file, select it and click “Open”;
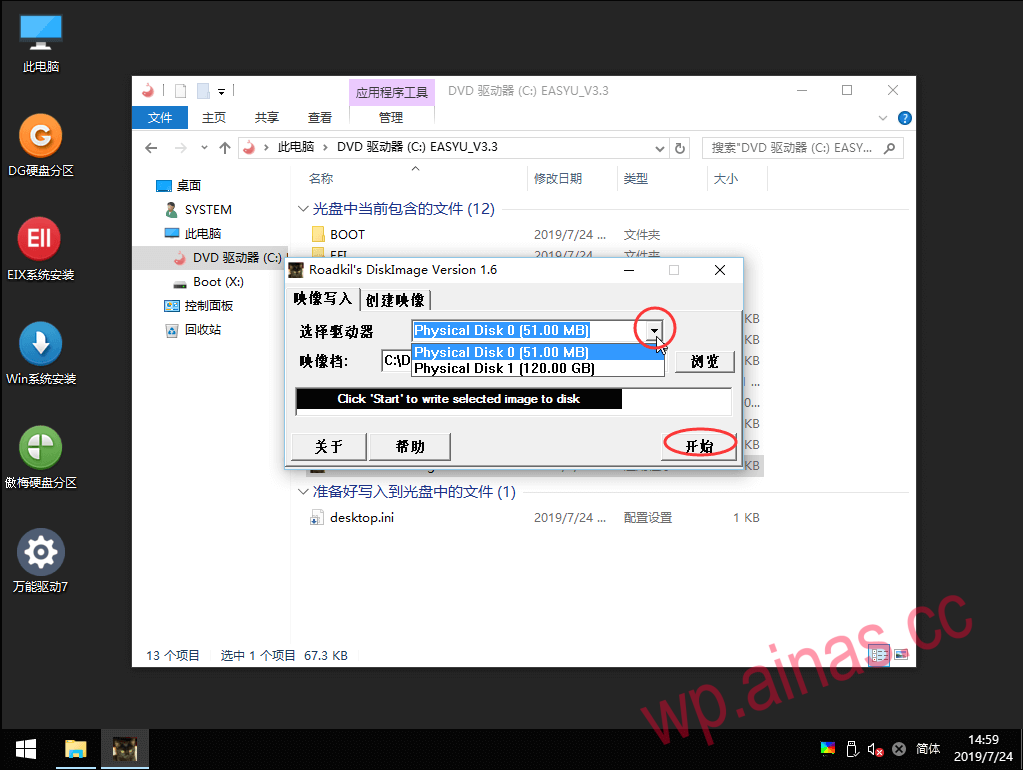
8. Select the drive, find the SSD on the machine, confirm it is correct and click “Start”;
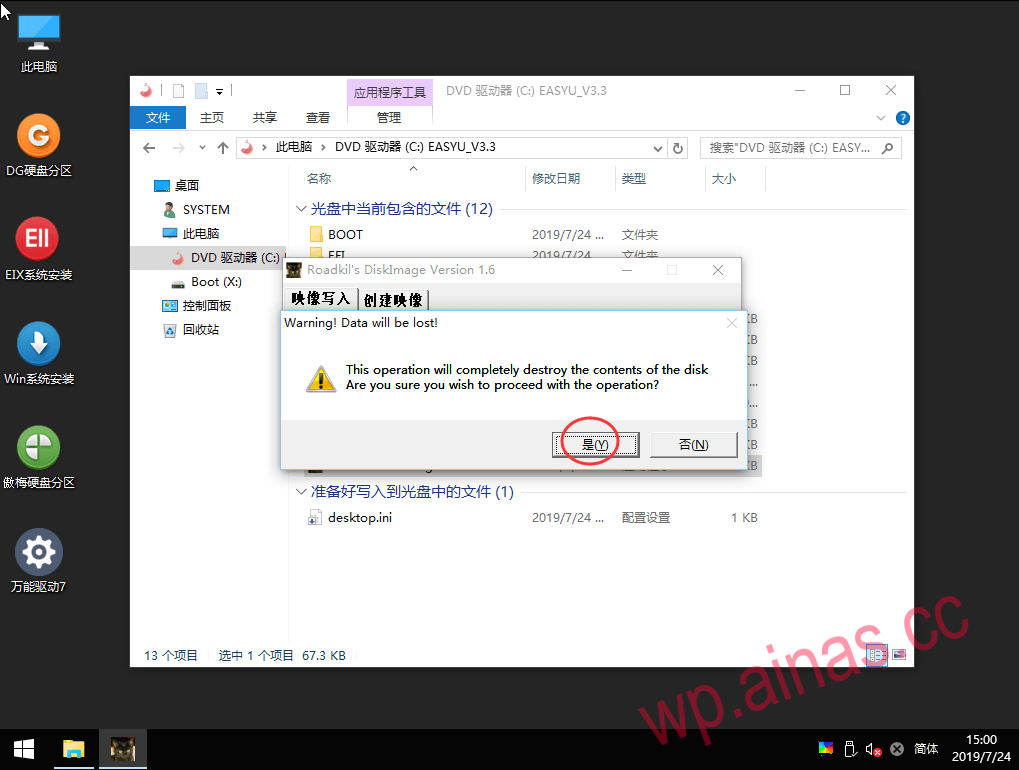
9. Click “Yes” to start writing;
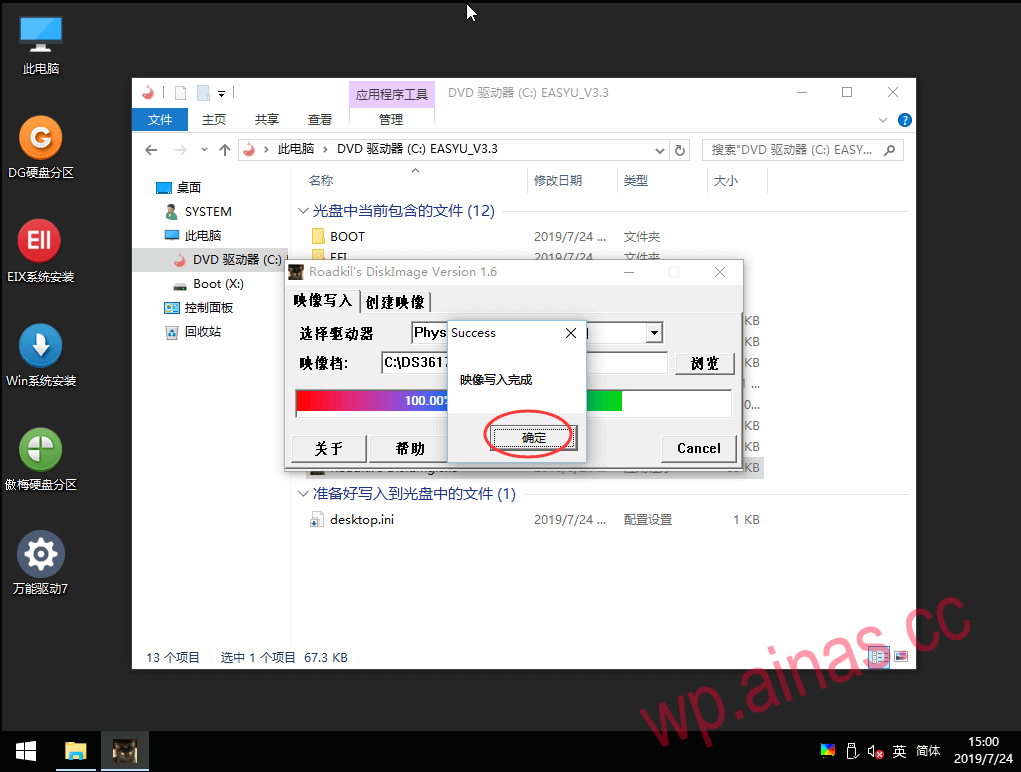
10. Wait for the prompt “Image writing completed” to appear, click “OK”, remove the U disk, click the lower left menu to restart, re-enter the BIOS settings to boot from the SSD, and then you can continue to install the Synology system;
11. Restart and wait 3-5 minutes before entering the browserfind.synology.cnOr useSynology AssistantAfter searching, the IP address of Synology will be displayed. Double-click to log in.